Monday 27 June 2016

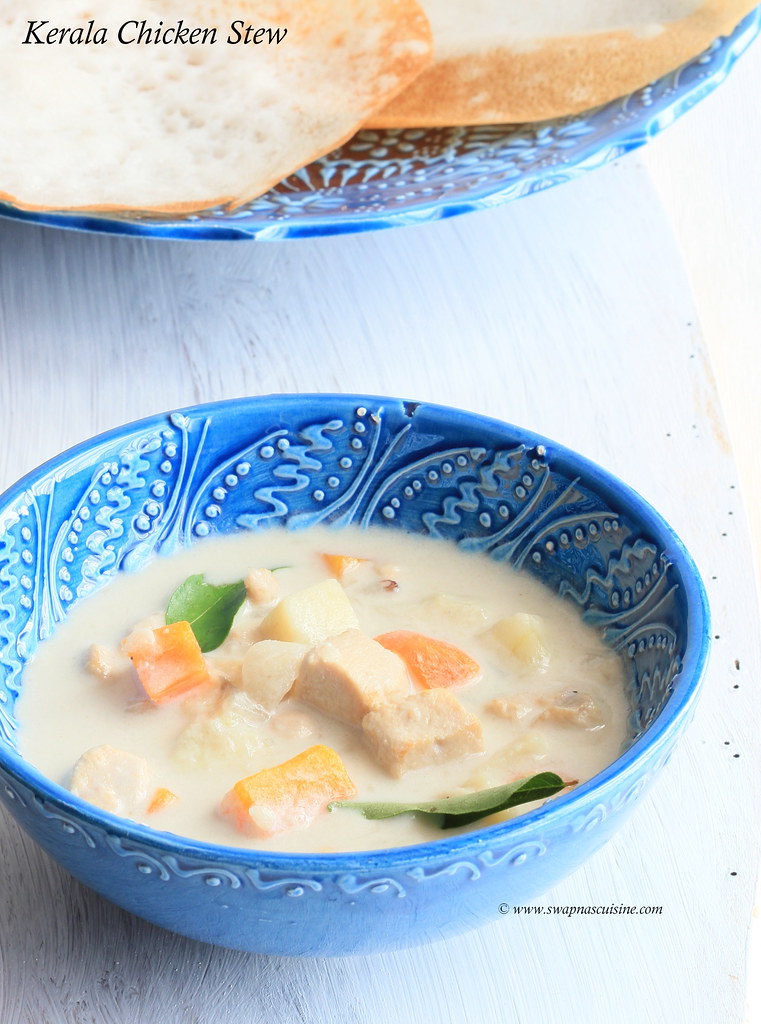
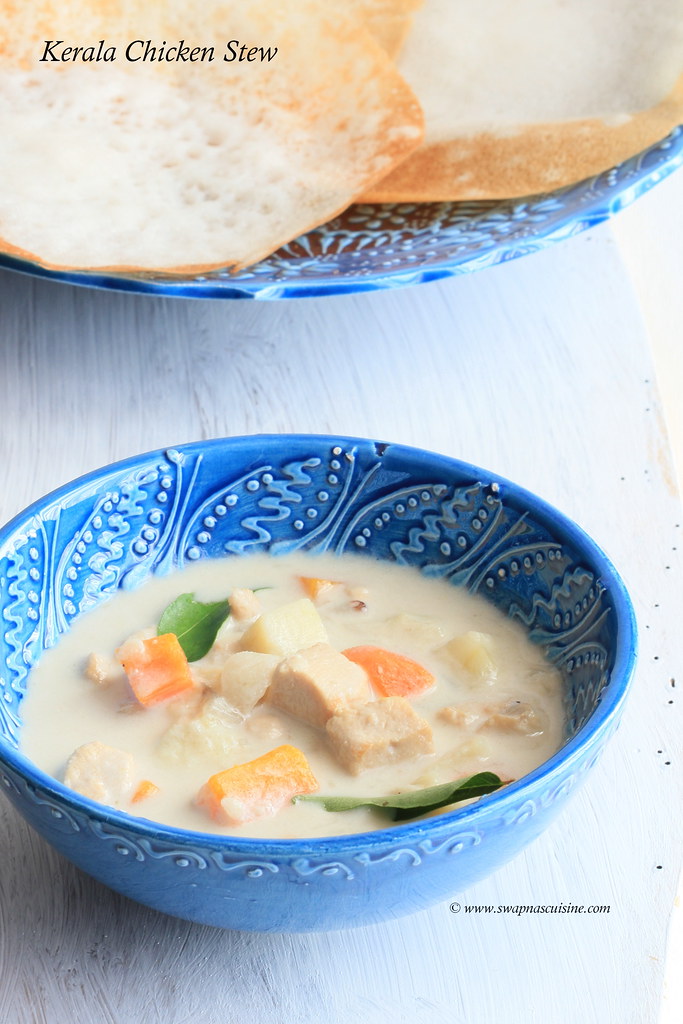
Kerala Chicken Stew Recipe / Kozhi Stew

How to make Kerala Chicken Ishtew

Stew or Ishtew is a mildly spicy and creamy Kerala special delicacy which goes very well with appam,bread, puttu, chapathi etc. In most Kerala Christian families, Christmas or Easter breakfast is incomplete without appam and chicken or mutton stew. Stew has to be white in colour and you have to make sure not to brown the onion while sautéing. Cashew nut paste will enhance the flavor and make the gravy thick and creamy.

Kerala Chicken Stew Recipe / Kozhi Stew
Ingredients: 
Chicken - ½ kg (cut in to medium pieces, I used boneless chicken)
Potato - 1 small, cubed
Carrot - 1 small, cubed
Onion - 1, thinly sliced
Green chillies - 4, slit
Ginger - 1 tsp, finely chopped
Garlic - 1 tsp, finely chopped
Cinnamon sticks - 1 inch x2 pieces
Cardamom - 4
Cloves - 4
Black peppercorns - 1 tsp
Medium thick coconut milk - 3 cups
Thick coconut milk - 1 cup
Cashew nuts - 6 - 8 ground to a fine paste
Curry leaves - few
Salt - to taste
Coconut oil - 2 tbsp


Method:
  • Heat oil in a pan and add cinnamon sticks, cardamom, cloves, black peppercorns and sauté. Add onion, ginger, garlic and green chillies and curry leaves and stir fry until they becomes soft and translucent. (make sure not to brown the onion).
  • Add chicken pieces and stir fry for 2-3 minutes until the meat is lightly seared.
  • Add cubed potatoes and carrots, medium think coconut milk and salt, and cook for 15-20 minutes over medium heat until the chicken, carrot and potatoes are fully cooked.
  • Add cashew nut paste, thick coconut milk and vinegar, mix well and simmer for 2 minutes or until you get the required thickness.
  • Serve hot with palappam, vellayappam, Idiyappam, Puttu, Chapathi or bread.
How to make Kerala Chicken Stew

Read More » Print Friendly and PDF

Monday 20 June 2016

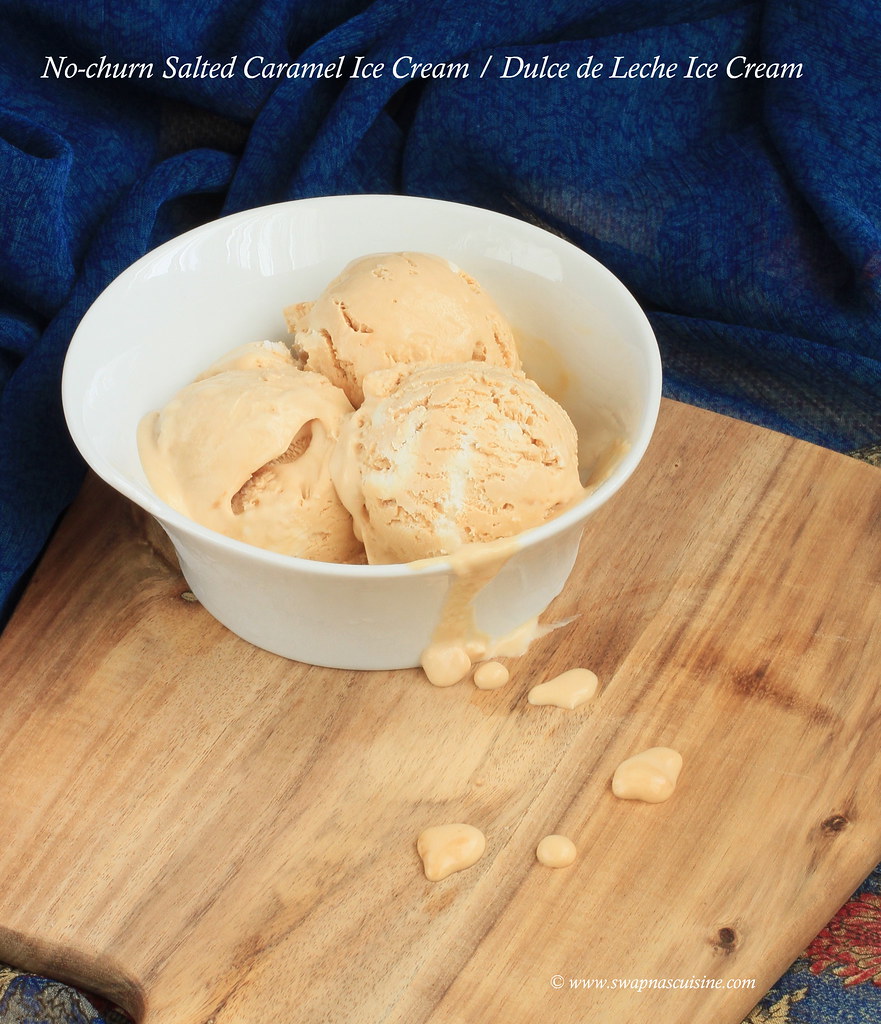
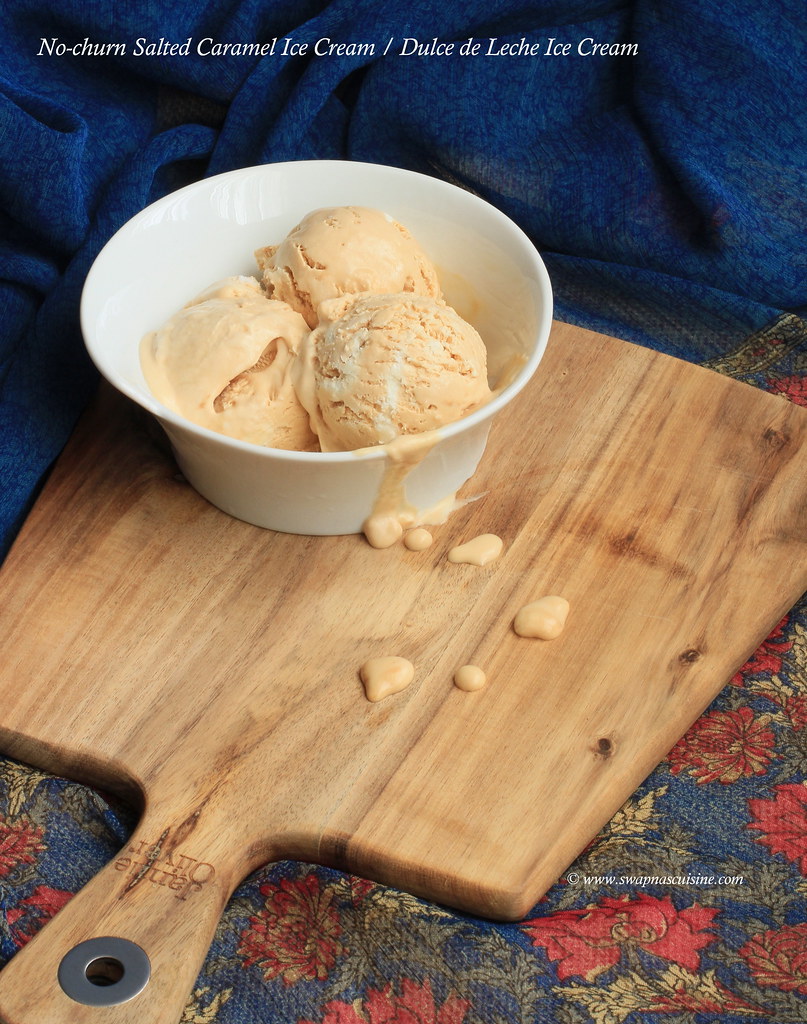
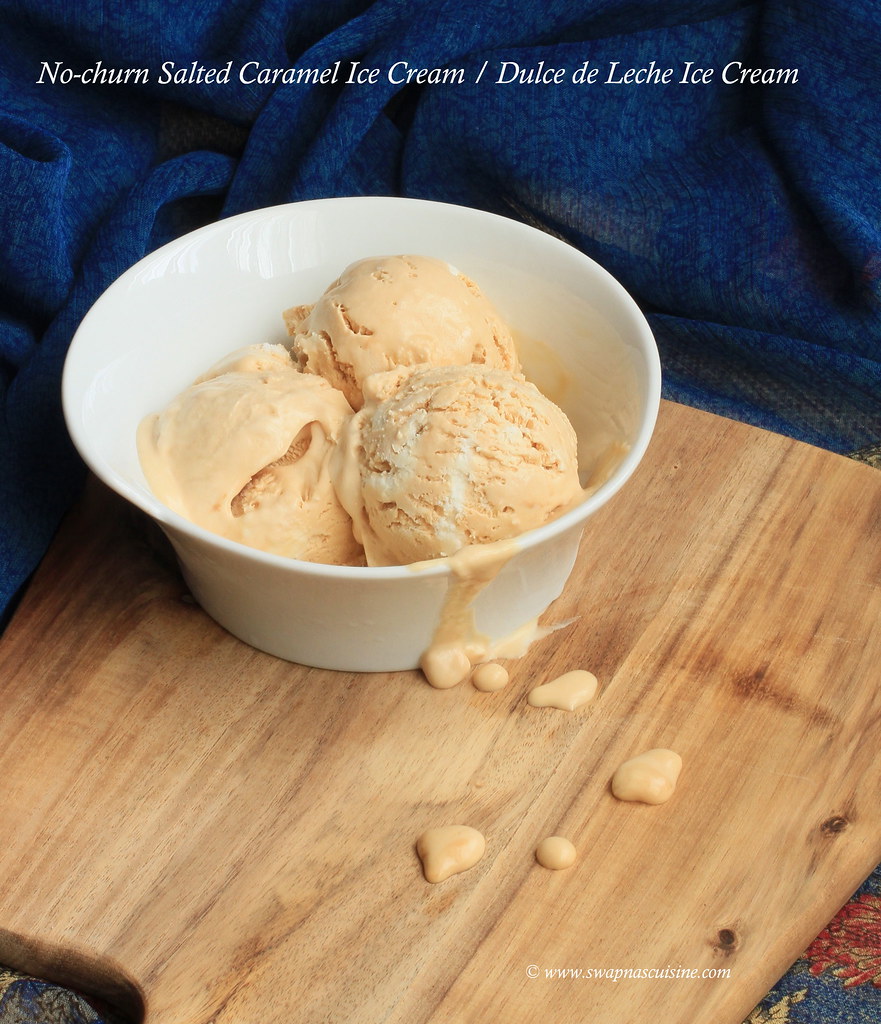
No-churn Salted Caramel Ice Cream / Dulce de Leche Ice Cream

How to make Dulce de Leche Ice Cream

Making a very rich and delicious Salted Caramel Ice Cream without an ice cream maker and with only three ingredients. An extremely easy to make dessert if you have dulce de leche ready in your kitchen. You can either use store bought dulce de leche or can easily make at home. I have explained 3 different methods of boiling the can of condensed milk. You can follow the method you are most comfortable with :)  Do try it at home, I am sure you will love this!

Dulce de Leche Ice Cream


No-churn Salted Caramel Ice Cream / Dulce de Leche Ice Cream
(Recipe from here)
Ingredients:
*Homemade or store-bought dulce de leche - 1 can or 1 1/3 cup
Flaky sea salt - 1/2 teaspoon (or 1/8 teaspoon table salt) 
Very cold heavy whipping cream - 2 cups

Method:
  • Combine dulce de leche with salt in a large bowl and keep aside.
  • Using an electric mixer on high speed, beat cream in a large bowl until stiff peaks form, about 3 minutes.
  • Stir about 1/3 of the whipped cream into dulce de leche until just combined.
  • Gently fold remaining whipped cream into dulce de leche mixture, then pour into 9x5" loaf pan.
  • Cover with plastic wrap and freeze until firm, about 6 hours.
How to make Dulce the Leche at home.
  • Traditional Method ~ Put the can of condensed milk, unopened, in a large pan, cover with water, bring to boiling point and boil for 3 hours, topping up with boiling water from a kettle as needed. Ensure that the can remains covered in water. Remove and leave to cool completely.
  • Pressure cooker method without weight  ~ Fill a pressure cooker with water. Immerse the can into the pressure cooker and close the lid. Switch on the gas on high and wait for steam to come and reduce to medium flame and cook for 1 hour.
  • Pressure cooker method with weight, easiest and less time consuming ~  Fill a pressure cooker with water. Immerse the can into the pressure cooker and close the lid. Switch on the gas on high. Wait for steam to come and then put on the weight. When you hear the first whistle, simmer the flame and let it cook for 30-45 minutes Switch off the gas and let it cool down to room temperature.


Three Ingredient Ice Cream

Read More » Print Friendly and PDF

Monday 13 June 2016

Fish Tikka

How to make Tikka on stove top

Tried this recipe after seeing a popular cookery show, Annie’s Kitchen.  It came out really well so thought of sharing it with you. You can either grill or bake tikkas in the oven, use an electric toaster grill or on stove top. It’s a very easy and hassle free recipe. You can marinate the fish pieces and keep it overnight in the fridge before grilling. It is a perfect recipe to serve as a starter or as a main or side dish. A great addition to a party menu :) :) ...

Homemade fish tikka recipe

Fish Tikka

Ingredients:
Boneless Fish - 1kg {can use Neymeen (Seer fish),  Motha (King fish) or any thick boneless fish pieces}
Onion -1 cup, cut into 1 ½“pieces
Tomato -1 cup, cut into 1 ½“pieces (remove seeds)
Capscium – 1 cup, cut into 1 ½“pieces
Butter – 3 tbsp

For the marinade:
Ginger paste - 2 tsp
Garlic paste – 2 tsp
Green chilly paste- 4 tsp
Mint leaves paste – 2 tsp
Ajwain powdered / Ayamodakam podi -1 tsp
Turmeric powder – ½ tsp
Dried fenugreek leaves / Kasoori methi- ½ tsp
Lightly roasted Besan/ chickpea flour/ kadala maavu - 2 tsp
Hung Curd (yogurt) - 4 tsp
Vegetable oil – 1 tbsp
Lemon juice -2 tbsp
Salt to taste

Method:
  • Cut into 1 ½ inch pieces and rub the fish with little salt and vinegar to remove the fishy odour. Keep aside for 5 minutes. Wash well and pat dry on a kitchen towel.
  • Mix all the marinade ingredients in a big bowl and add fish pieces and mix well to coat all the marinade to the fish pieces. Keep aside for half hour. (you can keep this marinated fish overnight in the fridge).
  • Just before grilling, add onion, capsicum and tomato pieces to the marinated fish and well.
  • Skewer the fish and vegetables alternately on skewers or tooth picks.
  • If you are using an oven, place the skewered tikkas on the wire rack. Brush tikkas with melted butter and grill for 10-15 minutes overturning them every few minutes.
  • If you are using stove top, melt little butter in a non-stick tava, add skewered fish tikkas and grill on medium flame until all sides are lightly browned and fish is cooked well.
  • Serve hot decorated with lemon wedges and pudina chutney or sauce.
Mahi Tikka

Read More » Print Friendly and PDF

Monday 6 June 2016

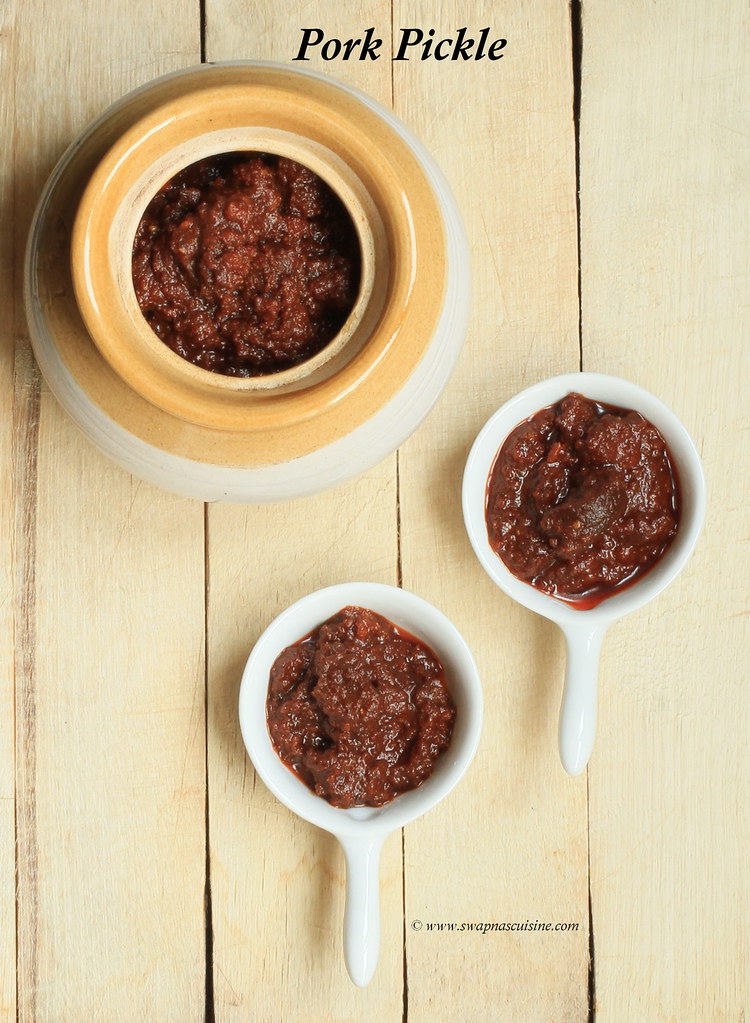
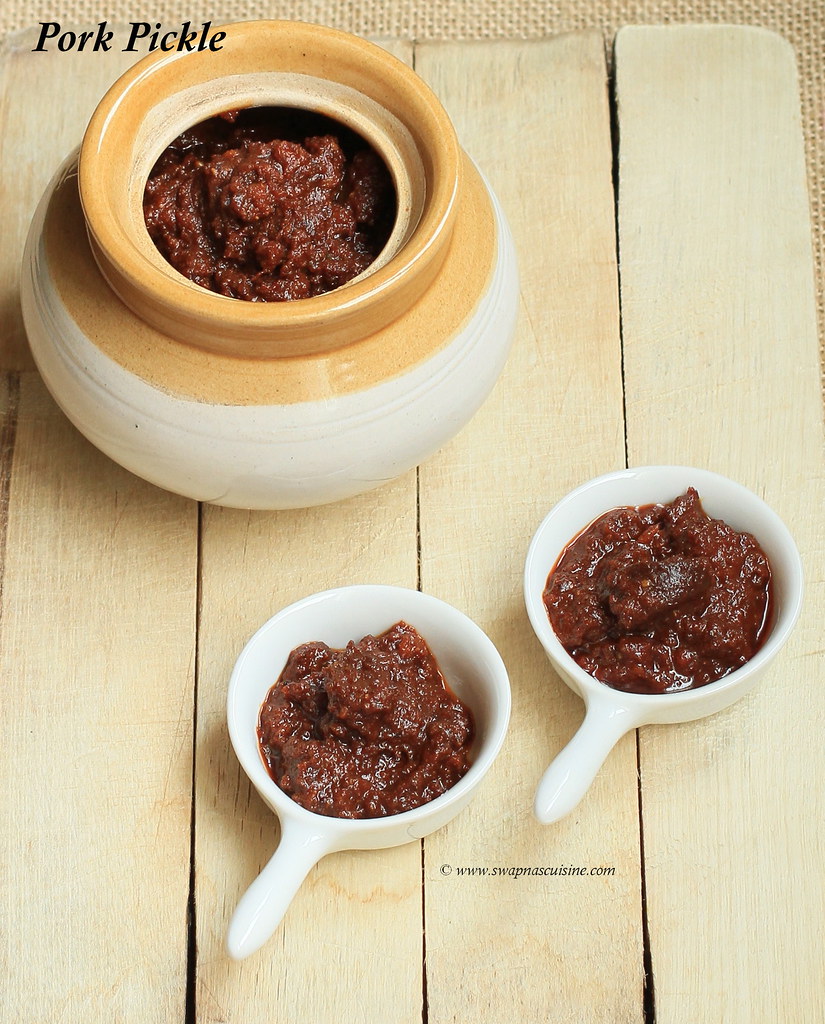
Pork Pickle Recipe / Panniyearchi Achar

, How to pickle pork

My Pickling bug continues and this time its Pork Pickle :) :)  Recently while emptying my freezer I found a packet of pork and thought of pickling it. I followed the chicken pickle recipe with slight changes. Worth the trial and we loved it. I highly recommend to use boneless pork pieces without the fat and increase or decrease the oil according to the pork pieces you use. Like I say in all my pickle recipe posts, you can keep pickle at room temperature, if you avoid adding water while preparing it. Always remember to use a clean sterilized dry bottle to store the pickle and always use a dry spoon to take the pickle.

Kerala Panniyearchi Achar Recipe

Pork Pickle Recipe / Panniyearchi Achar
Ingredients:
Boneless Pork without fat - 500 gms
Ginger - 2 tbsp, chopped
Garlic - 2 tbsp, chopped
Curry Leaves – 2 sprigs
Salt to taste
Kashmiri Red chilly powder – 3 tbsp
Turmeric powder – 1 tsp
Asafoetida powder / Kaayam – 1 tsp
Fenugreek powder / Uluva podi - 1 tsp
Garam masala – 1 ½ tsp
Sugar – 1 tsp
Vinegar - ½ to 1 cup
Gingelly oil / Sesame Oil / Nallenna – ¾ cup

Method:
  • Wash, clean and drain pork pieces. Add salt, turmeric powder and pepper powder and let marinate the pork for 1 hour.
  • Heat oil in a pan, splutter the mustard seeds. Then add ginger, garlic and curry leaves and sauté well until golden brown.
  • Add the marinated pork and fry till the pork pieces are light brown in colour.
  • Lower the flame and add the powders and mix well till the raw smell goes.
  • Add vinegar to taste and cook on low flame till the pork is cooked and the gravy is thick.
  • Sprinkle sugar and check for salt and turn off the heat.
  • Once the pickle is cooled transfer it to a clean dry bottle and use. 
Read More » Print Friendly and PDF
Related Posts Plugin for WordPress, Blogger...