Showing posts with label Kerala Cooking. Show all posts

Wednesday, 8 December 2021

Carrot Wine / Carrot Whisky

Enjoy this Christmas Season with Carrot Wine!!!

Wine makes every meal an occasion, every table more elegant, every day more civilized. ~ Andre Simon, "Commonsense of Wine"


Carrot Wine

Ingredients:
Carrot -3kg
Orange -2 nos
Lime -2 nos
Sugar -2kg
Raisins -300 gms (chopped)
Whole wheat - 1/2 kg
Water -5 liter
Yeast - 1 tbsp

Method:
  • Clean & chop the carrots and boil with 5 liters of water.
  • Transfer this to a bharani or a big glass bottle and add lime & orange juice & peel. (Cut the orange & lime in half, and extract the juice, using a citrus fruit juicer. Remove the orange peel and scrape off any white pith from the inside. Chop up the peel and mix it with the carrot mixture).

  • Then add sugar. When the mixture becomes cool, add raisins, whole wheat and yeast.
  • Tie the bottle with a clean cloth and keep aside the mixture for 3 weeks.
  • Stir this mixture everyday for 5 minutes.
  • After 3 weeks strain the mixture to a clean bottle and keep this mixture again for 3 more weeks untouched.
  • After that slowly strain the upper part to small bottles and use.
  • The peach colour of this wine will change to a richer whisky colour with aging!
Note:
  • All the utensils & bottle should be clean & dry. If there is water the wine will become sour.
  • Don't fill the bottle to the brink. Always leave 1/4 bottle empty.


Read More » Print Friendly and PDF
Thursday, 5 August 2021

Panikoorka Wine / Mexican Mint Wine / Indian Borage Wine

Panikoorka, is popularly used in South Indian states to treat coughs and colds in children. The herb is also used to treat a variety of health problems in both children and adults. This plant is known as Indian Borage, Mexican Mint or Cuban Oregano. In Kerala, regionally, Panikoorka is also known as Karpooravalli, Navara, Kanjikoorka etc. In Kerala, people say that you should grow the panikoorka plant in your house if you have children.

I was never successful in growing this plant here when my son was small. Two years back I bought a couple of plant stems from back home and luckily it started growing well. I tried adding these leaves in many dishes in place of oregano & mint and was pleasantly surprised with the results. We also enjoyed fresh lemonade with panikoorka leaves in it. Then the idea of making wine with panikoorka leaves struck me and when I tried it, it came out super tasty. Do try wine with these healthy leaves and let me know whether you liked it.


Panikoorka Wine / Mexican Mint Wine / Indian Borage Wine

Ingredients:

Panikoorka Leaves - 4 to 5 cups firmly packed

Sugar - 1 ¼ kg

Water - 3 ½ liter

Lemon juice - ½ cup

Lemon zest of 2 lemons

Yeast - ½ tsp

Method:

  • Thoroughly wash panikoorka leaves and chop and place it in a big vessel.
  • Bring half of water to a boil and pour boiling water over panikoorka leaves.
  • Mix and cover the vessel with a lid and stand for around one hour.
  • Strain the panikoorka liquor into a sterilized fermentation bottle / bharani.
  • Boil the remaining water and pour boiling water to the strained panikoorka leaves and wait for another one hour, strain into the bottle and discard the leaves.
  • Add all the other ingredients to the bottle like sugar, lemon juice, lemon zest and yeast.
  • Stir the mixture well until all the sugar has completely dissolved.
  • Cover the bottle and stir the mixture every day for 21 days.
  • After 21 days, strain the mixture through a cheese/ muslin cloth into clean and dry bottles and use.
  • After 21 days you can consume the wine, but it will be little cloudy and not very clear. If you allow the panikoorka wine to stand for couple of months you will get a very clear wine like in the picture.

My Panikoorka Plant 

Read More » Print Friendly and PDF

Sunday, 28 March 2021

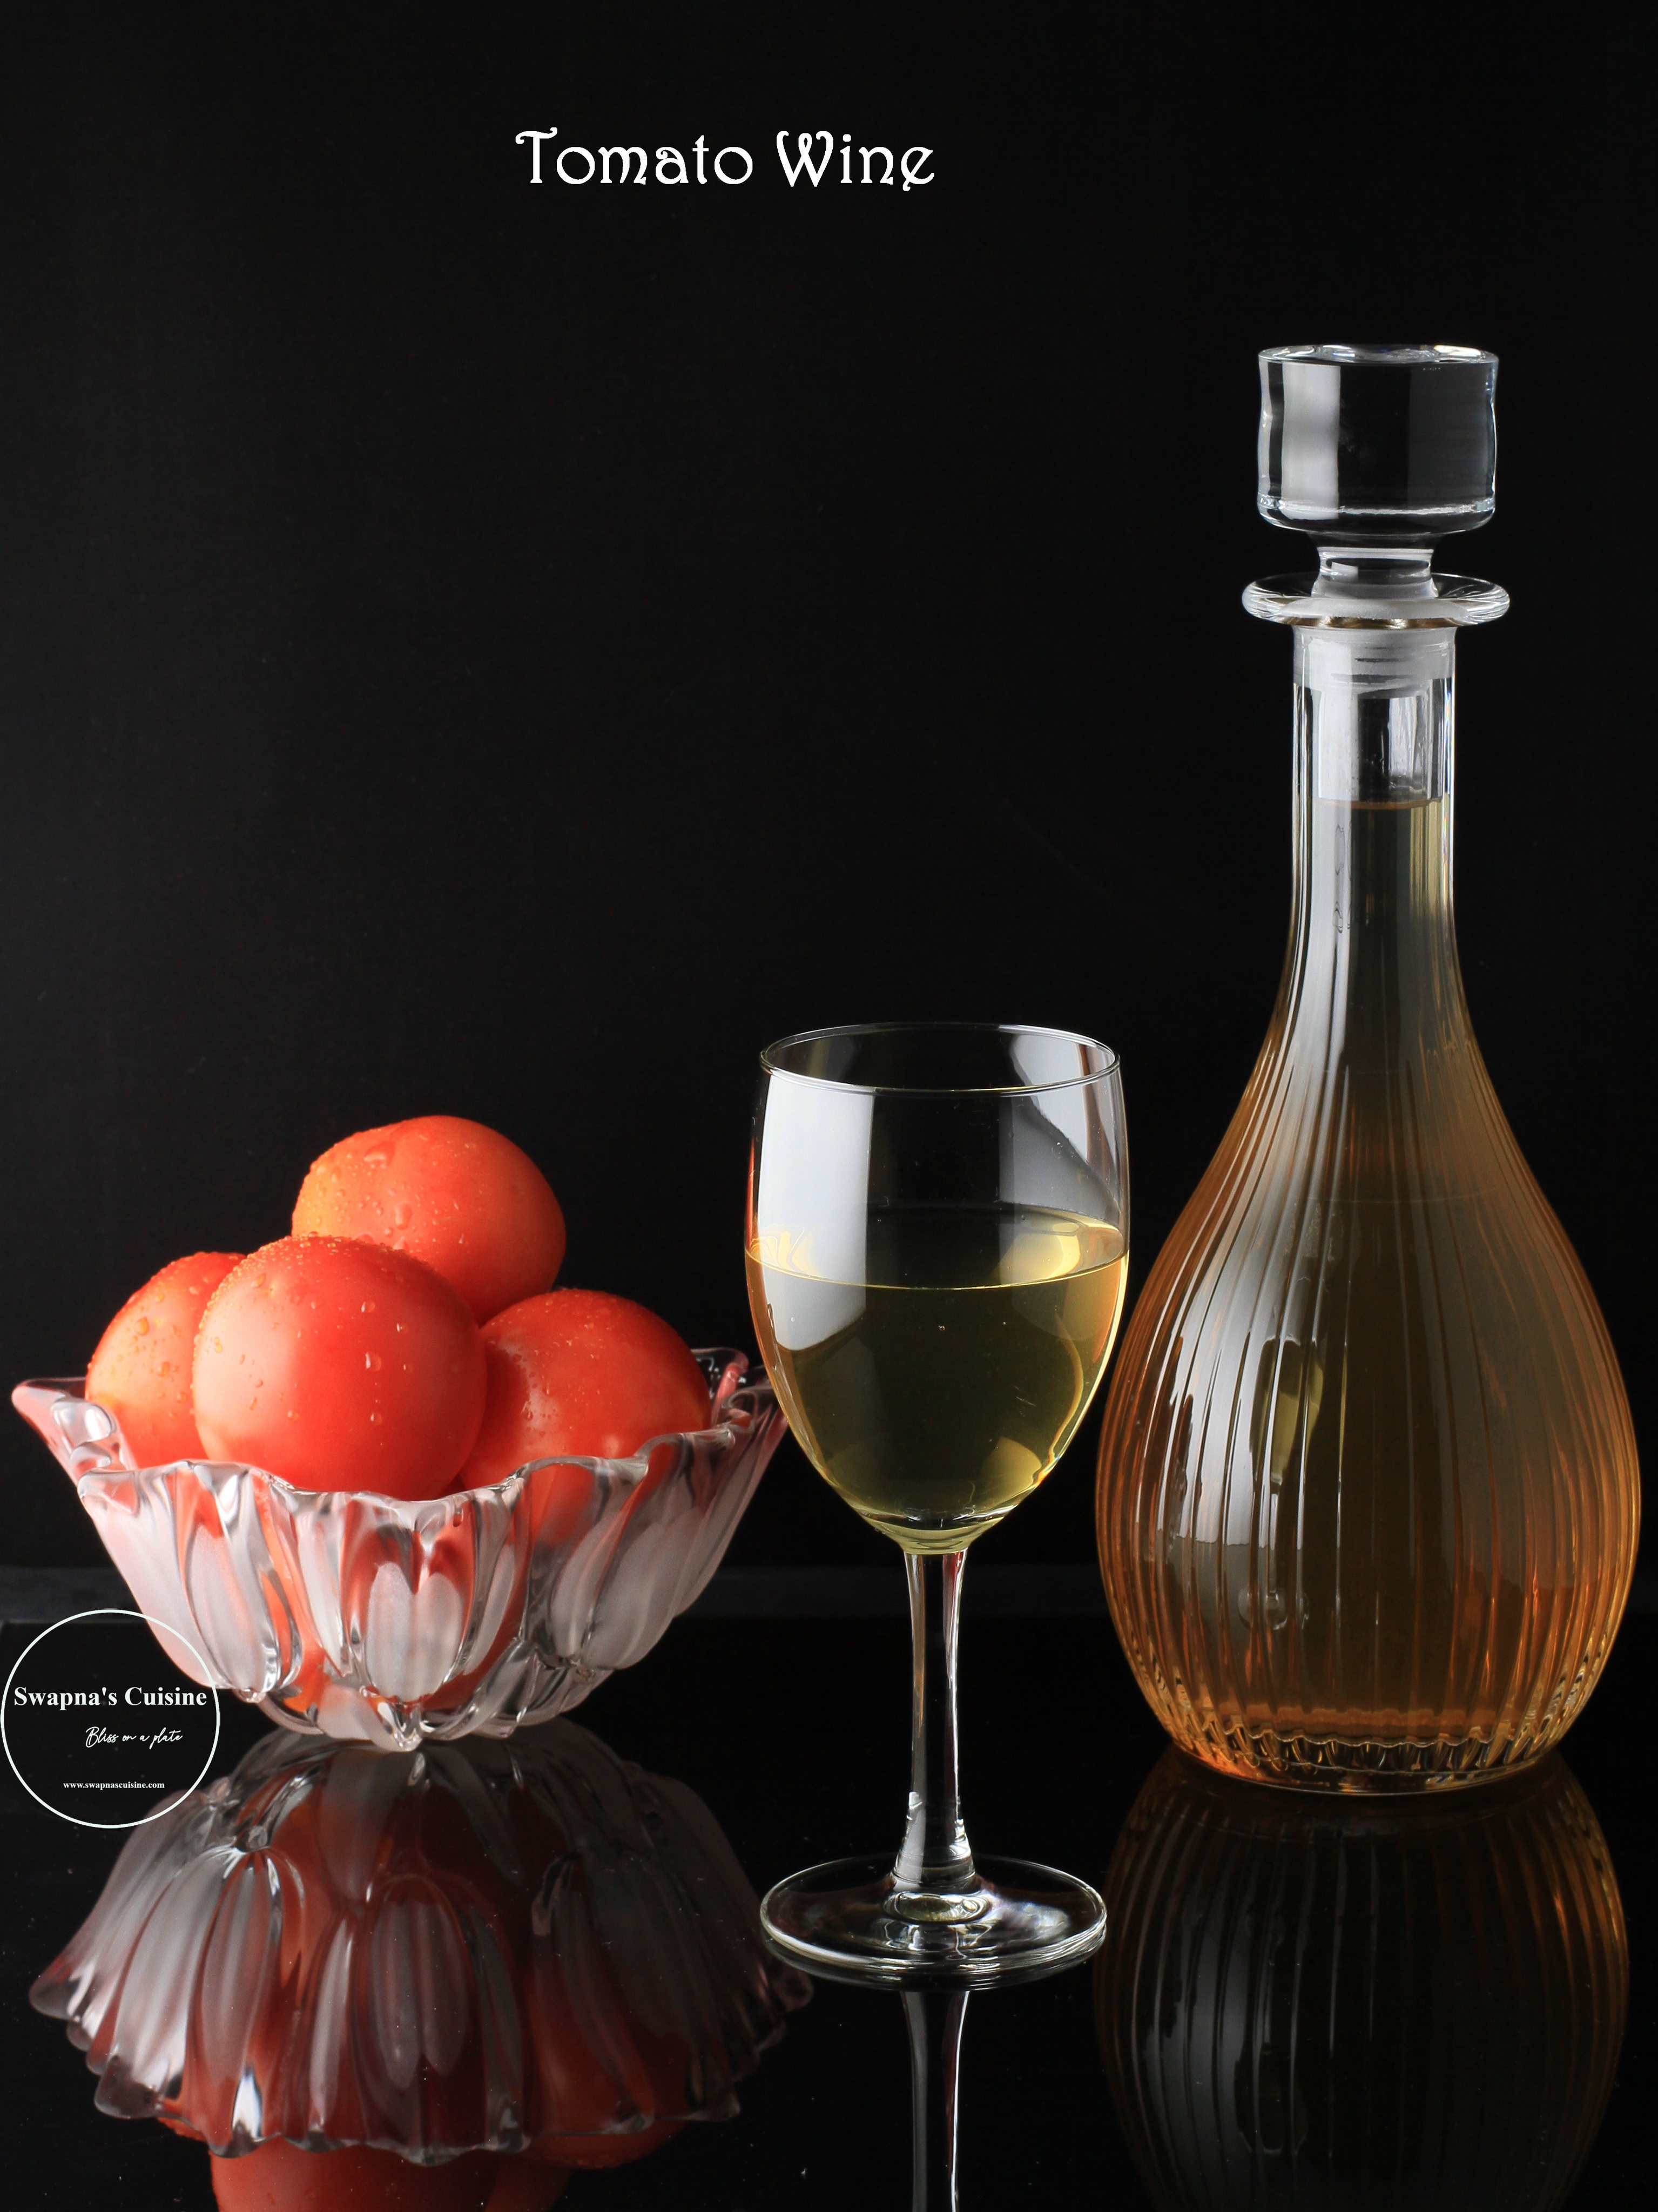
Tomato Wine Recipe

By now you all know how I love to experiment brewing wine with different fruits or vegetables… Trying out Tomato Wine recipe was in my mind for quite some time and so I made this a year ago… I was curious to know how the taste & colour would turn out… surprisingly the wine tasted nice. It is quite a strong wine… it has a slightly fruity taste and does not really taste like tomatoes… I really love the golden colour… do give it a try and let me know how you guys liked it 😊 


Tomato Wine

Ingredients:

Red ripe Tomatoes - 1 kg

Raisins - 175gm

Sugar - 750gm + 250 gm

Water - 3 litres

Yeast - ½ tsp

Lemon zest & lemon Juice from 1 big lemon (You can substitute it with orange zest and orange juice if you wish)

Method:

  • Boil water and 750 gm sugar and cool it till lukewarm.
  • Wash & pat dry the tomatoes. Finely chop or mash tomatoes with a potato masher.
  • Add tomatoes & raisins to the warm sugar water.
  • Mix well and add yeast, lemon juice & lemon zest. Be very careful not to add any white pith of lemon or orange with the zest.
  • Mix all the ingredients well and keep it in an earthen jar (Bharani) or in a glass jar, cover it and leave for 21 days, stirring daily.
  • On 22nd day, strain the mixture through a cheese / muslin cloth.
  • At this stage if the wine is not sweet enough for your liking, you can add rest of the 250 grams of sugar mix well and keep it again in a clean dry Bharani / glass bottle for another 21 days.
  • Strain on the 22nd day bottle and use.
  • The taste will be more flavourful if you wait for it to age for two to three months after bottling.

Read More » Print Friendly and PDF
Friday, 25 December 2020

Grape Wine with Yeast

May the miracle of Christmas fill your heart with warmth and love

Merry Christmas!! 


I had shared a Grape Wine recipe without yeast many years ago. This one is a traditional grape wine recipe with yeast and wheat. Addition of caramelized sugar gives this wine a nice colour and a subtle smoky flavour too, which my husband really enjoys. You do not have to caramelize the sugar very dark for wine as you do for cakes… just caramelize the sugar to light golden colour otherwise the wine will taste bitter! 


Grape Wine with Yeast

(Recipe Source ~ my sister-in-law)

Ingredients:

Black grapes with or without seeds - 2kg

Sugar 1 ¾ kg + ¼ kg for caramelizing (total 2kg)

Wheat  - ¼ kg (wash & sundry the wheat)

Yeast - 1 tbsp

White of one egg

Water - 4 ½ litres

Method:

  • Boil water and cool it till lukewarm.
  • Wash, drain and pat dry the grapes. Brust the grapes slightly with hand or with a potato masher or with back of a spoon.
  • Dissolve yeast in a little lukewarm water.
  • Beat the egg whites well.
  • Mix well all the ingredients along with 1 ¾ kg sugar and keep it in an earthen jar (Bharani) or in a glass jar, cover it and leave for 21 days stirring daily.
  • On 22nd day, strain the mixture through a cheese / muslin cloth.
  • Add ¼ kg sugar caramelised and keep it in jar for another 21 days.
  • Strain on 22nd day and use.

To Caramelize Sugar~ Heat ¼ kg sugar in a pan stirring continuously. When it becomes light golden brown add 1 cup hot water and boil. Cool and then mix it with the wine.

Read More » Print Friendly and PDF
Monday, 16 April 2018

Cherupayar Wine Recipe / Green Gram Wine Recipe / Mung Bean Wine Recipe/ / Mung Dal Wine


Cherupayar Wine Recipe  / Green Gram Wine Recipe  / Mung Bean Wine Recipe


Are you surprised or intrigued to read today’s recipe name? Even I was amazed when I got a request from one of my readers, for germinated green gram wine. It was the first time I was hearing about green gram wine and never in my wildest thoughts had I ever imagined of making wine with green gram / cherupayar. But he assured me that someone in Kerala makes the wine from germinated green gram and whoever had the wine said it is one of the tastiest. He requested me to ferret out the recipe from some source. The idea circled in my head for several days and I searched all my recipe collection and over the internet too without any luck. This forced me to put on my thinking cap to develop my own recipe and experiment. So I made a small quantity of wine without germinating the green gram / cherupayar and guess what, it was a huge hit!!! This wine is one of my best experiments and whoever has tasted it so far have told me it is one of the best and tastiest wine! I will definitely try with germinated green gram next to see the difference in taste.... If you love homemade wine do try this recipe and let me know the result; I am sure you will love it :) :) 

Cherupayar Wine / Green Gram Wine / Mung Bean Wine
Ingredients:
Cherupayar /Green gram / Whole Mung Bean – 250 gms (1 cup)
Sugar- 625 gms
Lime juice and zest of 1 lime
Yeast- ¼ tsp
Raisins- 50 gm, chopped
Water- 1 ½ liters 

Method:
  • Wash green gram and keep it in a strainer to drain it completely for at least 1 hour.
  • Boil water and sugar and keep it aside. Add chopped raisins, lemon zest and lemon juice to the hot water and mix well.
  • When the mixture becomes lukewarm, add washed and well drained green gram / cherupayar and stir well, sprinkle yeast; mix well and transfer to a sterilized bharani / bottle.
  • Tie the bottle with a clean cloth or close with lid little loose. 
  • Stir this mixture every day for 20 days.
  • After 20 days, strain the mixture through a cheese/ muslin cloth in to a clean dry bottle.
  • Keep this again for 7 days untouched. After 7 days strain the wine again, pour it in to clean dry bottles and use. 
Check out Tips for Making Homemade Kerala Wines

Read More » Print Friendly and PDF
Wednesday, 8 March 2017

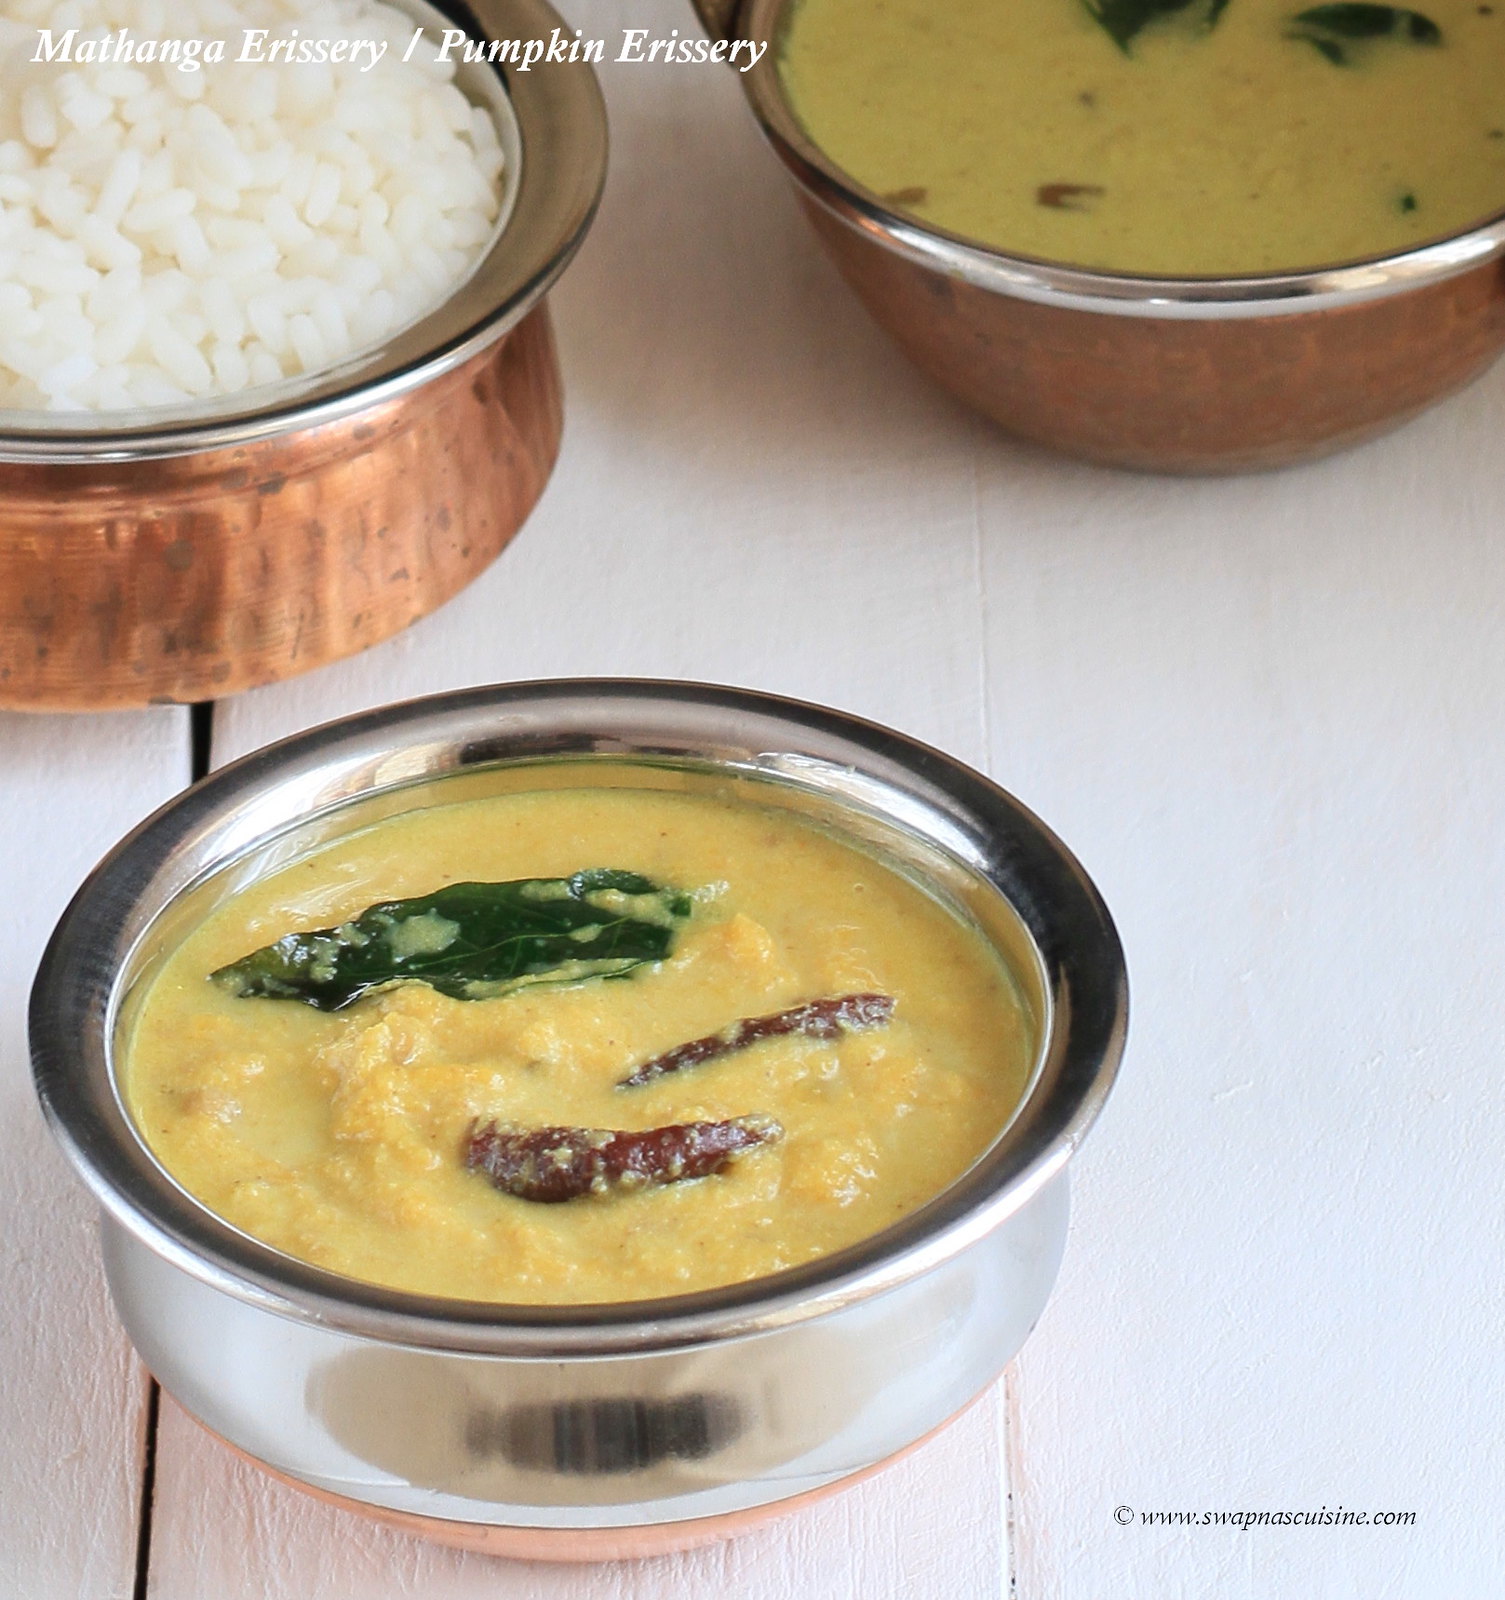
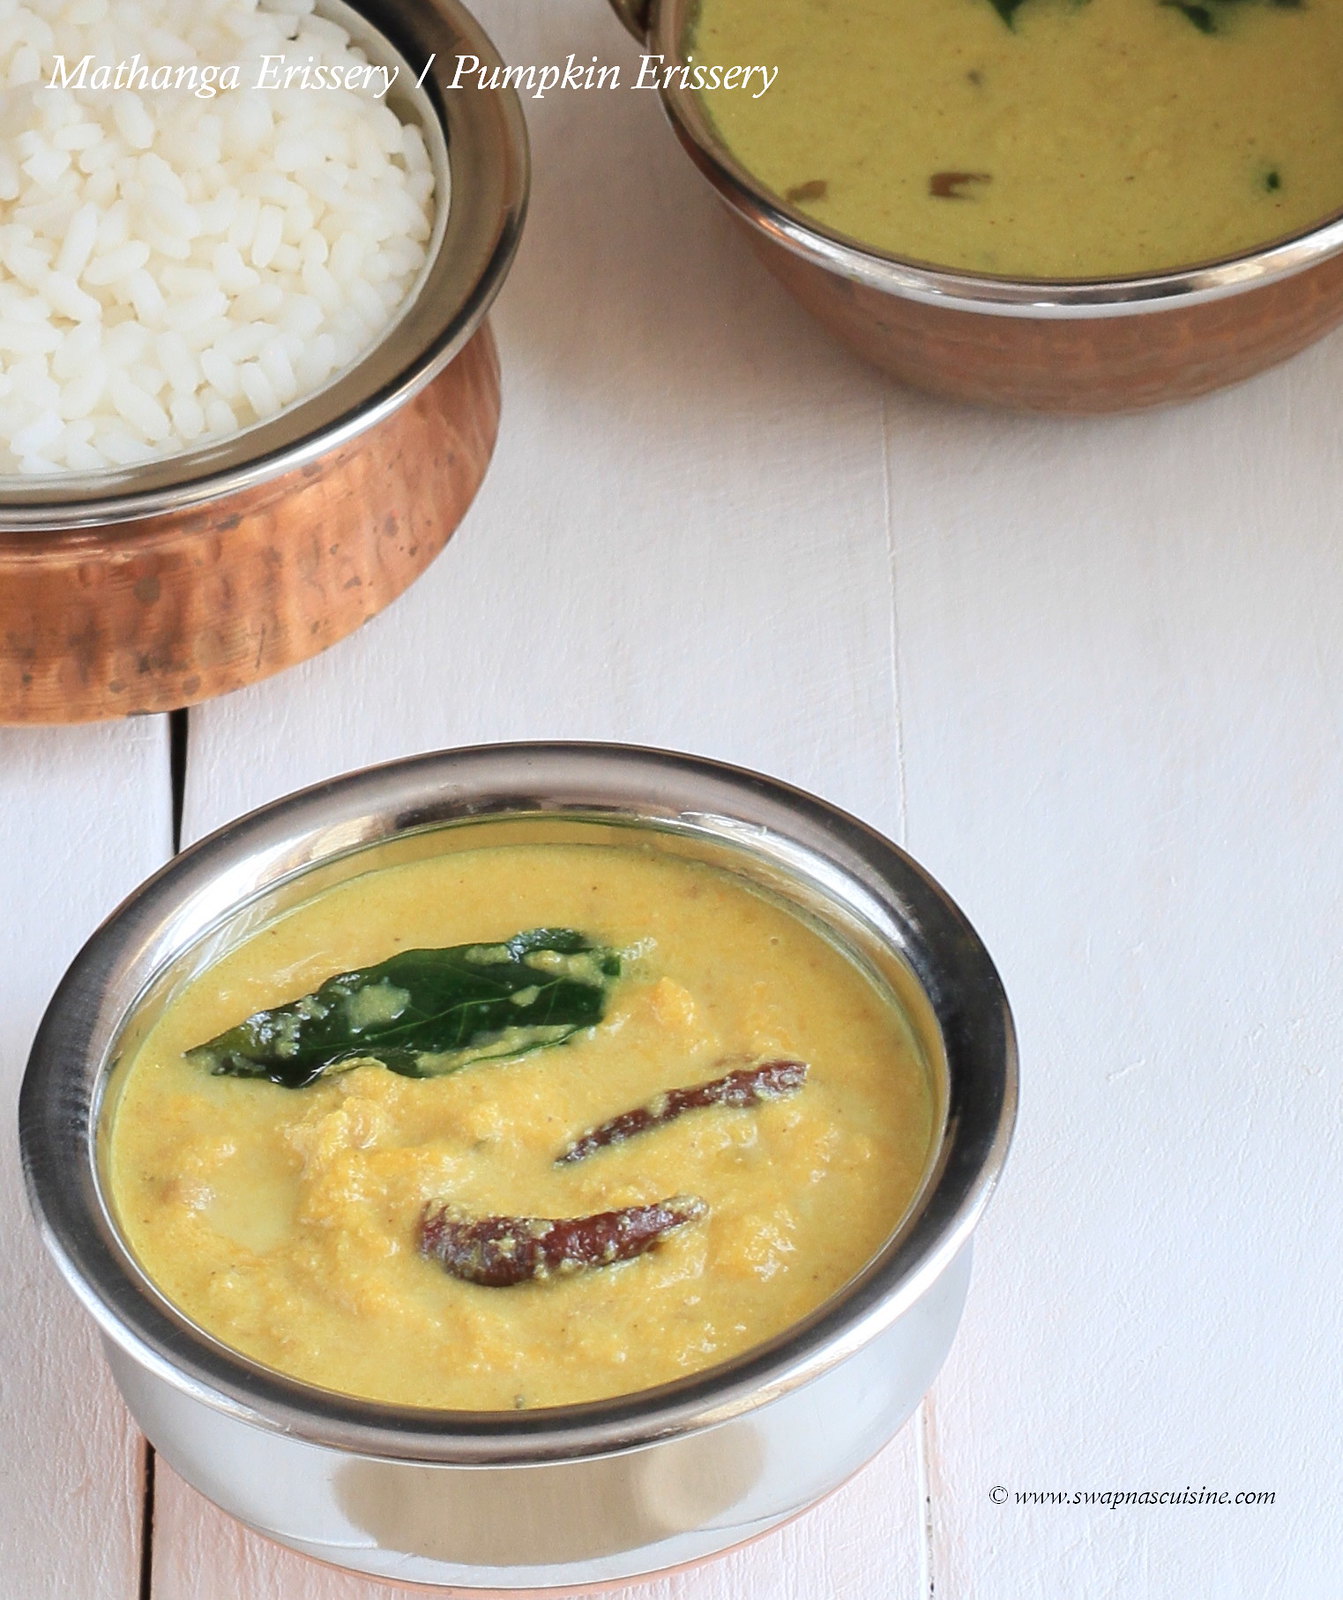
Mathanga Erissery / Pumpkin Erissery

Pumpkin Erissery

Erissery is an essential part of Kerala Sadya or Onam Sadya. Erissery can be cooked with different ingredients like mathanga, chena, Kaya or it can be cooked with a combination of vanpayar too. The cooking method will be the same in all. Here is how I make Mathanga Erissery....

How to make Pumpkin Erissery


Mathanga Erissery / Pumpkin Erissery
Ingredients:
Mathanga / Pumpkin - 2 cups, diced
Green chilly - 1, chopped
Salt to taste
Grind Together:
Grated coconut - ½ cup
Turmeric powder - ¼ tsp
Green chillies - 3
Cumin seeds - ½ tsp
Garlic - 1 clove
For Tempering:
Coconut Oil - 1 ½ tbsp
Mustard seeds - ½ tsp
Dried red chillies - 2, torn into 2 pieces 
Curry leaves - 2 strands
Small onion / Chumannulli - 3-4, sliced
Ginger - ½ tsp, chopped
Grated coconut - 1 tablespoon 

Method:
  • Cook mathanga / pumpkin with chopped green chilly, salt and enough water. Mash pumpkin well with the back of a spoon.
  • Grind coconut and all the other ingredients to a fine paste. Add ground paste to the cooked Pumpkin, Let it cook on low flame for 5-8 mins. Remove from heat.
  • Heat oil in another pan and splutter mustard seeds. Add small onion, red chillies, curry leaves, ginger and coconut and fry till brown. 
  • Pour this over the erissery, mix well and serve hot with rice. 
Read More » Print Friendly and PDF
Thursday, 2 February 2017

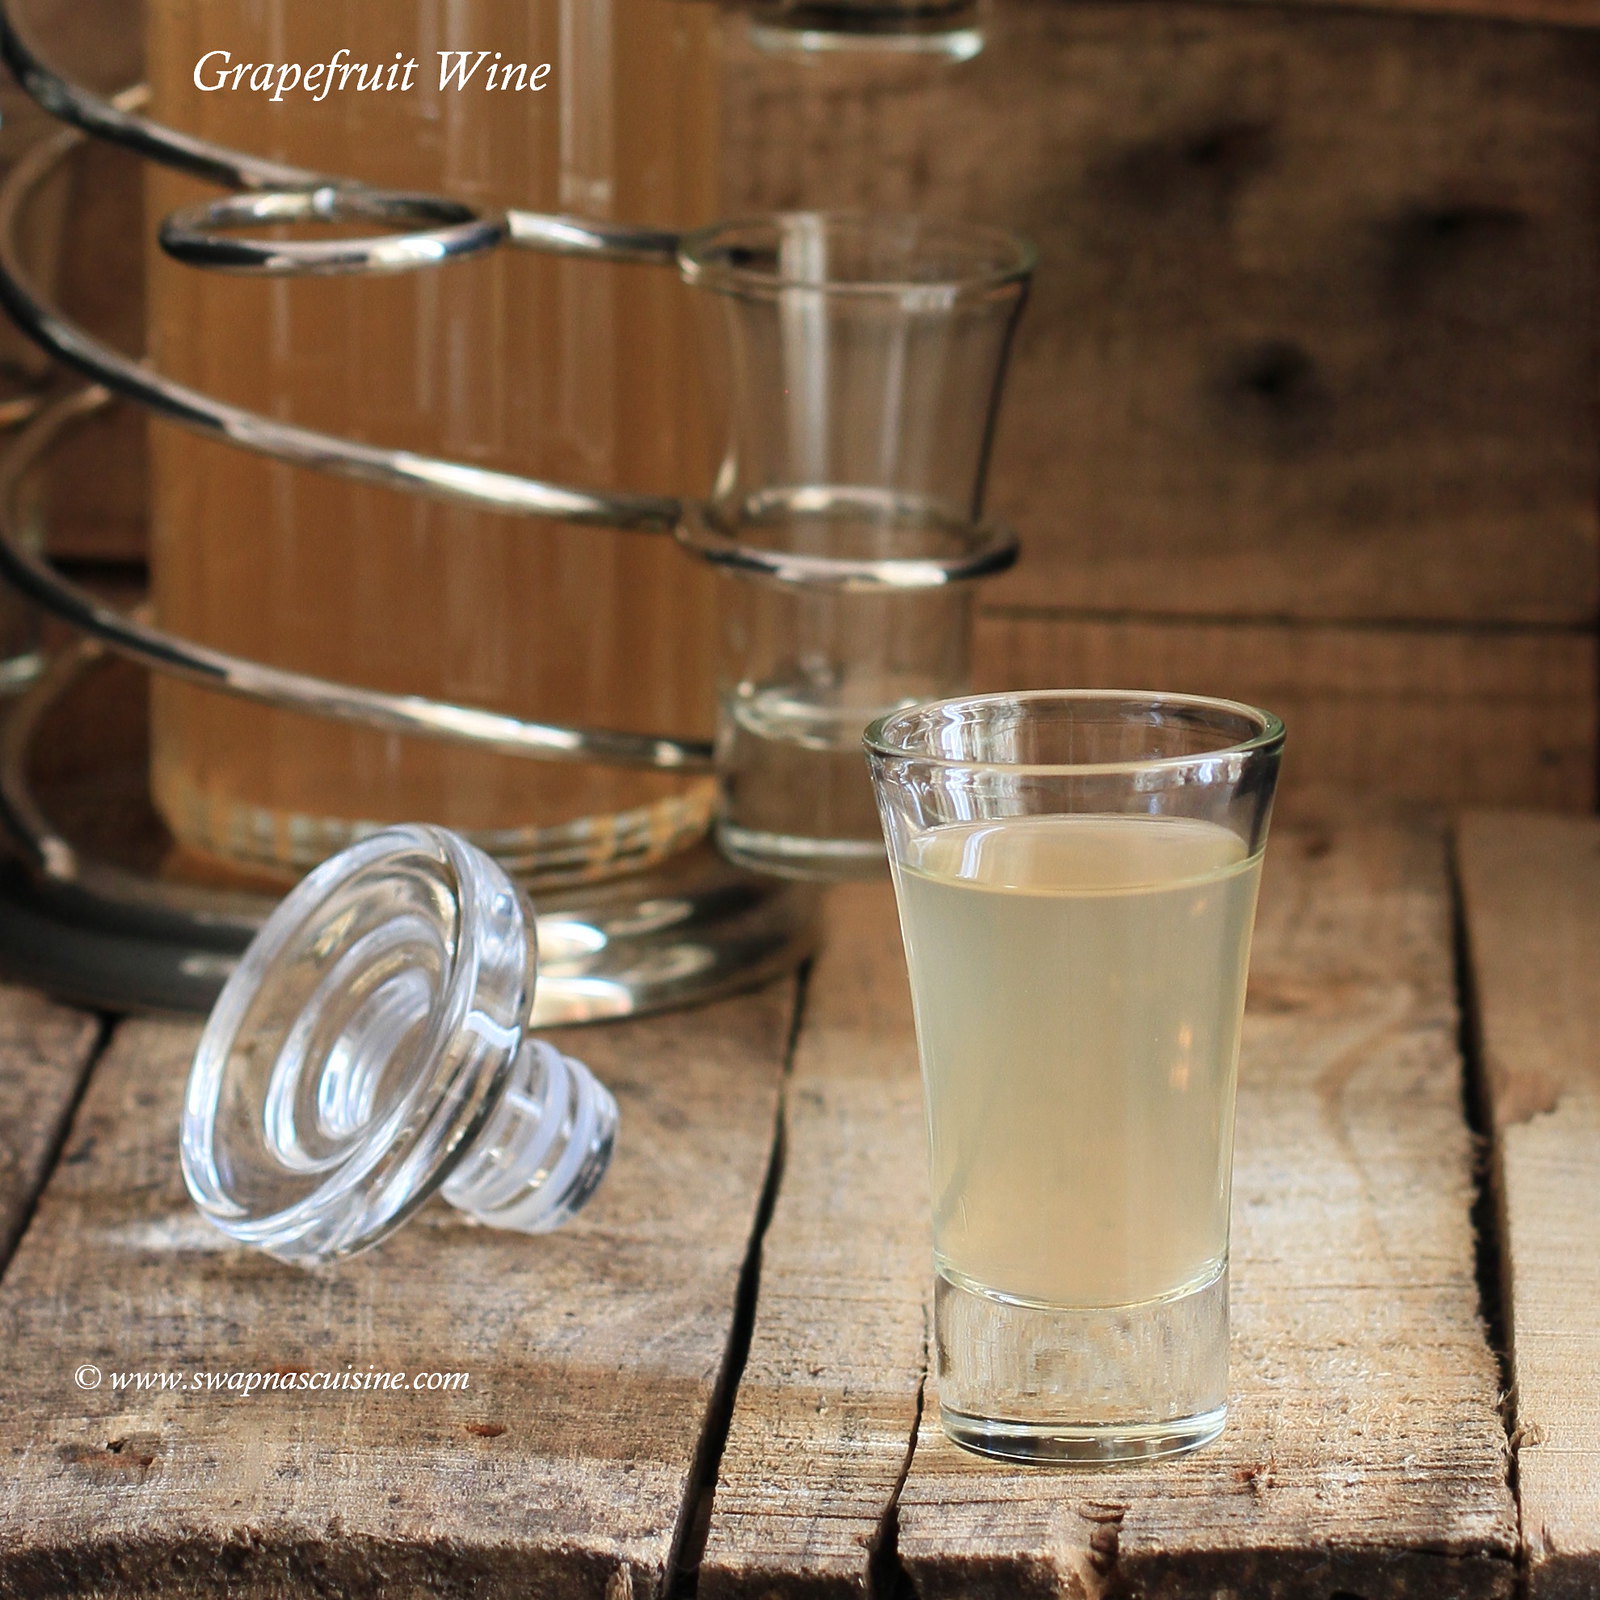
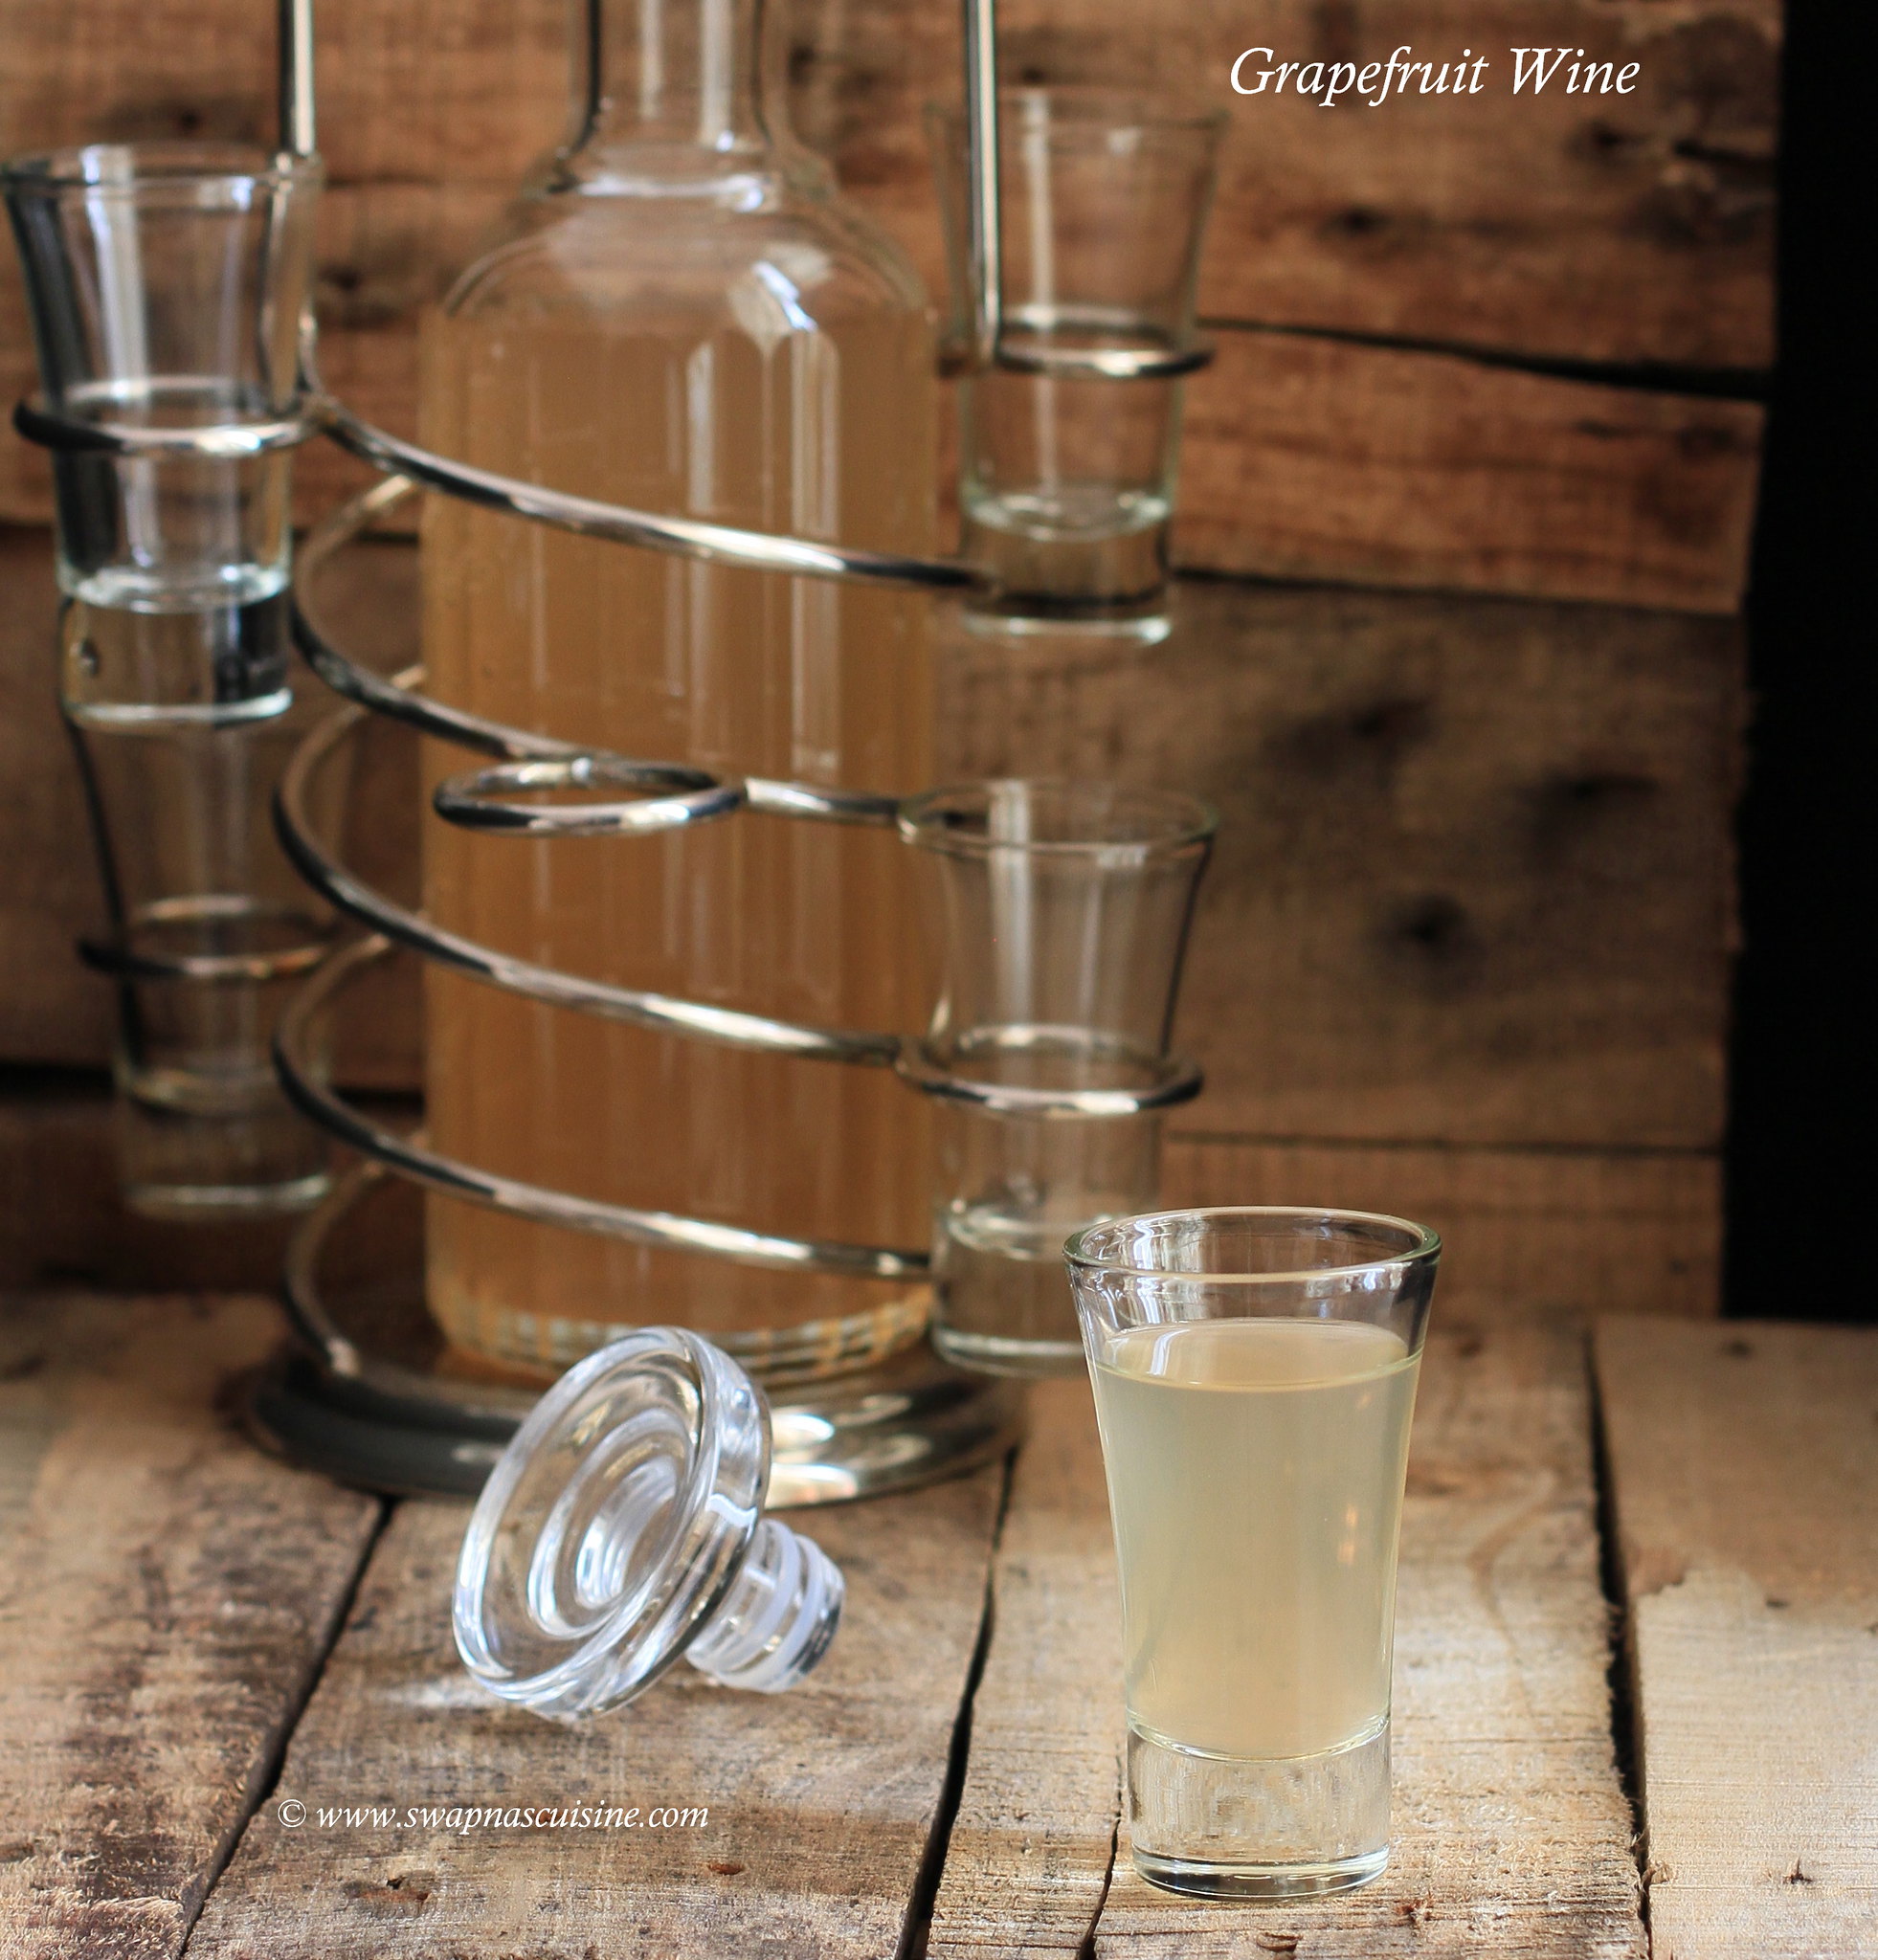
Grapefruit Wine Recipe

How to make Grapefruit Wine at home

As usual a short break from blogging become a little too long, as is the case every time. I thought therefore that the first post of the year should be a wine recipe to compensate for the long-time neglected blog :) :) ... Grapefruit is a popular citrus fruit that is a terrific source of vitamins, fibre and other nutrients. It has a tart and tangy taste with an underlying sweetness. Grapefruit makes a delightful wine with a sweet and tart taste. Even though the wine will be ready in 21 days, if you allow it to age longer, you will get a mellow wine!  

Kerala Grapefruit Wine Recipe


Grapefruit Wine
Ingredients:
Grapefruits - 6 nos
Sugar - 1 ½ kg
Water - 4 liters
Yeast - ½ tsp

Method:
  • Wash grapefruits and wipe it with a kitchen tissue or clean cloth.
  • With a citrus peeler or vegetable peeler thinly peel the grapefruit zest from 3 grapefruits without the white part. Extract the juice from the all grapefruits and keep aside.
  • Boil sugar, water and grapefruit zest in a big vessel.
  • When the mixture begins to boil, add grapefruit juice and bring it to a nice boil and turn off the flame.
  • When the mixture becomes lukewarm, add yeast and transfer the mixture to a sterilized glass bottle / bharani, cover it and leave for 14 days stirring daily.
  • After 14 days, strain the mixture through a cheese/muslin cloth in to a clean dry bottle.
  • Keep this again for 7 days untouched. After 7 days strain the wine again, pour it in to clean dry bottles and use. 


Read More » Print Friendly and PDF

Wednesday, 16 November 2016

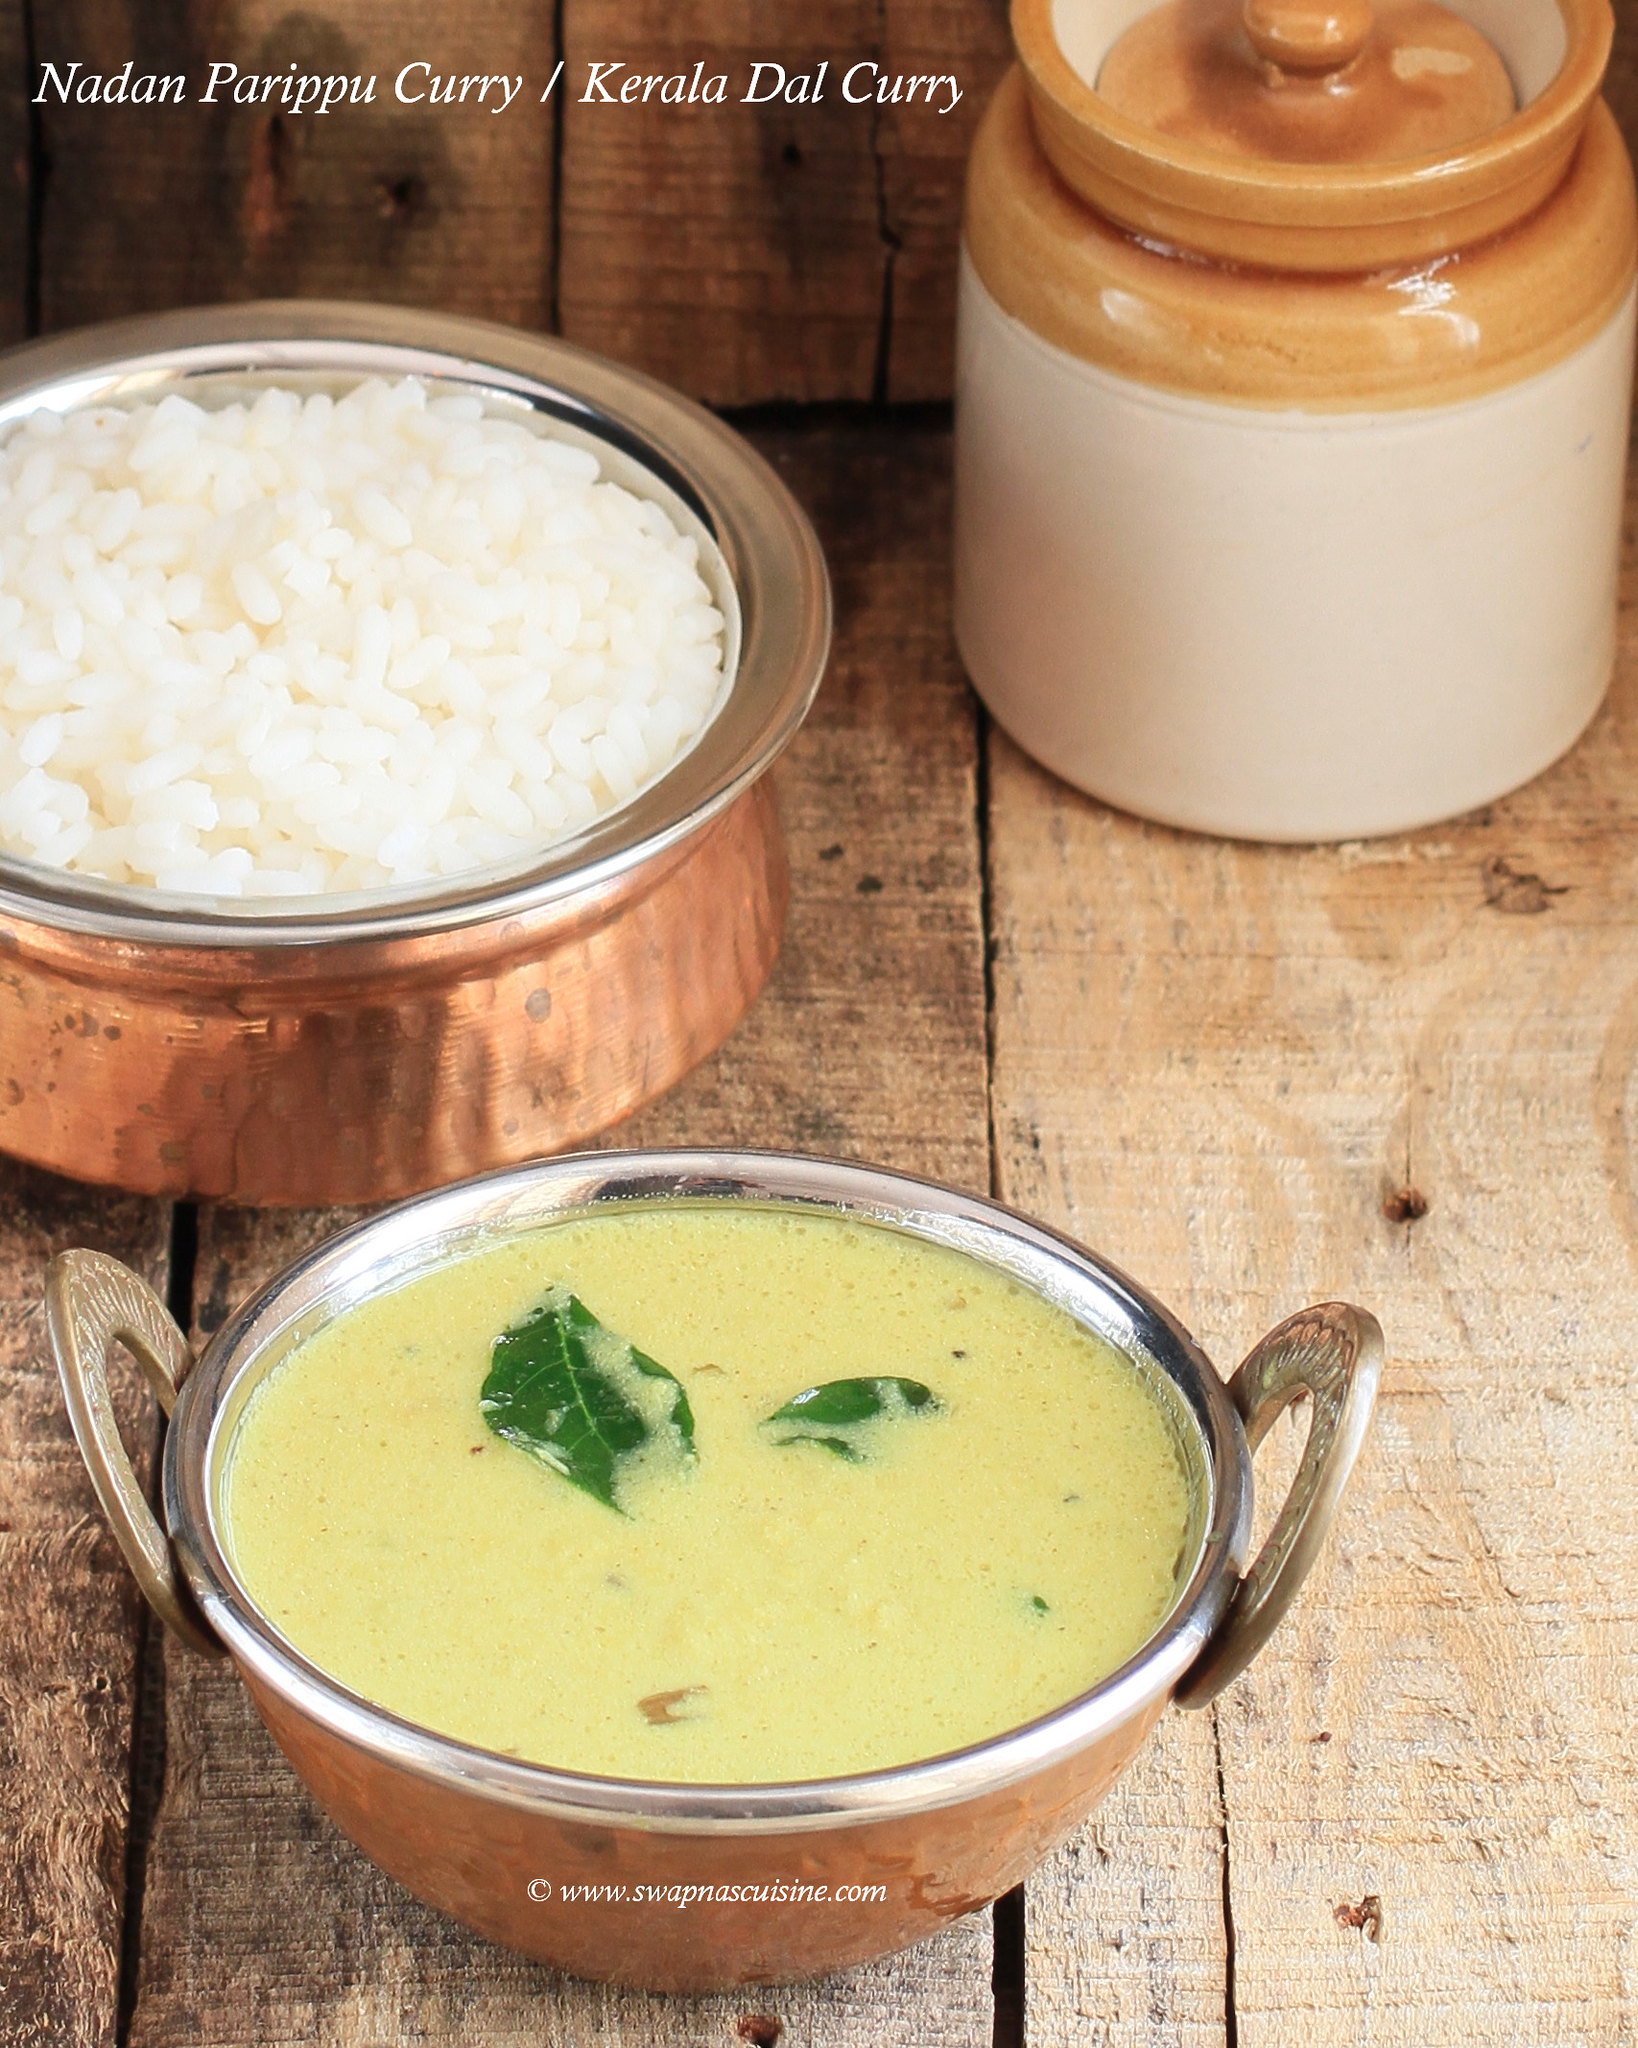
Nadan Parippu Curry / Kerala Dal Curry

Kerala Dal Curry

Parippu curry is a typical Kerala side dish for rice and also one of the main dish of Kerala Sadya or Onam Sadya. I usually make parippu curry with toor dal, but some people make it with Moong dal (cherupayar parippu / split yellow gram). If using moong dal, you have to dry roast it first to enhance the flavour and then cook in a pressure cooker.  If Parippu curry is served with hot rice, pappad and ghee you don’t need any other curry for rice.

Recipe for Kerala Parippu Curry


Nadan Parippu Curry / Kerala Dal Curry
Ingredients:
Toor Dal / Thuvara Parippu - 1 cup
A pinch of turmeric powder
Grind Together:
Grated Coconut - ½ cup
Cumin seeds / Jeerakom - ½ tsp
Shallots / Chumannulli - 2
Garlic – 1 clove
Green Chillies - 3-4
For Tempering:
Coconut Oil - 2 tsp
Ghee -2 tsp
Mustard Seeds / Kaduku - ½ tsp
Shallots / Chumannulli - 2, sliced
Curry Leaves - 2 strands
Red Chillies - 2, torn into 2 pieces
Method:
  • Grind coconut with the rest of the ingredients adding 3 to 4 table spoons water to a smooth paste and keep aside.
  • Pressure cook washed toor dal with 3 cups of water and a pinch of turmeric powder for 8 whistles on medium flame.  Once done, mash well to a smooth paste with the back of a spoon.
  • Add ground paste, salt and enough water to the mashed dal. Let it cook on low flame for 5-8 mins. Remove from heat.
  • Heat oil and ghee in another pan and splutter mustard seeds. Add small onion, curry leaves and red chillies. Fry till small onion becomes golden brown. Remove from fire and pour everything over cooked dal. Mix well.
  • Serve with rice and pappad and a drizzle of some ghee.
Read More » Print Friendly and PDF

Monday, 24 October 2016

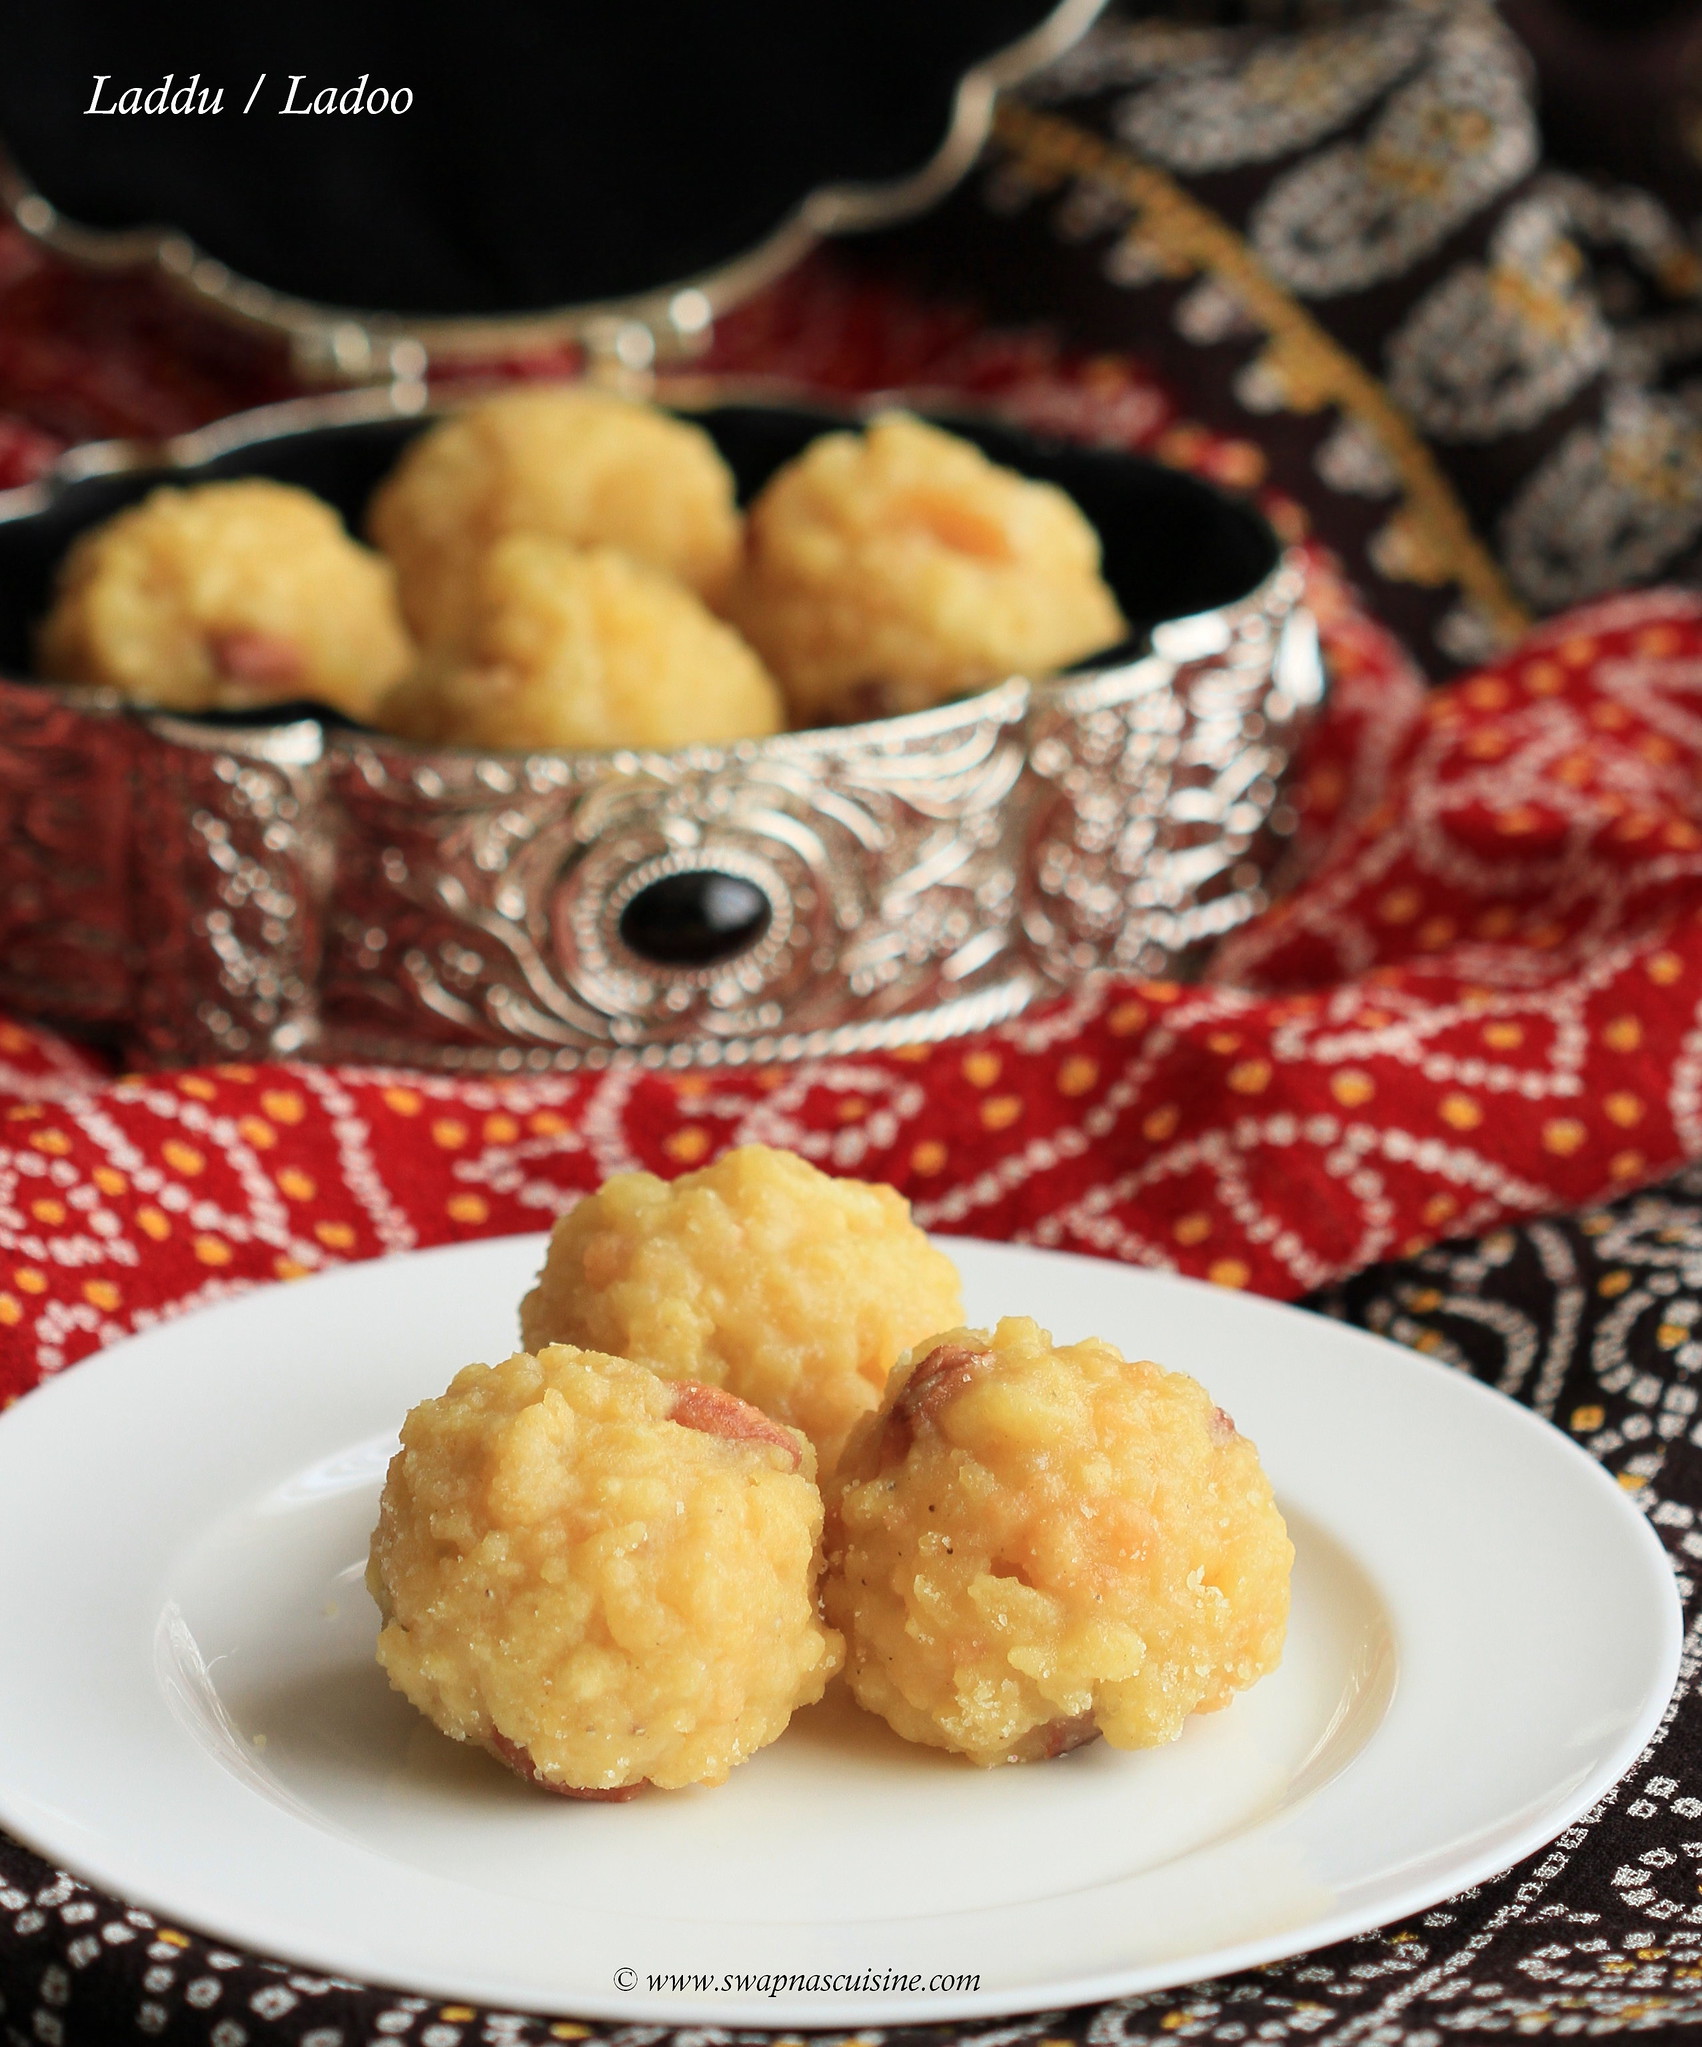
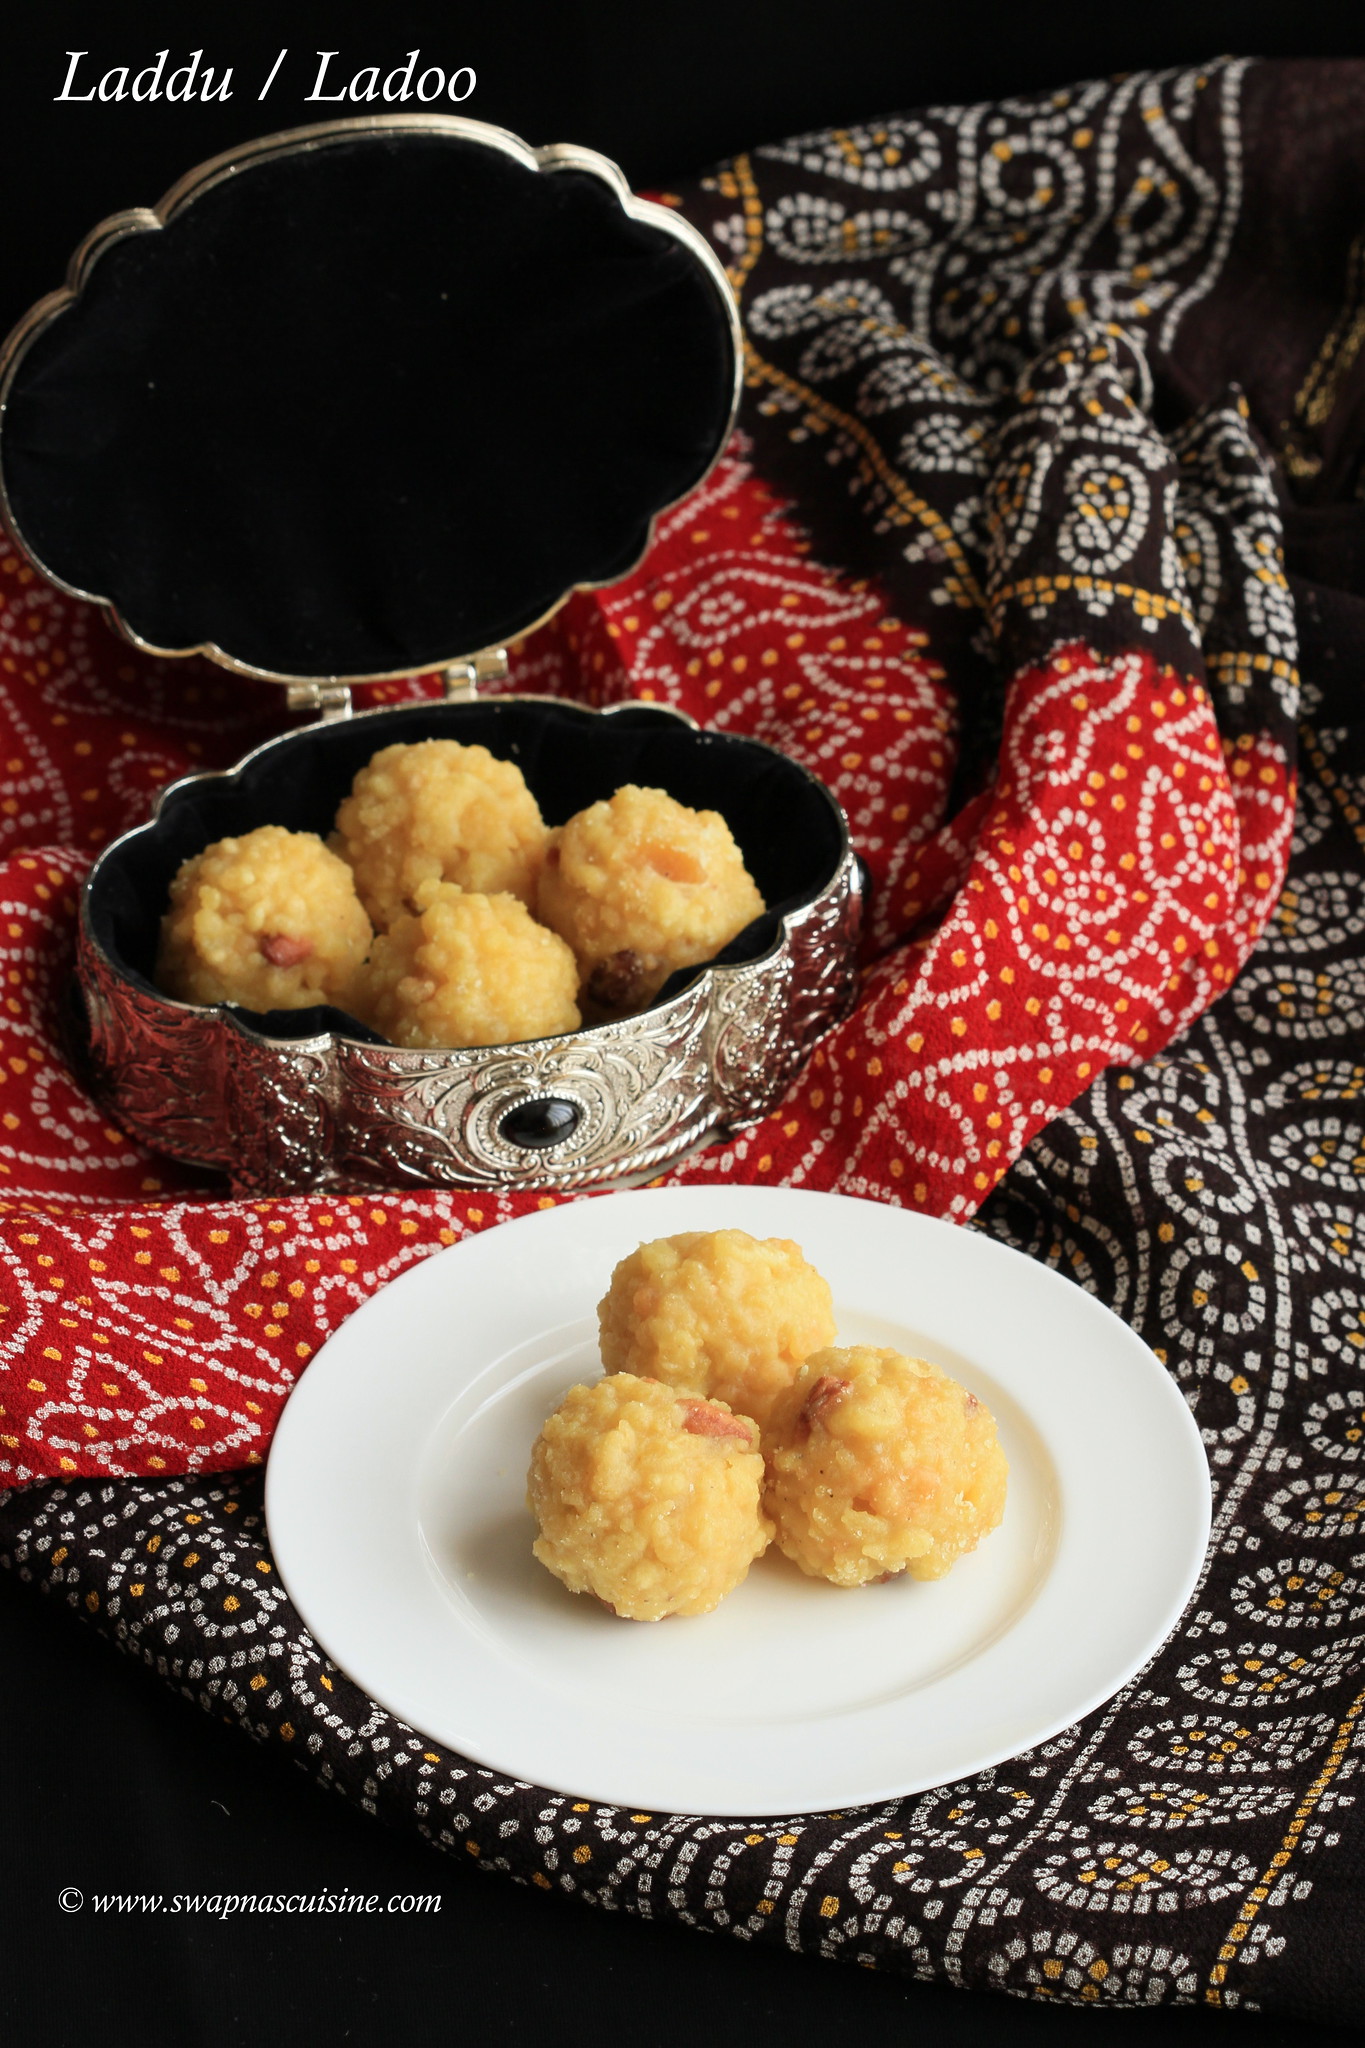
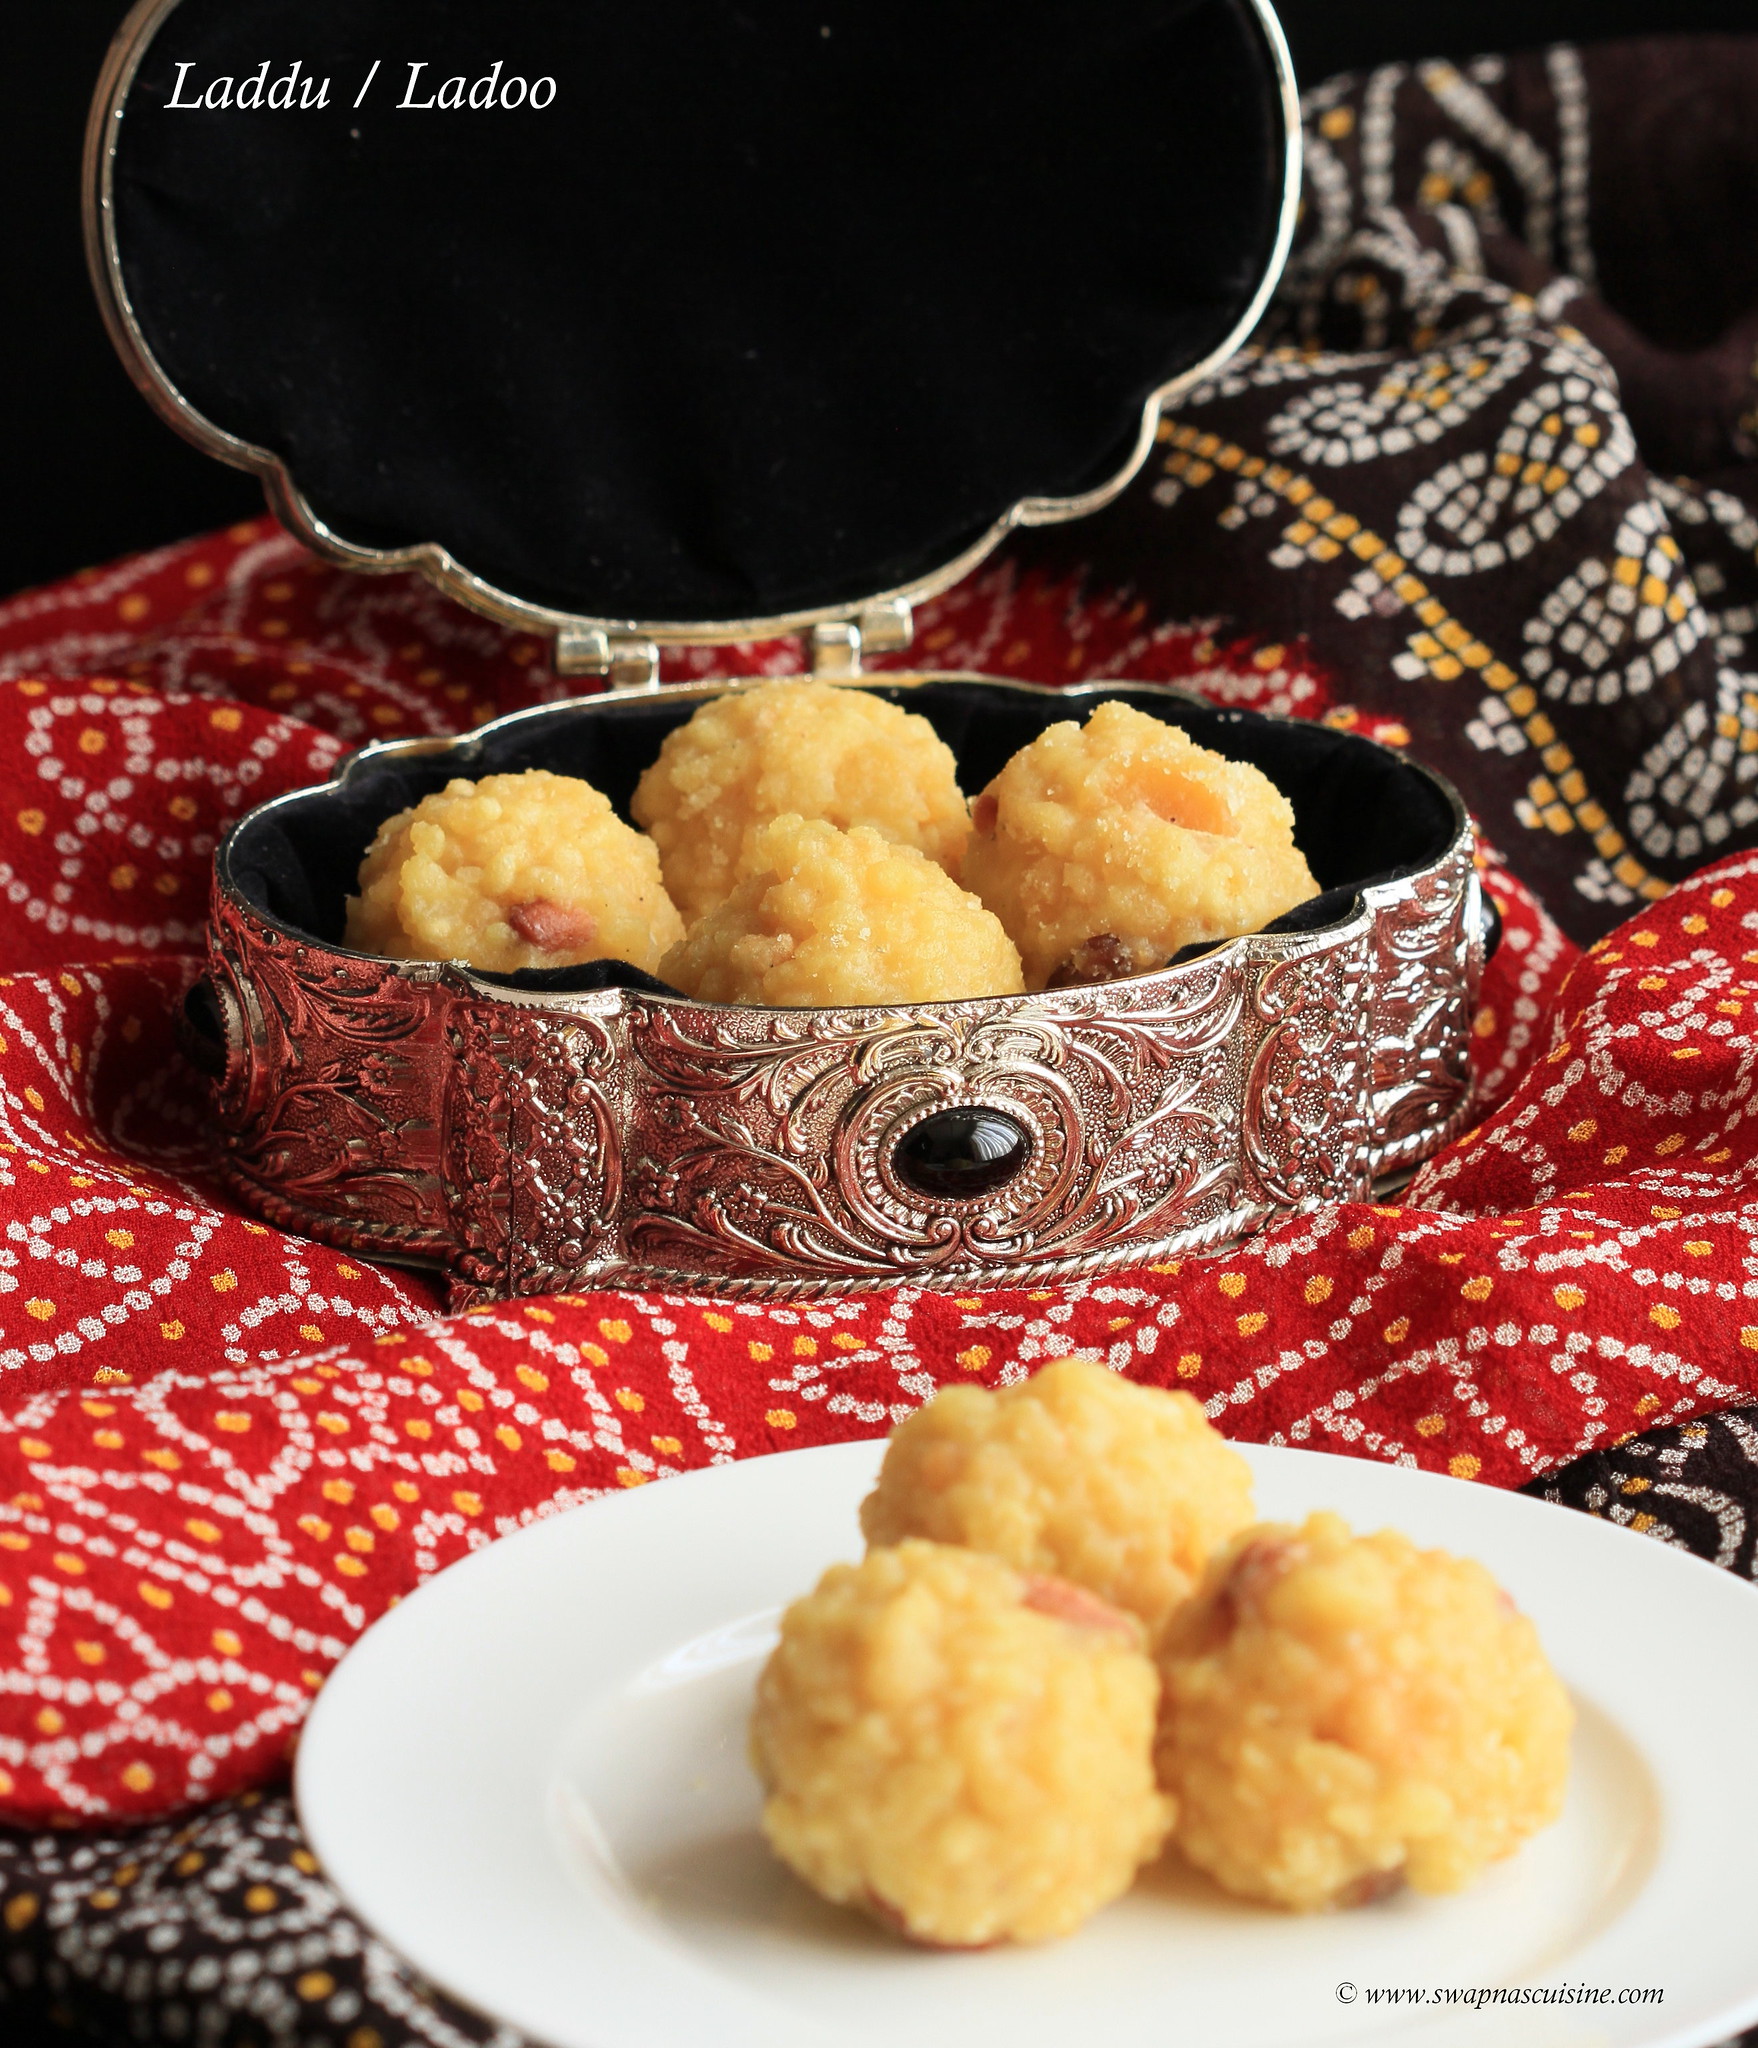
Kerala Style Ladoo / Laddu Recipe

How to make Kerala Lodoo recipe at home


Here at home all three of us love Ladoo. The only difference is my son and I love the soft and dry Kerala style ladoo and my hubby is a fan of the soft and soggy Motichoor ladoo from North India :) :).... Whenever we try store bought ladoos, we find something or the other that does not appeal to our taste buds. Finally I started making Ladoos at home and I find it far better than the colour loaded, oil tasting Ladoos that we get from the store. Now I have completely stopped buying Ladoos and have started making it at home whenever the craving starts. It’s simple, so do try theses Ladoos and share it with your friends and family this Diwali....

 Wishing You All A Very Happy, Prosperous and Safe Diwali!!!

Homemade Ladoo recipe

Kerala Style Ladoo / Laddu Recipe
(Around 35-40 small ladoos)
Ingredients:
For the boondi batter:
Bengal Gram flour/ Kadala Mavu / Besan - 2 cups
Water – around 1 ½ to 2 cups
For the sugar syrup:
Sugar - 2 ½ cups
Water - 1 ¼ cups
Cardamom powder – ½ tsp
Cloves -6 nos
Cashew nuts – 3 tbsp, chopped
Raisins – 2 tbsp
Ghee -2 tbsp
Kalkandom / Sugar Candy - 1 tbsp, broken into small pieces
Yellow food colour – as needed (optional)
Pacha karpooram / Edible Camphor – a small pinch (optional)
Oil for deep frying the boondis

Method:
  • For making Sugar Syrup: Melt sugar and water in a pan and keep stirring on medium fire till it reaches one thread consistency. Remove from fire and add cardamom powder, food colour and camphor mixed in a little water. Keep the syrup warm.
  • For making the Boondis: Mix gram flour with enough water to make a smooth pancake like batter.
  • Heat oil in a frying pan on medium heat.
  • Pour the batter through a dry perforated ladle or boondi plate and let the boondi fall into the boiling oil by gently spreading the batter with a spoon.
  • Drain the boondis before it gets browned and drop into the warm sugar syrup. Repeat with the rest of the batter.
  • Fry the cashew nuts, raisins and cloves in ghee and spread these with the ghee over the boondi.
  • Mix all the ingredients together pressing the boondis with the back of a spoon to absorb all the sugar syrup.
  • Add Kalkandom/ sugar candy and mix well.
  • To make ladoos, gently squeeze some of the warm boondi mixture between both palms and shape into Ladoos.
  • Ladoo will become firm when it cools down to room temperature. 

Notes:
  • Sugar syrup should be one thread consistency.
  • Gram flour batter should neither too thick nor too thin.
  • Wash perforated ladle or boondi plate and wipe it clean and dry before pouring the next batch of batter.

Recipe for Ladu

Read More » Print Friendly and PDF
Monday, 27 June 2016

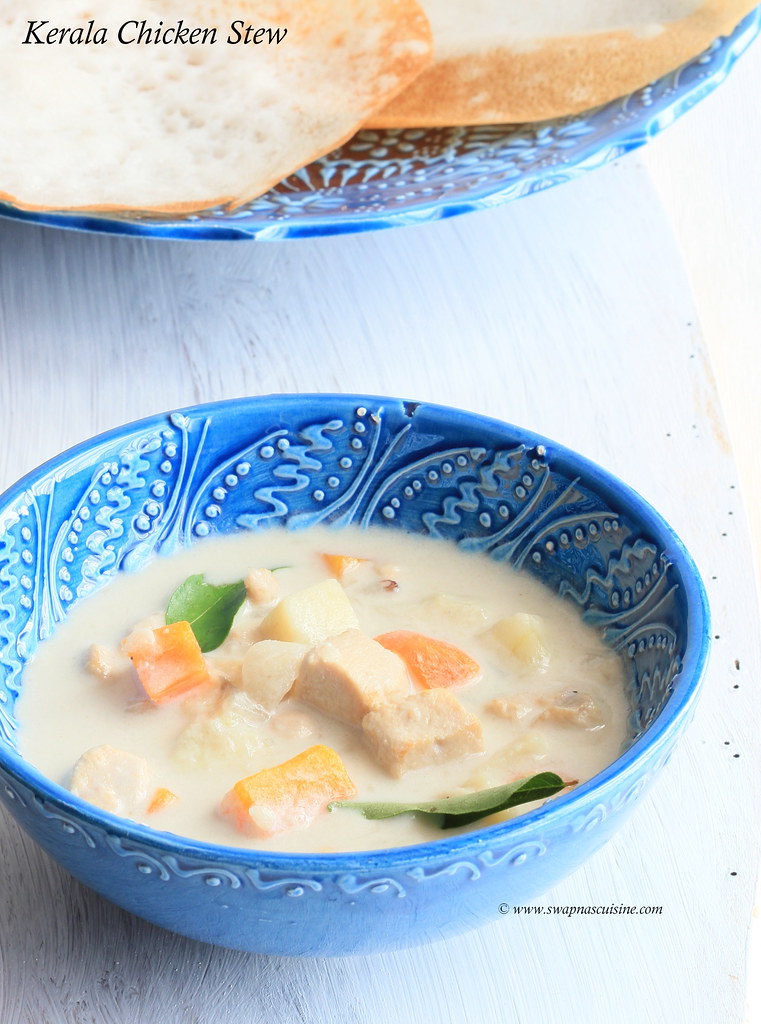
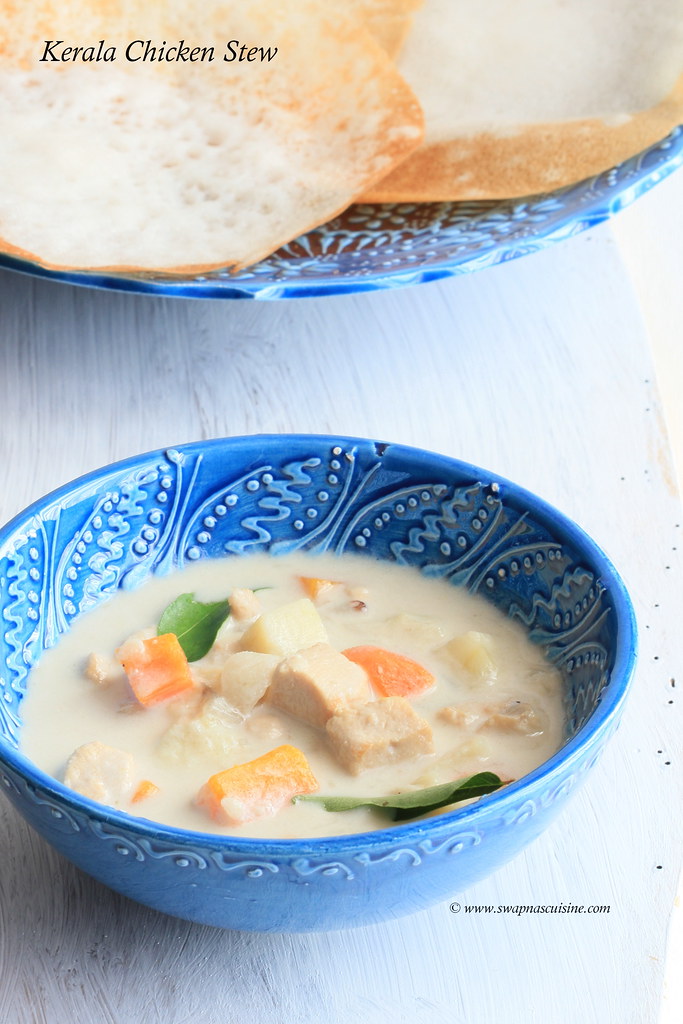
Kerala Chicken Stew Recipe / Kozhi Stew

How to make Kerala Chicken Ishtew

Stew or Ishtew is a mildly spicy and creamy Kerala special delicacy which goes very well with appam,bread, puttu, chapathi etc. In most Kerala Christian families, Christmas or Easter breakfast is incomplete without appam and chicken or mutton stew. Stew has to be white in colour and you have to make sure not to brown the onion while sautéing. Cashew nut paste will enhance the flavor and make the gravy thick and creamy.

Kerala Chicken Stew Recipe / Kozhi Stew
Ingredients: 
Chicken - ½ kg (cut in to medium pieces, I used boneless chicken)
Potato - 1 small, cubed
Carrot - 1 small, cubed
Onion - 1, thinly sliced
Green chillies - 4, slit
Ginger - 1 tsp, finely chopped
Garlic - 1 tsp, finely chopped
Cinnamon sticks - 1 inch x2 pieces
Cardamom - 4
Cloves - 4
Black peppercorns - 1 tsp
Medium thick coconut milk - 3 cups
Thick coconut milk - 1 cup
Cashew nuts - 6 - 8 ground to a fine paste
Curry leaves - few
Salt - to taste
Coconut oil - 2 tbsp


Method:
  • Heat oil in a pan and add cinnamon sticks, cardamom, cloves, black peppercorns and sauté. Add onion, ginger, garlic and green chillies and curry leaves and stir fry until they becomes soft and translucent. (make sure not to brown the onion).
  • Add chicken pieces and stir fry for 2-3 minutes until the meat is lightly seared.
  • Add cubed potatoes and carrots, medium think coconut milk and salt, and cook for 15-20 minutes over medium heat until the chicken, carrot and potatoes are fully cooked.
  • Add cashew nut paste, thick coconut milk and vinegar, mix well and simmer for 2 minutes or until you get the required thickness.
  • Serve hot with palappam, vellayappam, Idiyappam, Puttu, Chapathi or bread.
How to make Kerala Chicken Stew

Read More » Print Friendly and PDF
Monday, 6 June 2016

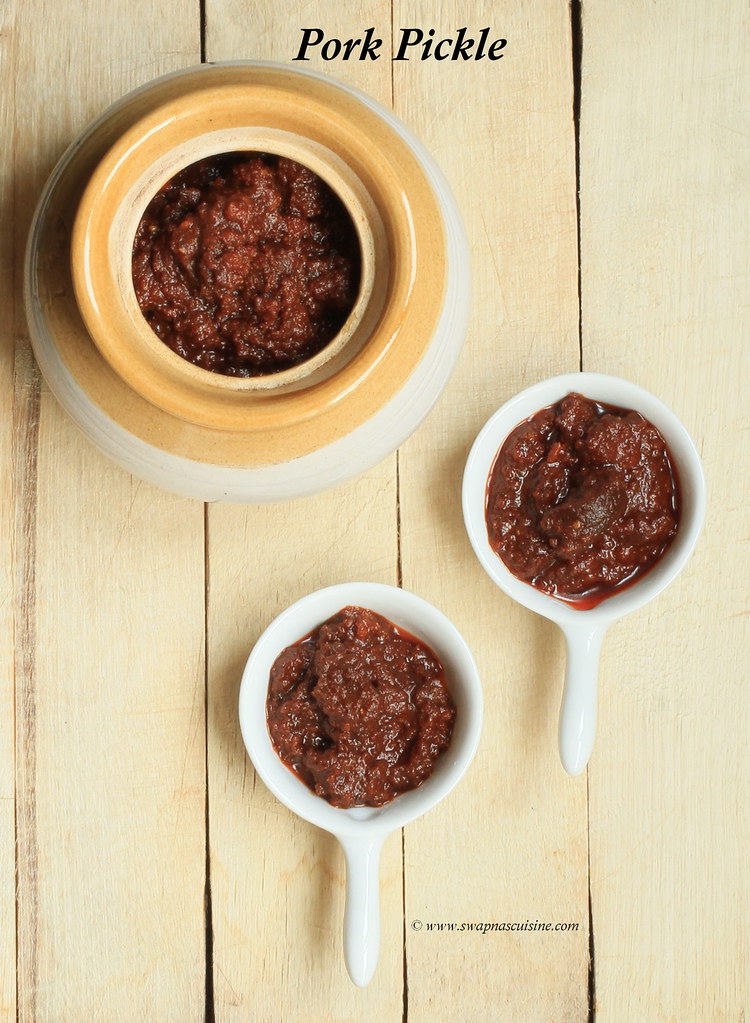
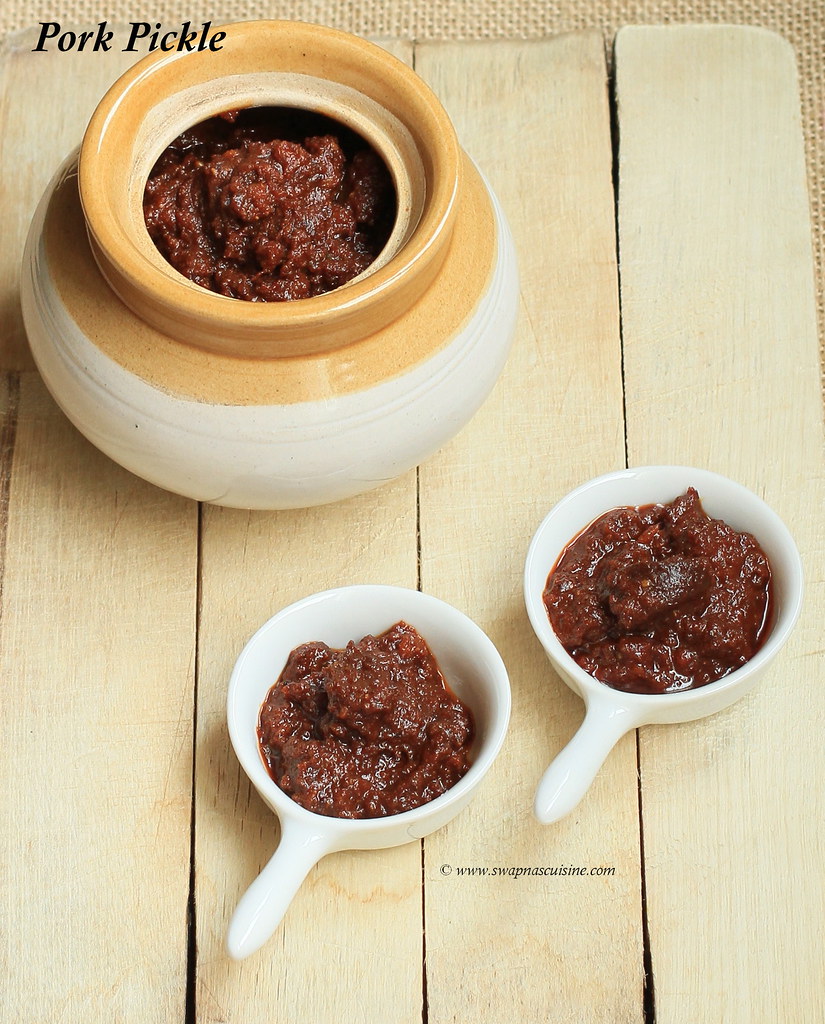
Pork Pickle Recipe / Panniyearchi Achar

, How to pickle pork

My Pickling bug continues and this time its Pork Pickle :) :)  Recently while emptying my freezer I found a packet of pork and thought of pickling it. I followed the chicken pickle recipe with slight changes. Worth the trial and we loved it. I highly recommend to use boneless pork pieces without the fat and increase or decrease the oil according to the pork pieces you use. Like I say in all my pickle recipe posts, you can keep pickle at room temperature, if you avoid adding water while preparing it. Always remember to use a clean sterilized dry bottle to store the pickle and always use a dry spoon to take the pickle.

Kerala Panniyearchi Achar Recipe

Pork Pickle Recipe / Panniyearchi Achar
Ingredients:
Boneless Pork without fat - 500 gms
Ginger - 2 tbsp, chopped
Garlic - 2 tbsp, chopped
Curry Leaves – 2 sprigs
Salt to taste
Kashmiri Red chilly powder – 3 tbsp
Turmeric powder – 1 tsp
Asafoetida powder / Kaayam – 1 tsp
Fenugreek powder / Uluva podi - 1 tsp
Garam masala – 1 ½ tsp
Sugar – 1 tsp
Vinegar - ½ to 1 cup
Gingelly oil / Sesame Oil / Nallenna – ¾ cup

Method:
  • Wash, clean and drain pork pieces. Add salt, turmeric powder and pepper powder and let marinate the pork for 1 hour.
  • Heat oil in a pan, splutter the mustard seeds. Then add ginger, garlic and curry leaves and sauté well until golden brown.
  • Add the marinated pork and fry till the pork pieces are light brown in colour.
  • Lower the flame and add the powders and mix well till the raw smell goes.
  • Add vinegar to taste and cook on low flame till the pork is cooked and the gravy is thick.
  • Sprinkle sugar and check for salt and turn off the heat.
  • Once the pickle is cooled transfer it to a clean dry bottle and use. 
Read More » Print Friendly and PDF

Wednesday, 27 January 2016

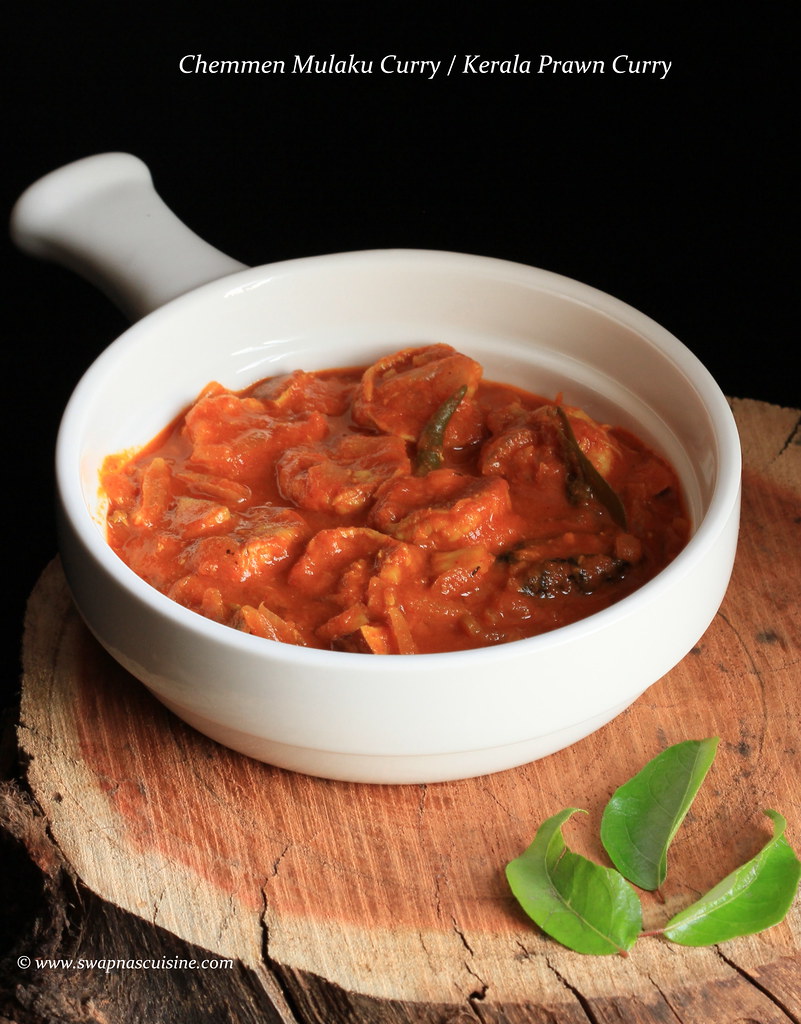
Chemmen Mulaku Curry with Thenga Kothu / Kerala Konju Curry / Kerala Style Prawn Curry with Coconut Pieces

Chemmen Mulaku curry is a very easy to make Kerala delicacy. Prawns are cooked along with coconut pieces, kudam puli and masala. Shallots, coconut pieces and Coconut oil are a must for making this curry to capture the authentic taste. Coconut oil (pacha velichenna) poured on top of the cooked curry enhances the taste. A true Keralite will indulge this spicy prawn curry with rice; it is also one of my favorite prawn dish.


Read More » Print Friendly and PDF

Friday, 18 December 2015

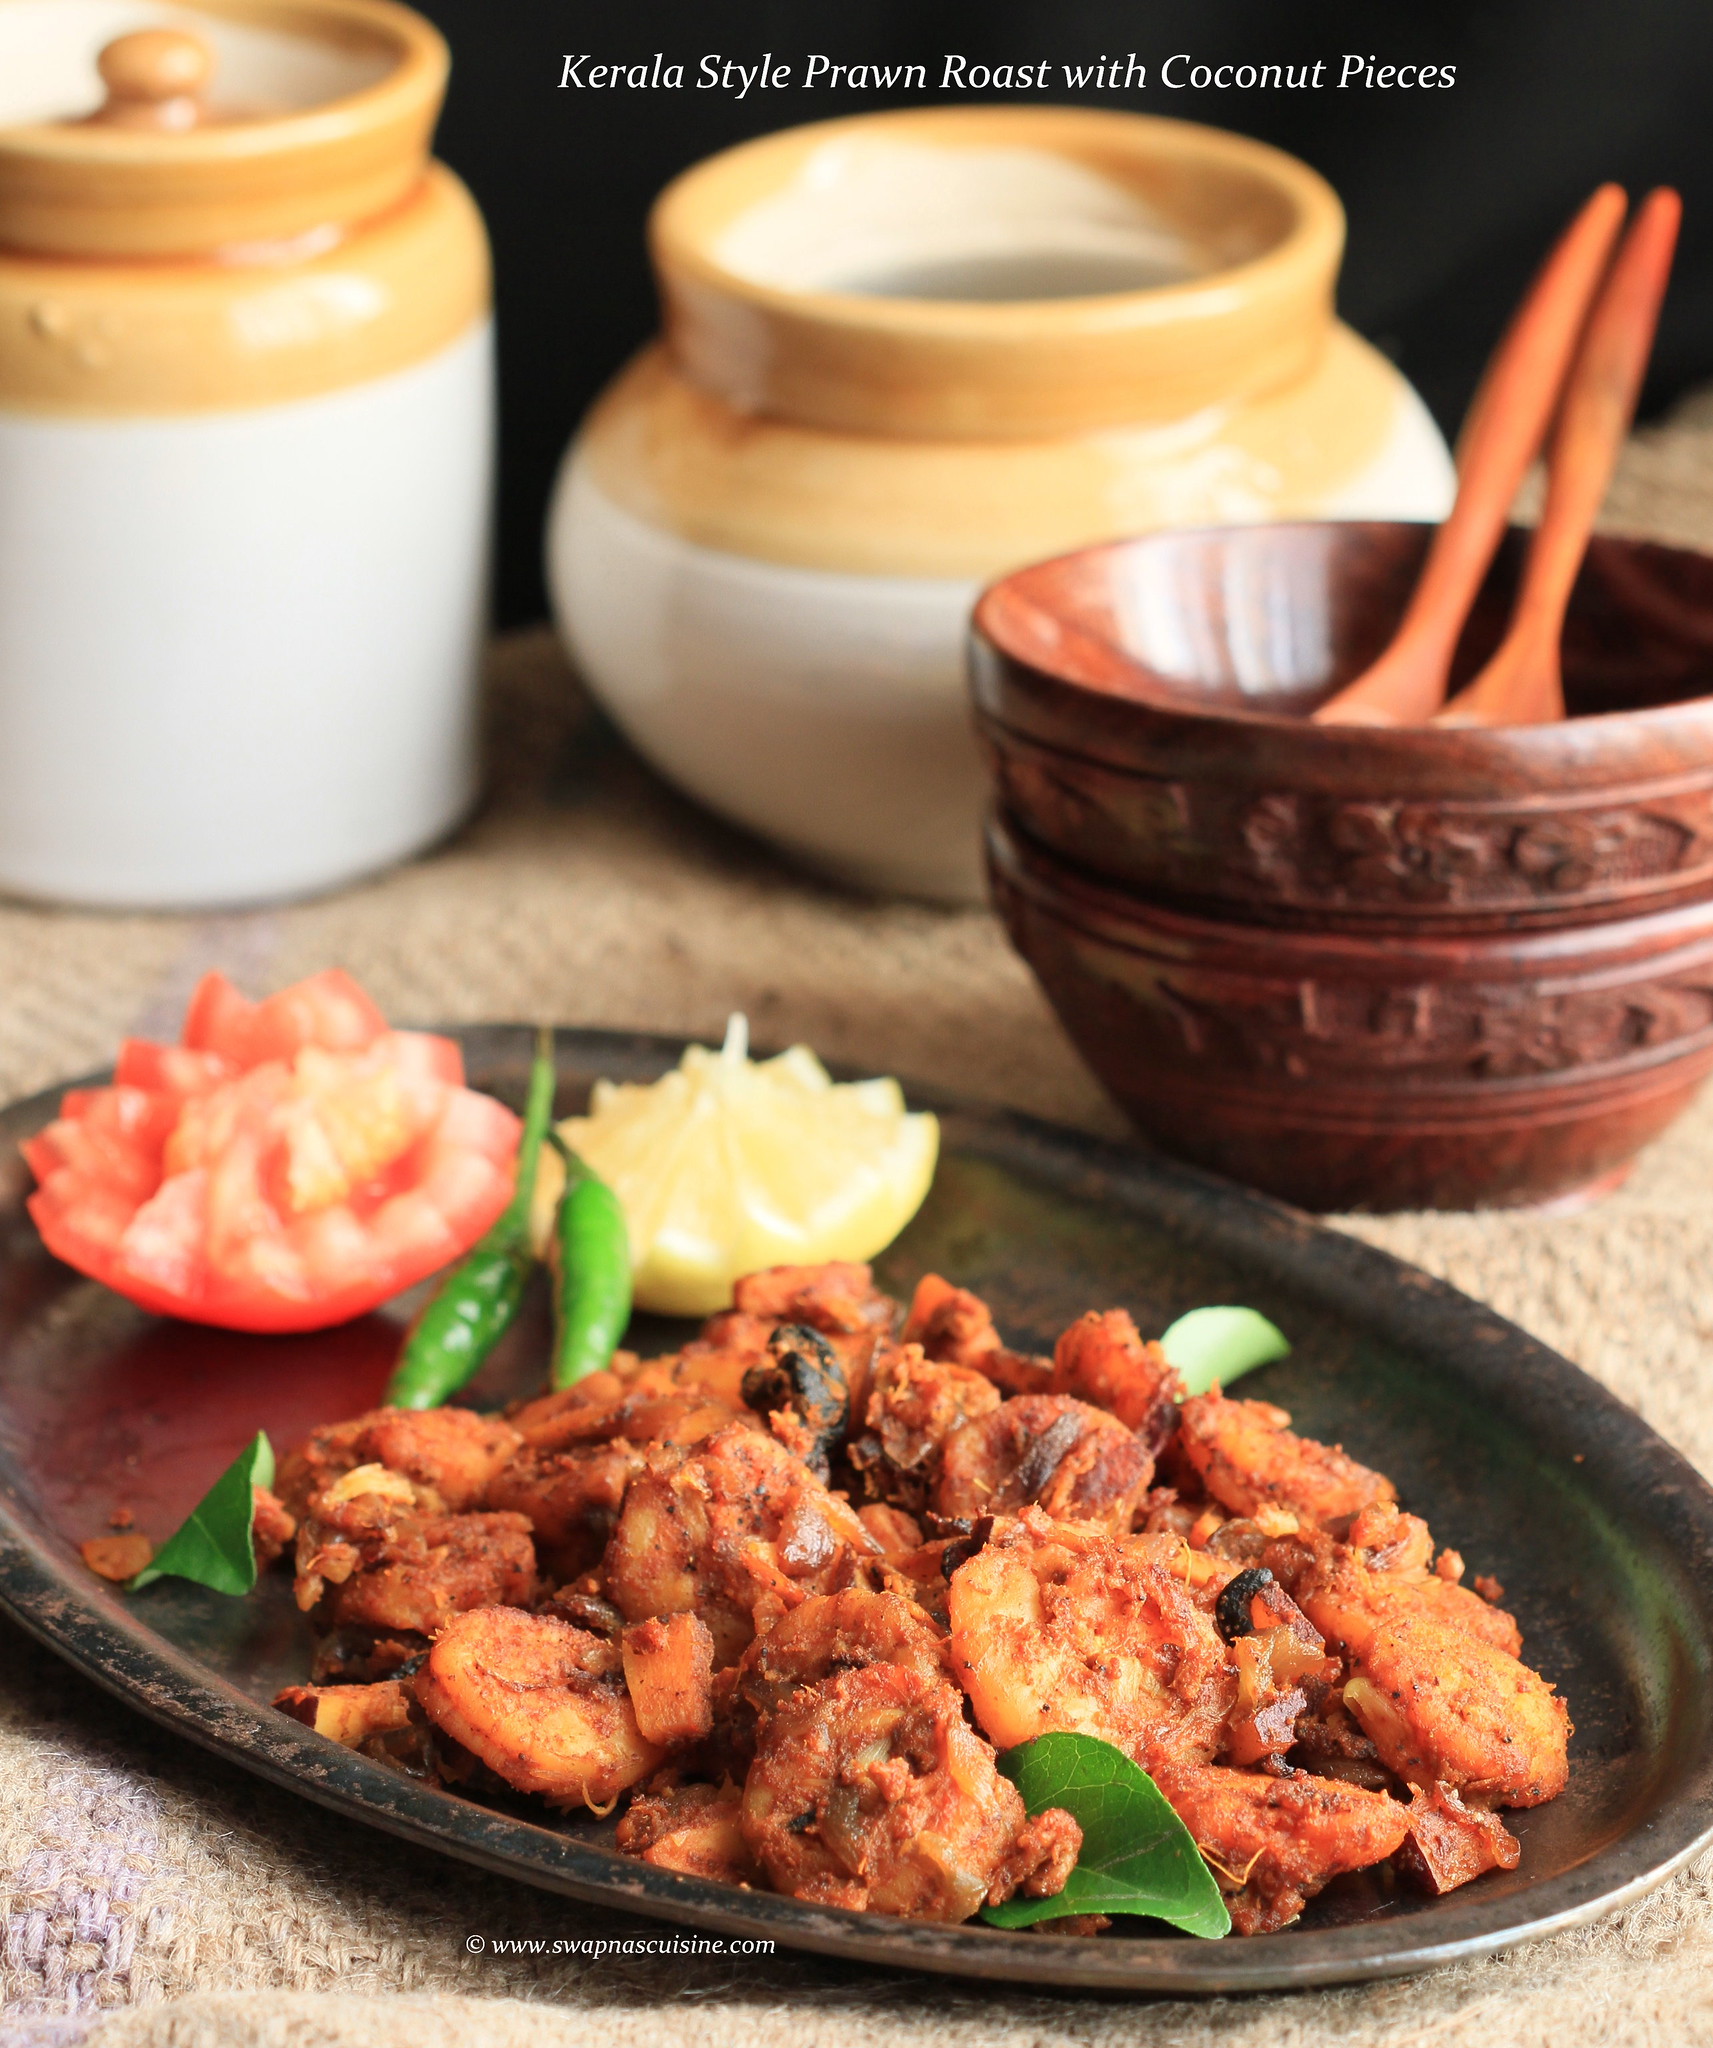
Chemmen Ularthiyathu with Thenga Kothu / Kerala Style Prawn Roast with Coconut Pieces


Kerala Style Prawn Roast

This is another version of the Prawn Roast I had posted earlier. Prawn is briefly cooked with coconut pieces and masalas and is then roasted in coconut oil. This is a famous dish of the "Shappu Kada" (Toddy shops) across Kerala. This dried and spicy prawn dish goes very well with rice and moru curry, as a side dish or as a wrap with chapathi and is also a great cocktail snack along with thengin kallu (coconut toddy), or with scotch or beer. Do try this for Christmas or New Year and let me know which way you liked it :) :)
Read More » Print Friendly and PDF

Tuesday, 8 December 2015

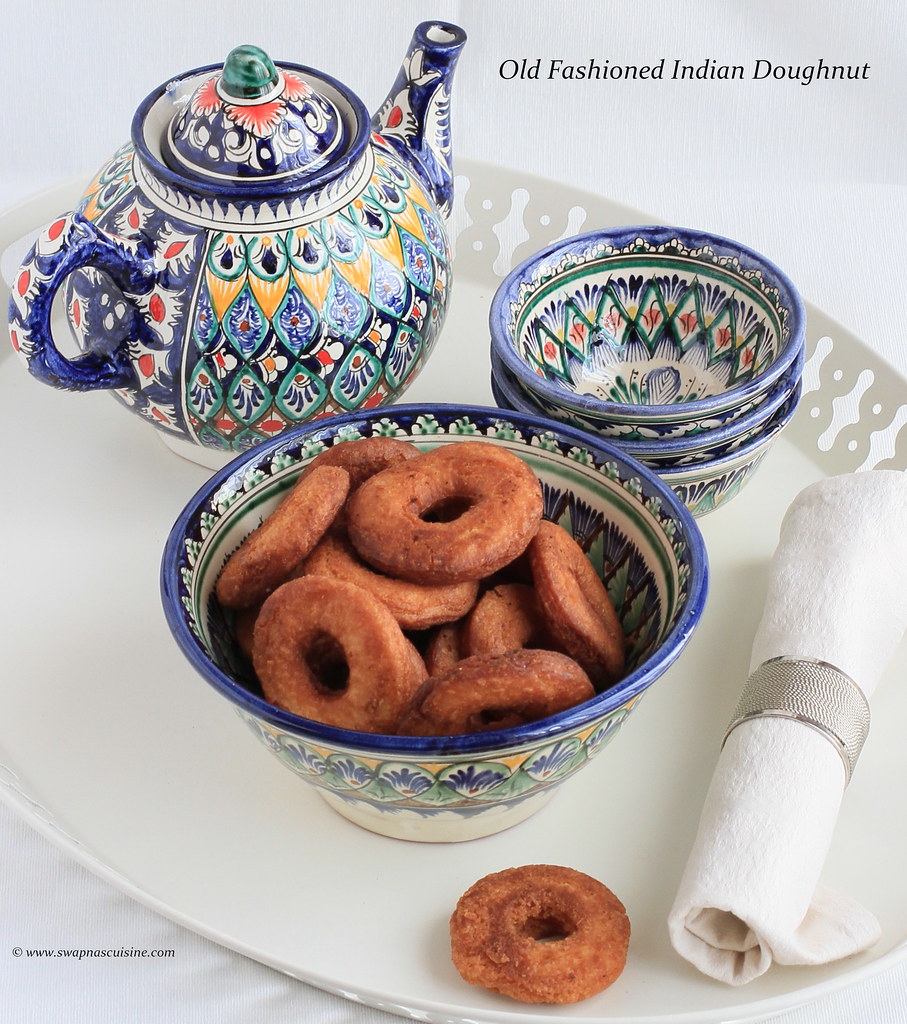
Old Fashioned Indian Doughnut Recipe

Kerala Christmas snacks

This is the first doughnut recipe I have tried in my life. Got this recipe from my mother in law. This was one of mummy’s signature snack recipes during my husband’s childhood days. Unlike the soft doughnuts we make these days, this one is hard in texture and can be stored for several days. I always felt these doughnuts are a "cousin" of VettuCake and Diamond Cuts we make back home in Kerala. Kids will love this snack and you can also pack it for those staying in hostels. It's also a great snack to give away during Christmas time!
Read More » Print Friendly and PDF

Wednesday, 2 December 2015

Chicken Pickle / Kozhi Achar

Kerala Chicken Pickle
Read More » Print Friendly and PDF

Wednesday, 25 November 2015

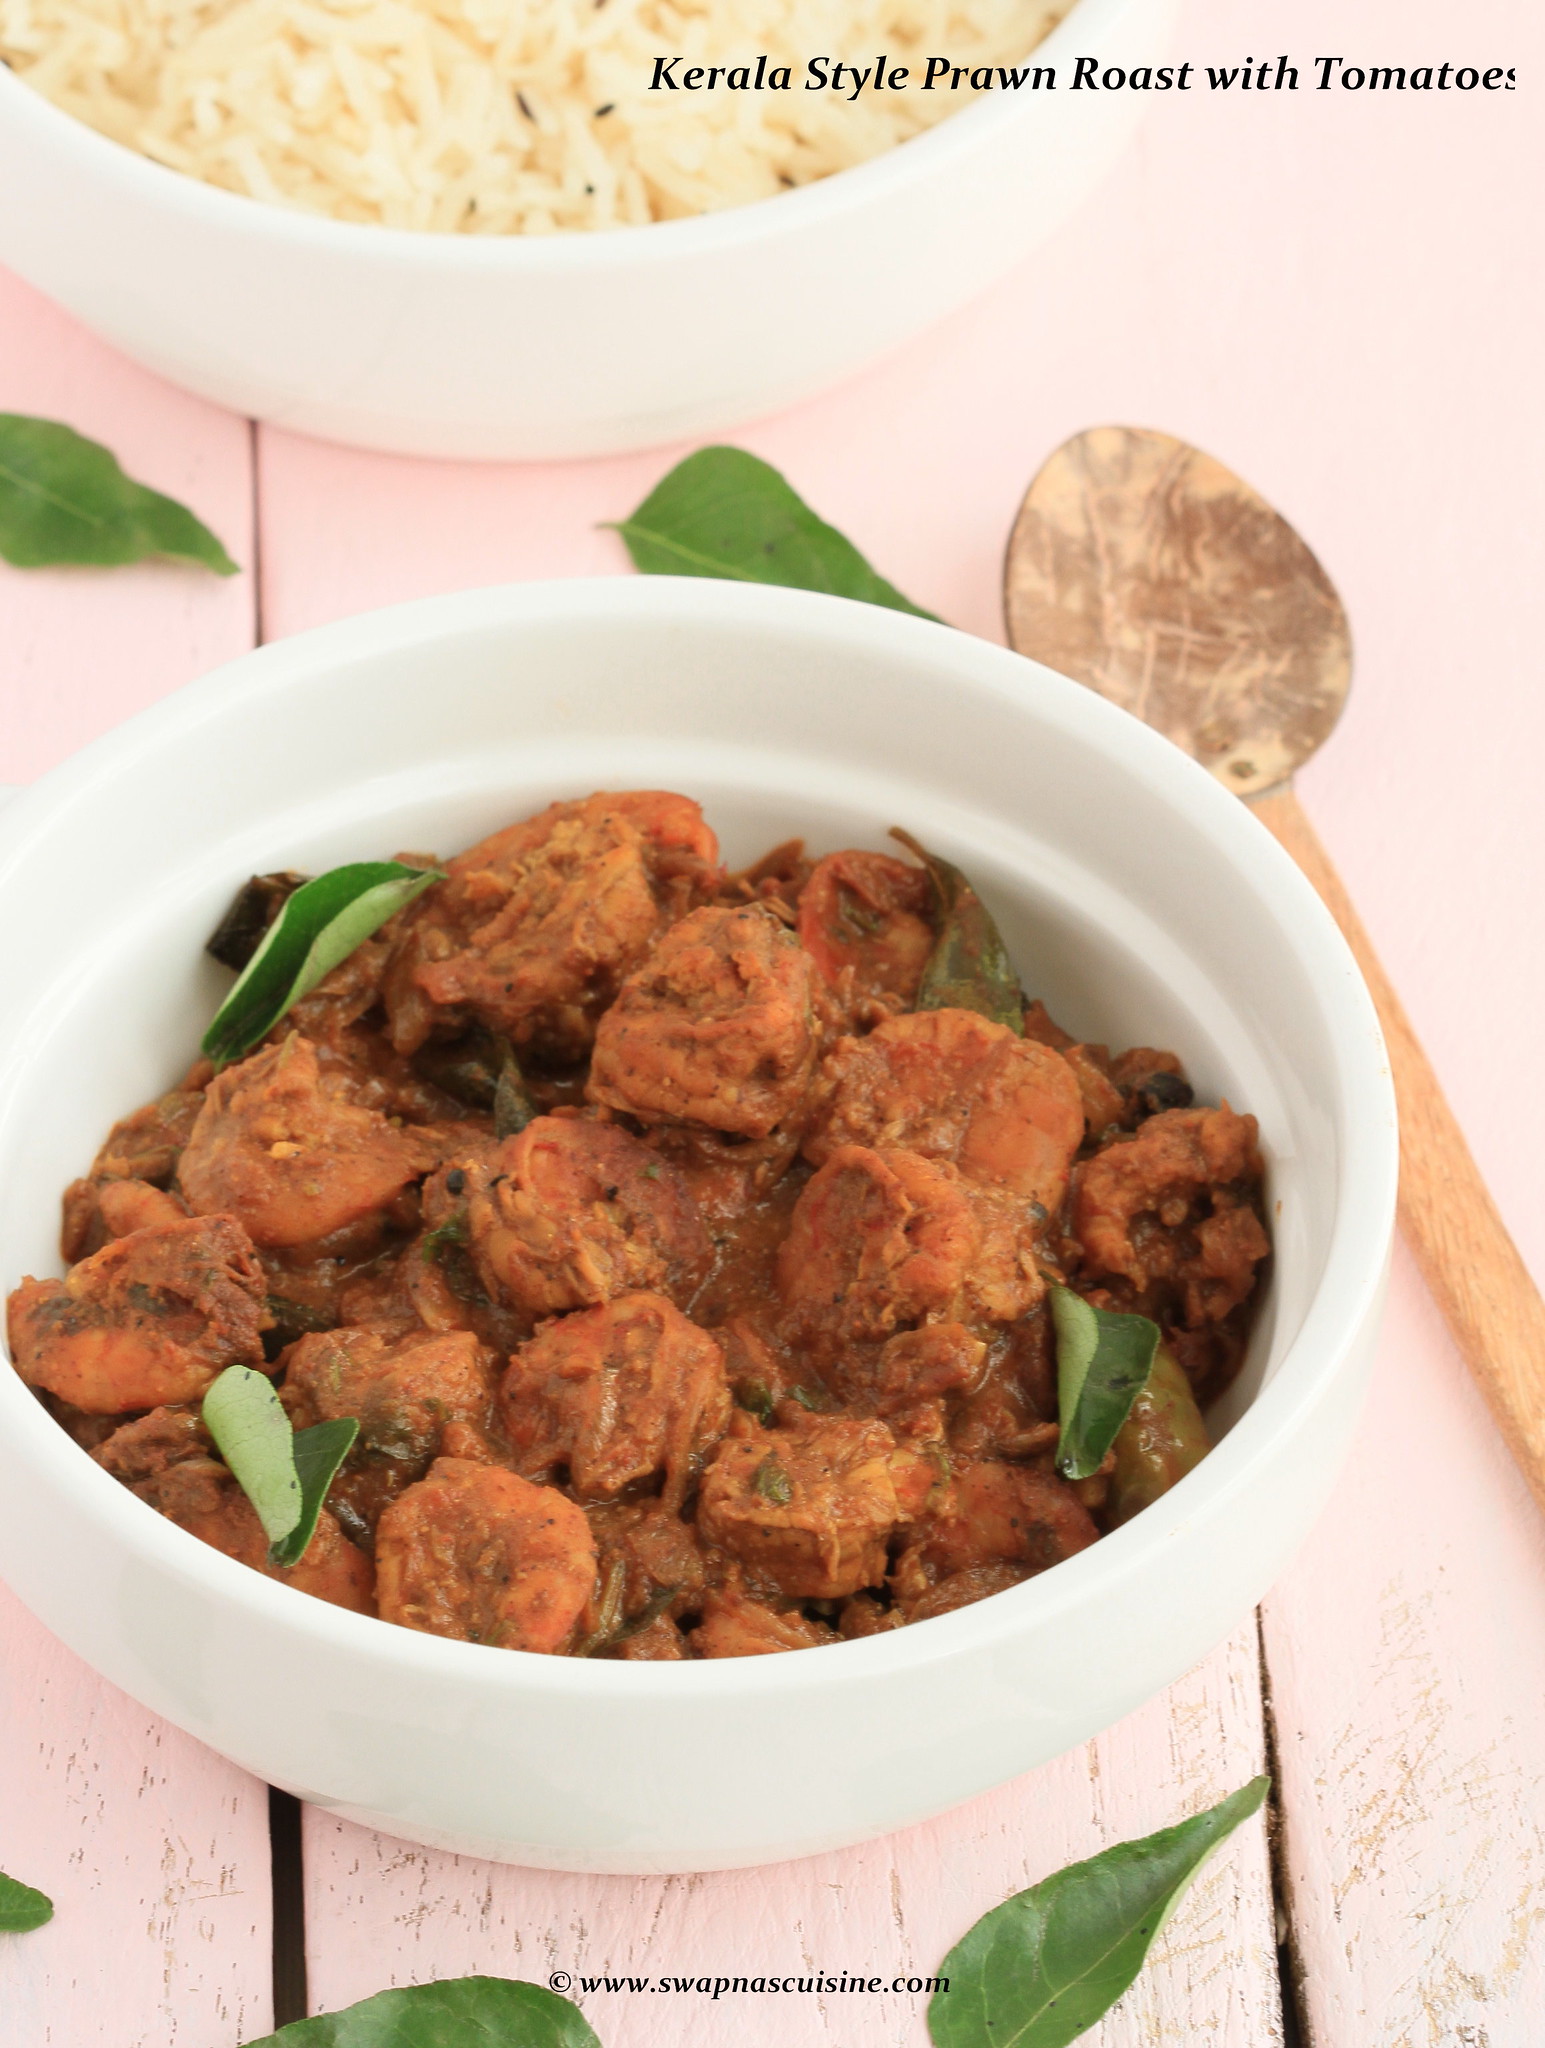
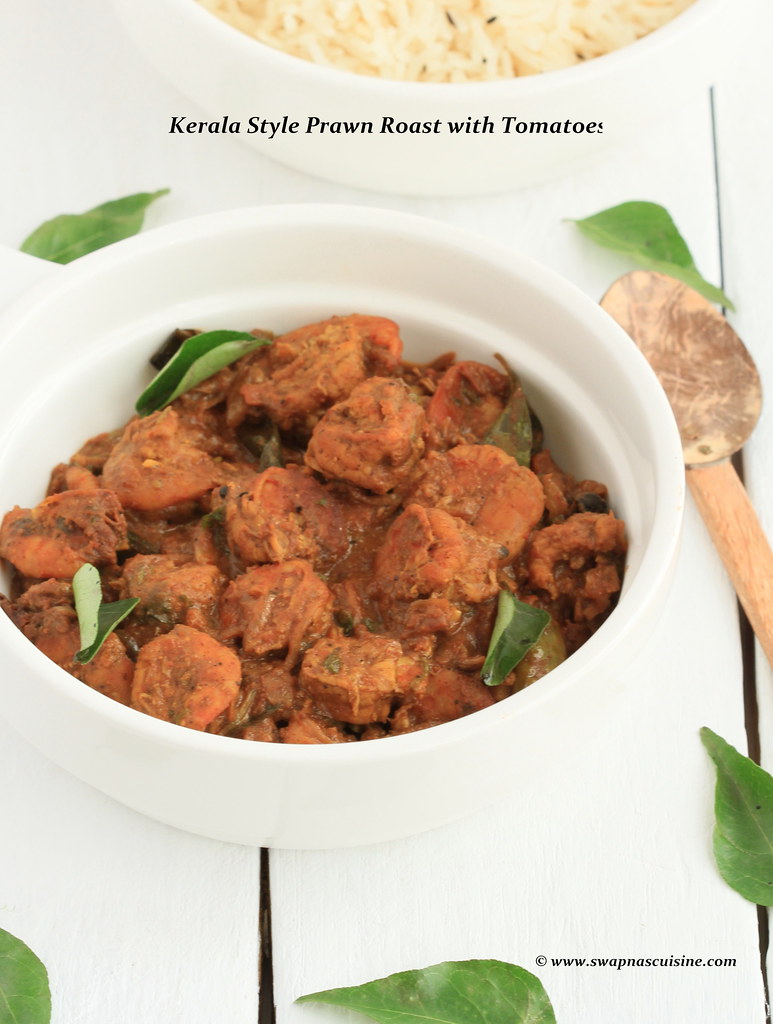
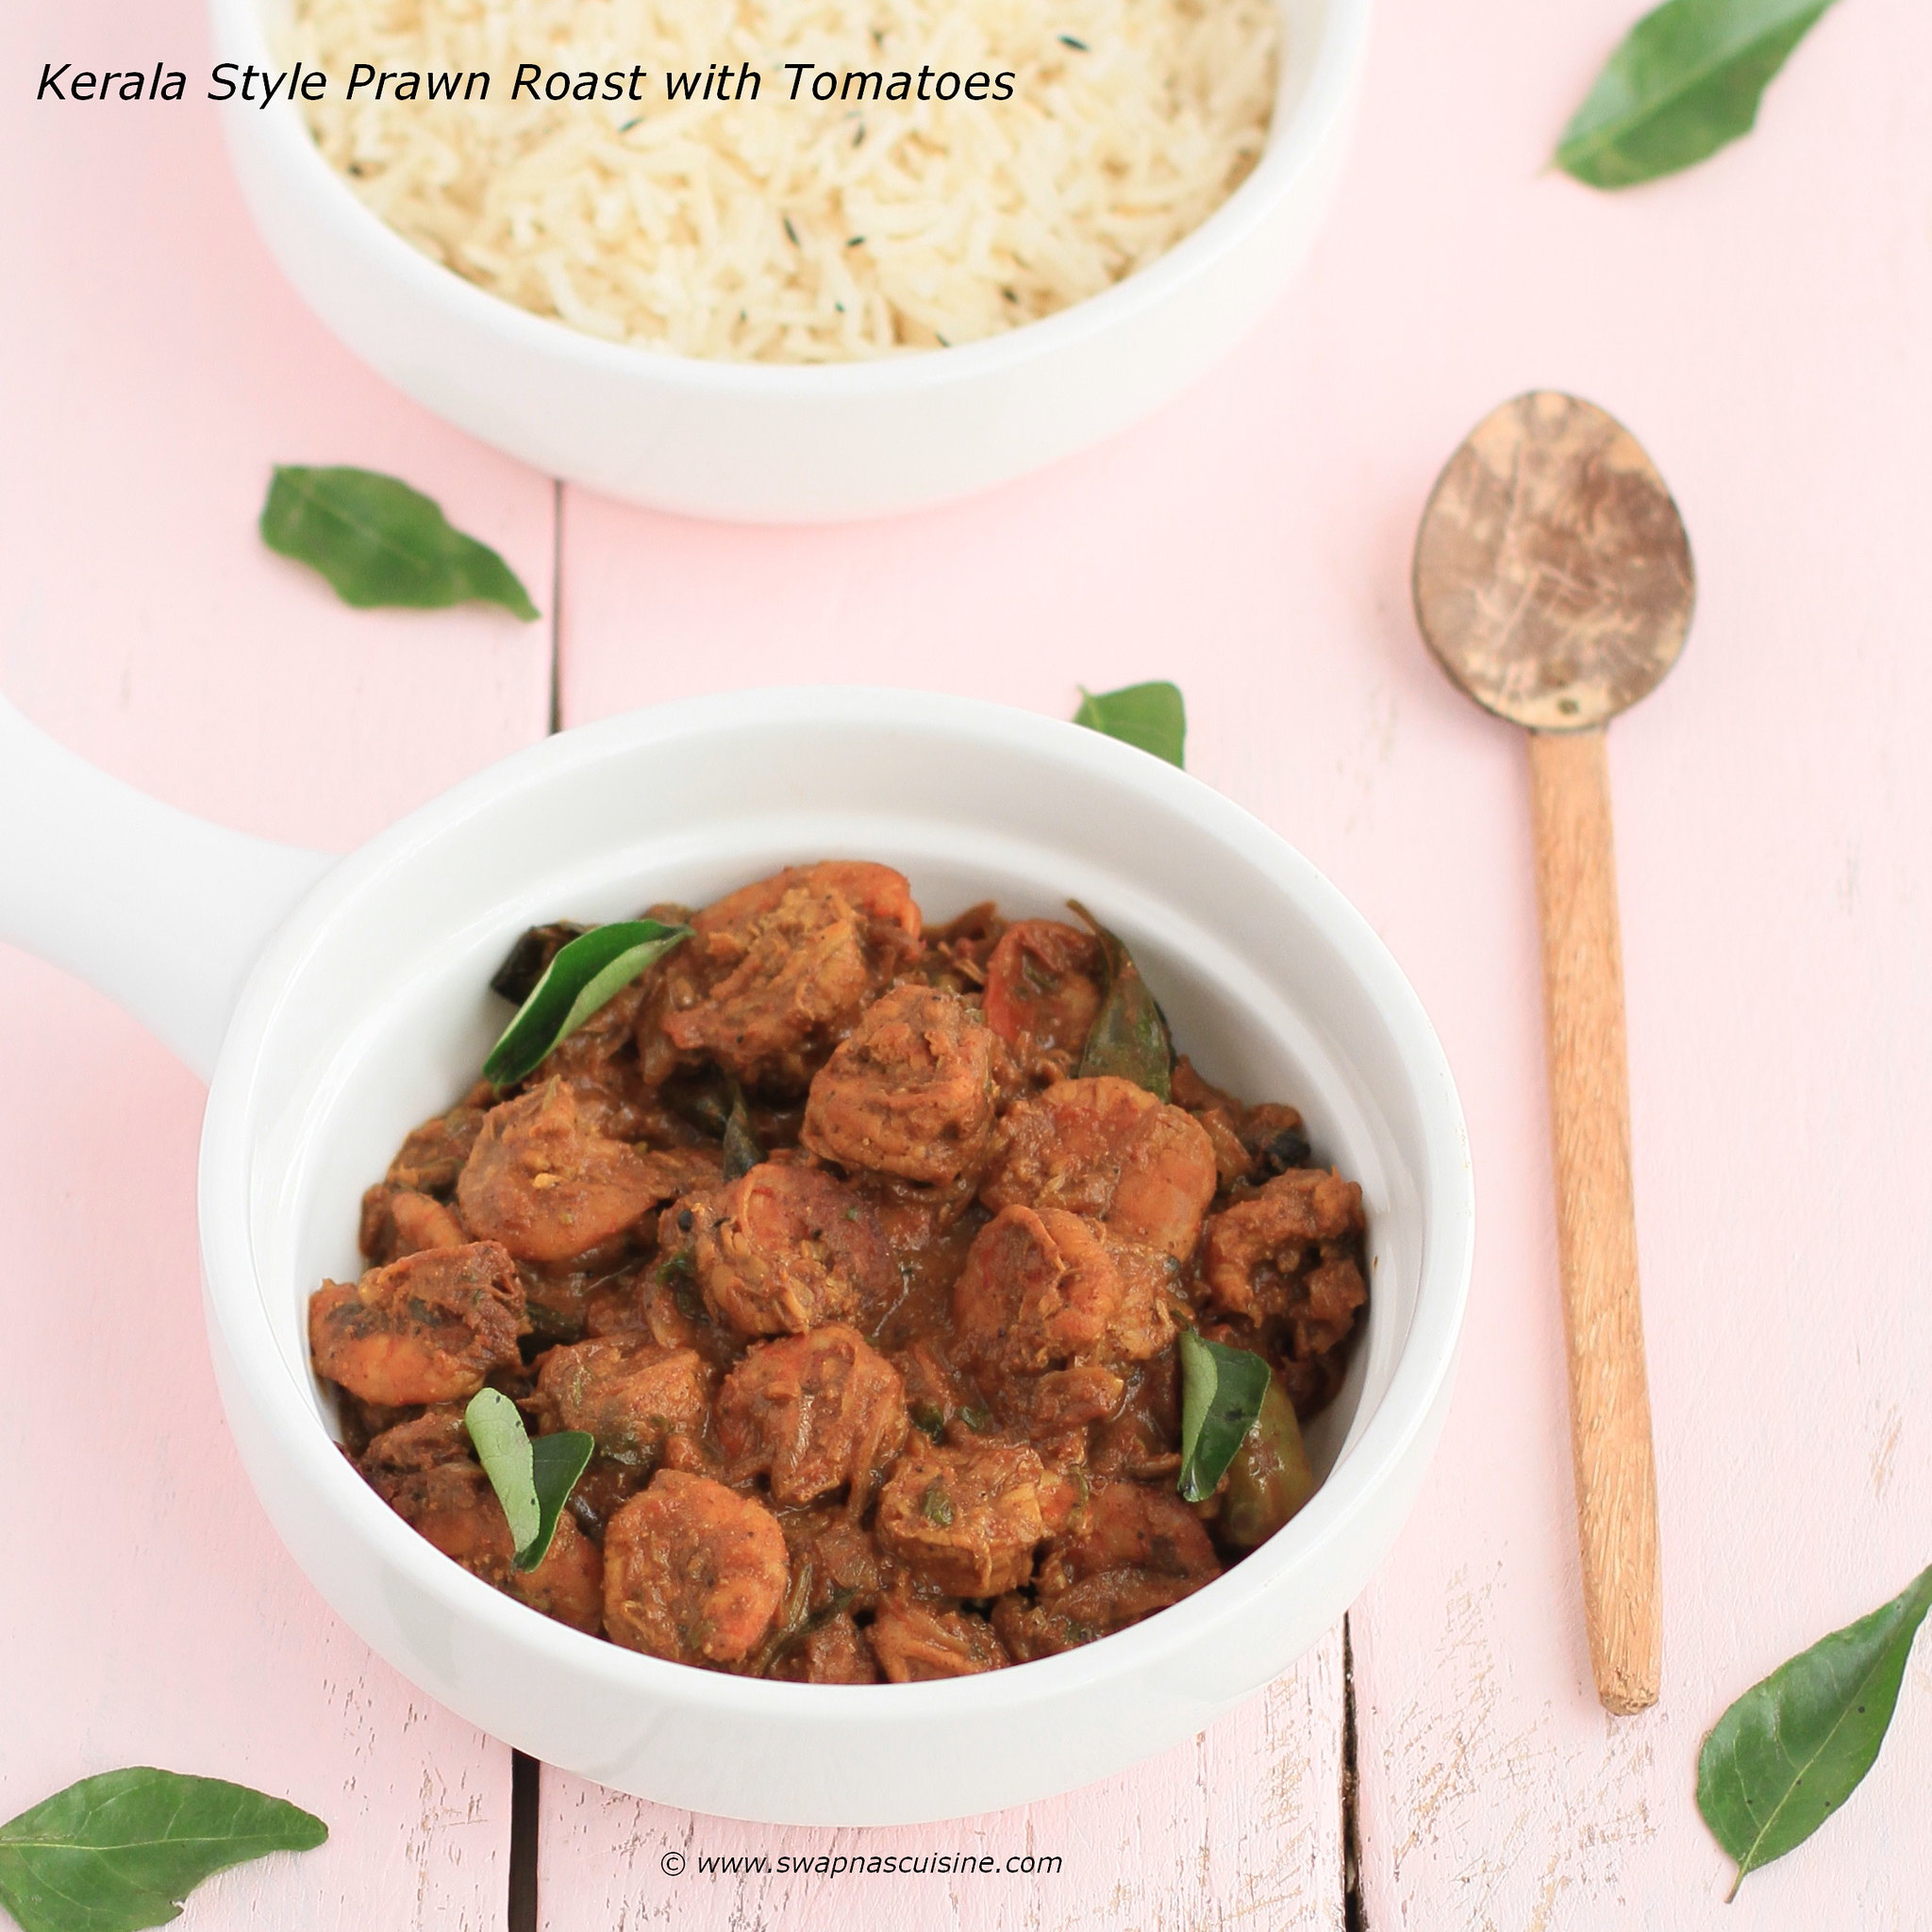
Chemmen Ularthiyathu / Kerala Style Prawn Roast with Tomatoes

Chemmen Thakkali Ularthiyathu

Prawn / Shrimp Roast is a famous Syrian Christian dish which can be prepared very quickly. Prawn is cooked in their own juices along with spices, tomatoes and a small piece of kudampuli (kokum). Prawns absorb all the flavours which give a nice spicy dry dish that goes really well with a bowl of steaming rice and morucurry, Palappam or chapathi


Kerala Style Shrimp Roast with Tomatoes


Chemmen Ularthiyathu / Kerala Style Prawn Roast with Tomatoes
Ingredients:
Cleaned Prawns / Shrimps – 250 gm
Onion – 1 medium, sliced (can replace with chumannulli / shallots)
Ginger paste – 2 tsp
Garlic paste – 1 tbsp
Tomatoes – 2 medium, chopped
Chilly powder – ¾ to 1 tsp
Turmeric powder – ¼ tsp
Coriander powder – 1 tsp
Pepper powder – ¾  tsp
Garam masala – 1 tsp
Coconut oil – 2 tbsp
Kudampuli / Kokum -1 small piece, soaked in ¼ cup of water
Curry leaves - few
Coriander leaves, chopped – 1 tbsp (optional)
Salt to taste

Method:
  • Heat oil in a pan, add sliced onion and fry until light golden brown. Add ginger paste and garlic paste and fry again for 2 to 3 minutes.
  • Add chopped tomatoes and curry leaves and sauté well.
  • Add the chilly powder, turmeric powder, coriander powder and pepper powder and sauté until oil separates.
  • Add kudampuli along with its soaked water, prawns and salt and sauté over medium heat until prawns are cooked and well coated with tomato mixture.
  • Sprinkle the garam masala and coriander leaves over the prawns and stir well and remove from heat.
Chemmen Roast


Read More » Print Friendly and PDF

Sunday, 23 November 2014

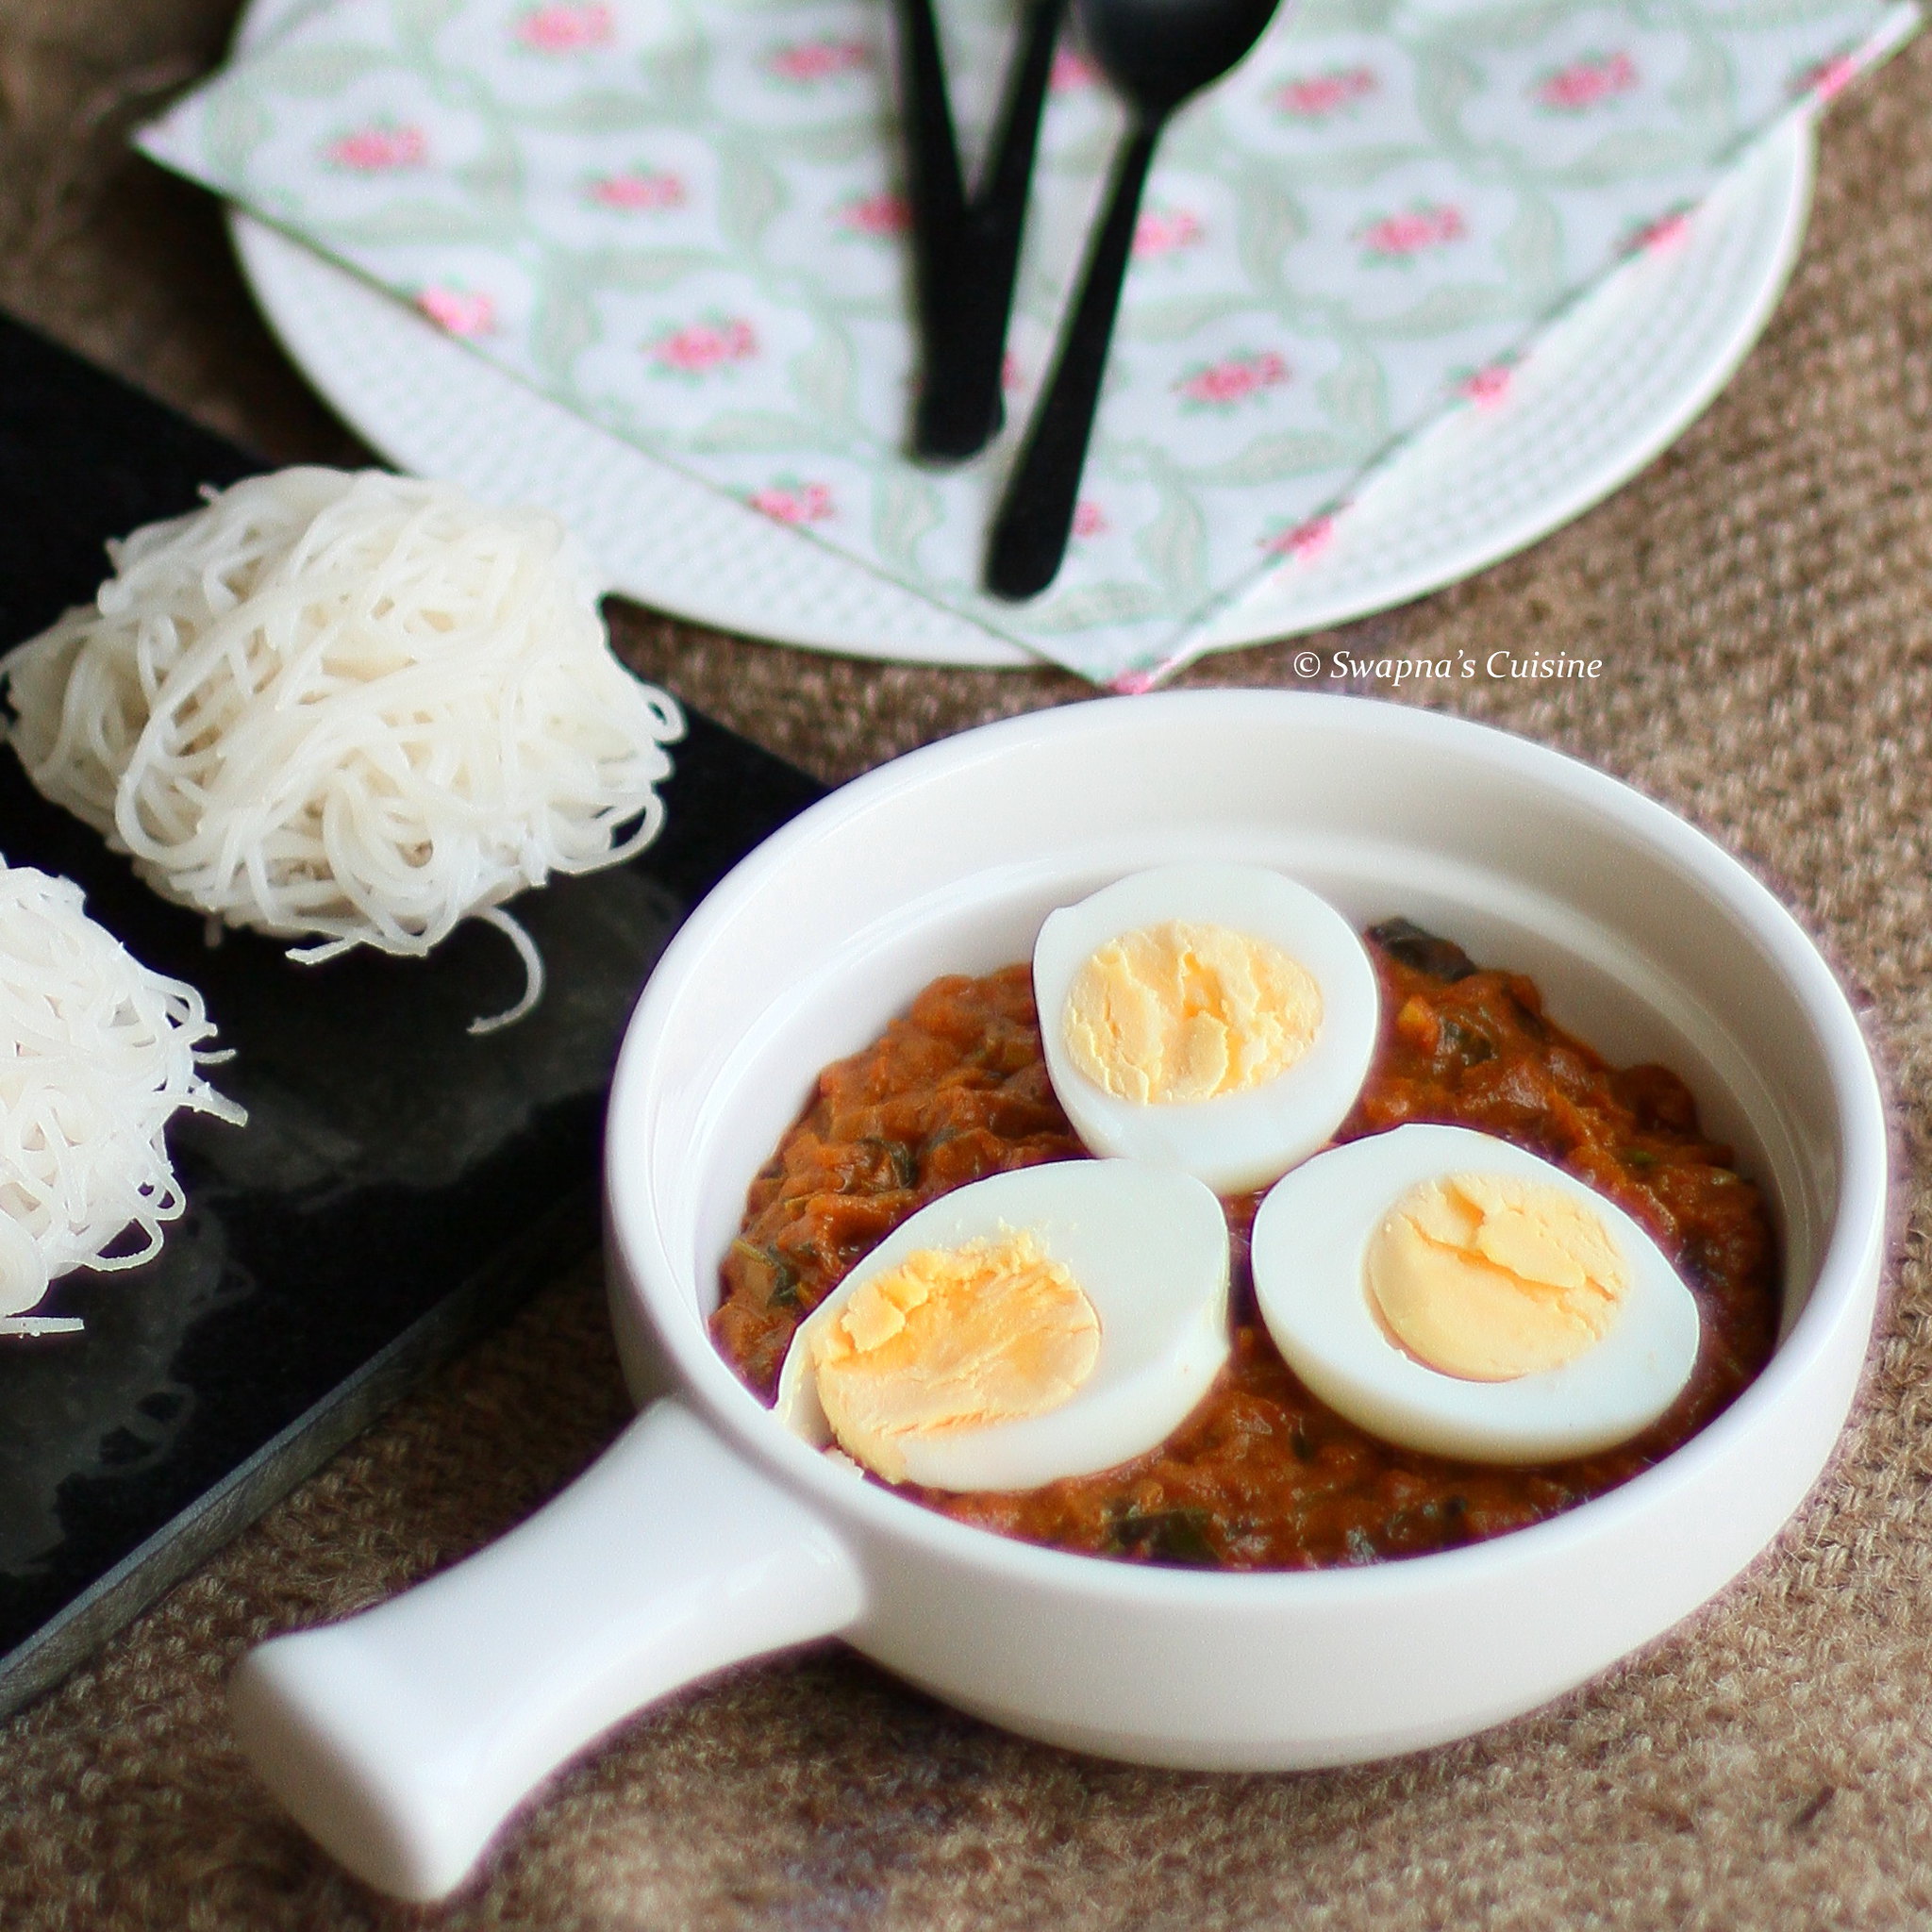
Nadan Mutta Roast / Kerala Style Egg Roast

Mutta (Motta) Roast is a very popular side dish of Kerala, which can be served for breakfast, lunch or dinner!.... A very simple, easy to make side dish usually served with Palappam, Vellayappam, Idiyappam or Puttu for breakfast or as a side dish for chapathi or porotta for dinner or as a quick fix when guests shows up unexpectedly :) :) … Mutta Roast is also a very popular item in “thattukada” or road side eatery ….  Mutta roast can be used as a stuffing to make Mutta Puffs :)…

Kerala Style Egg Roast


Read More » Print Friendly and PDF

Wednesday, 22 October 2014

Coconut Burfi / Kerala Coconut Sweets

Coconut Sweets

Coconut sweets /  burfi are a traditional Kerala sweet often made in many homes during the festive season. This was one of mine and hubby’s childhood favorites. Mom used to make it in two layers, one layer in white and another one is pink or green. For this recipe you should use freshly grated coconut and use only the white part of the coconut. Also you should be extremely careful of the sugar consistency.... This is an easy to make sweet dish. You can make it not only for festivals but also as an item for a tea party or can be packed as a nice return gift too.... 
Wishing You All a Very Happy, Prosperous and Safe Diwali!!!
Read More » Print Friendly and PDF

Sunday, 7 September 2014

Kerala Style Beetroot Pachadi / Beetroot in Yogurt and Coconut Gravy

Wishing you all a Very Happy and Prosperous Onam :) :)

It is Onam today and I was hoping to post some Onam sadhya recipes at least this time around!  But as usual just after summer vacation I was trying hard to settle down here.... School re-opened for my son and they are getting ready for their first semester exams by next week....  So in between all this, I didn’t even get time to update the blog which was idle for the last 2 months.... I tried my best to reply to the comments and queries, but if I have missed any please let me know.... Today I thought of sharing the recipe of Beetroot Pachadi the way I make it. I don’t know if it is the traditional way.... Some people don’t add coconut, but somehow I like pachadi this way.... Here is a list of a very few Onam special recipes I have posted earlier, if in case you are searching for any :)....


Kerala Pachadi Recipe

Read More » Print Friendly and PDF

Thursday, 17 July 2014

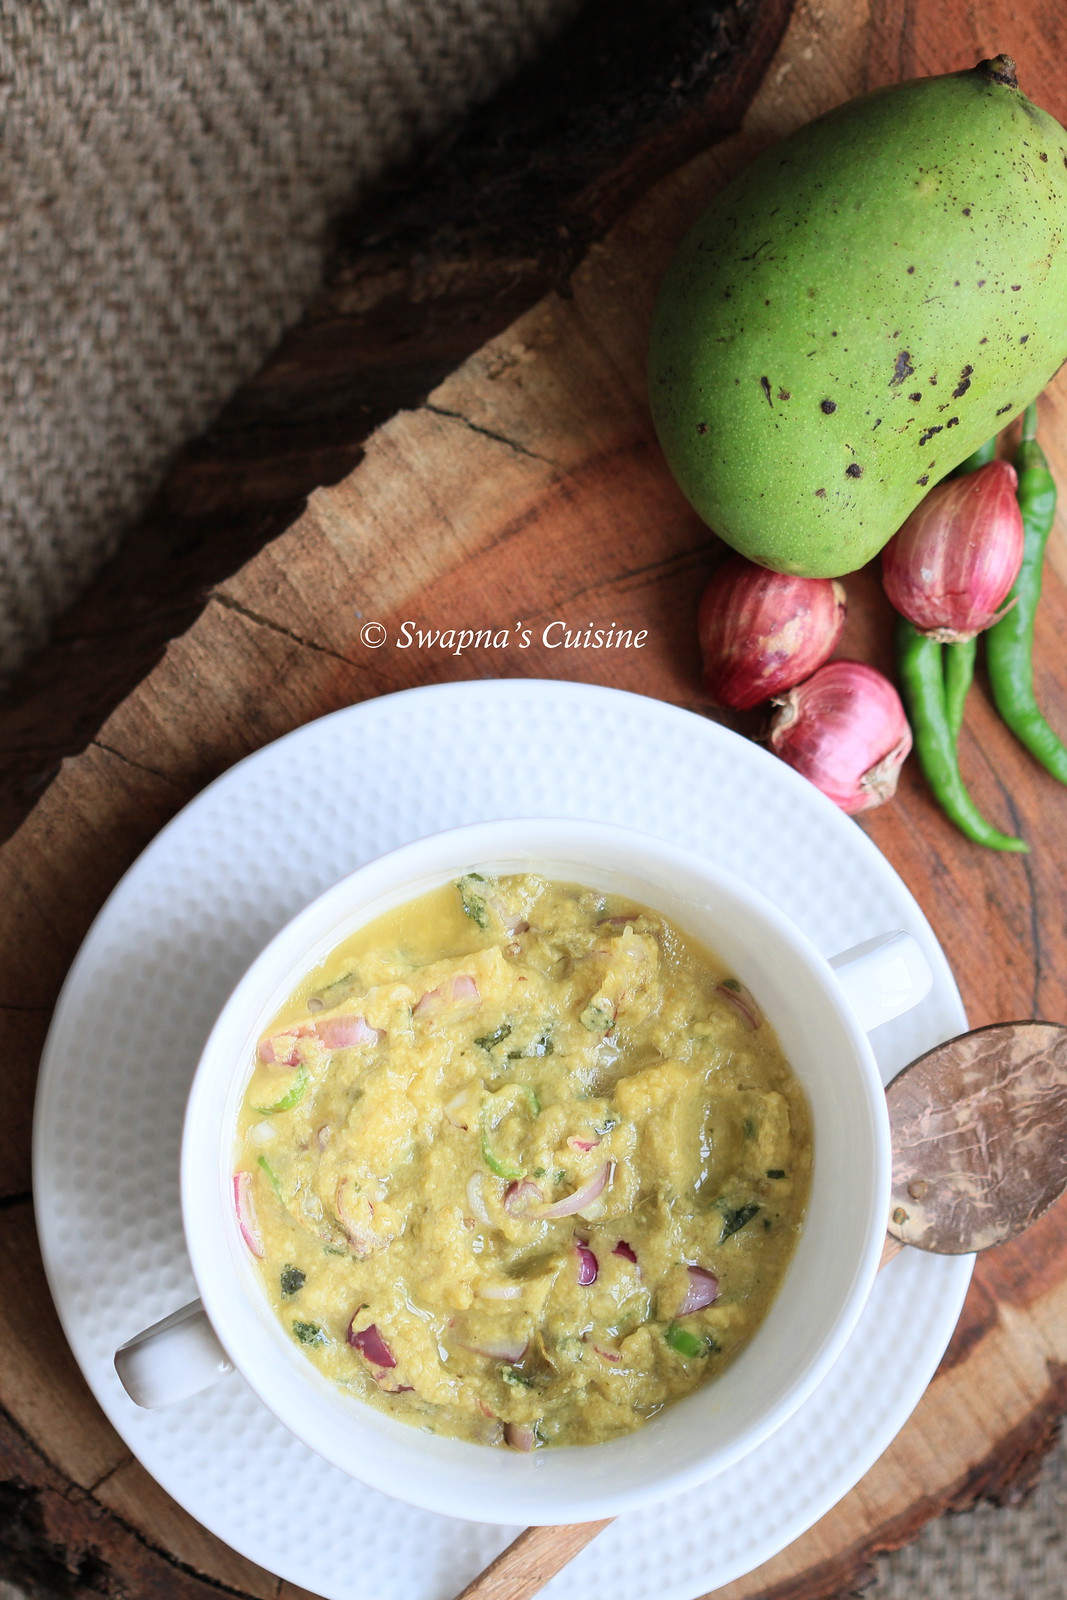
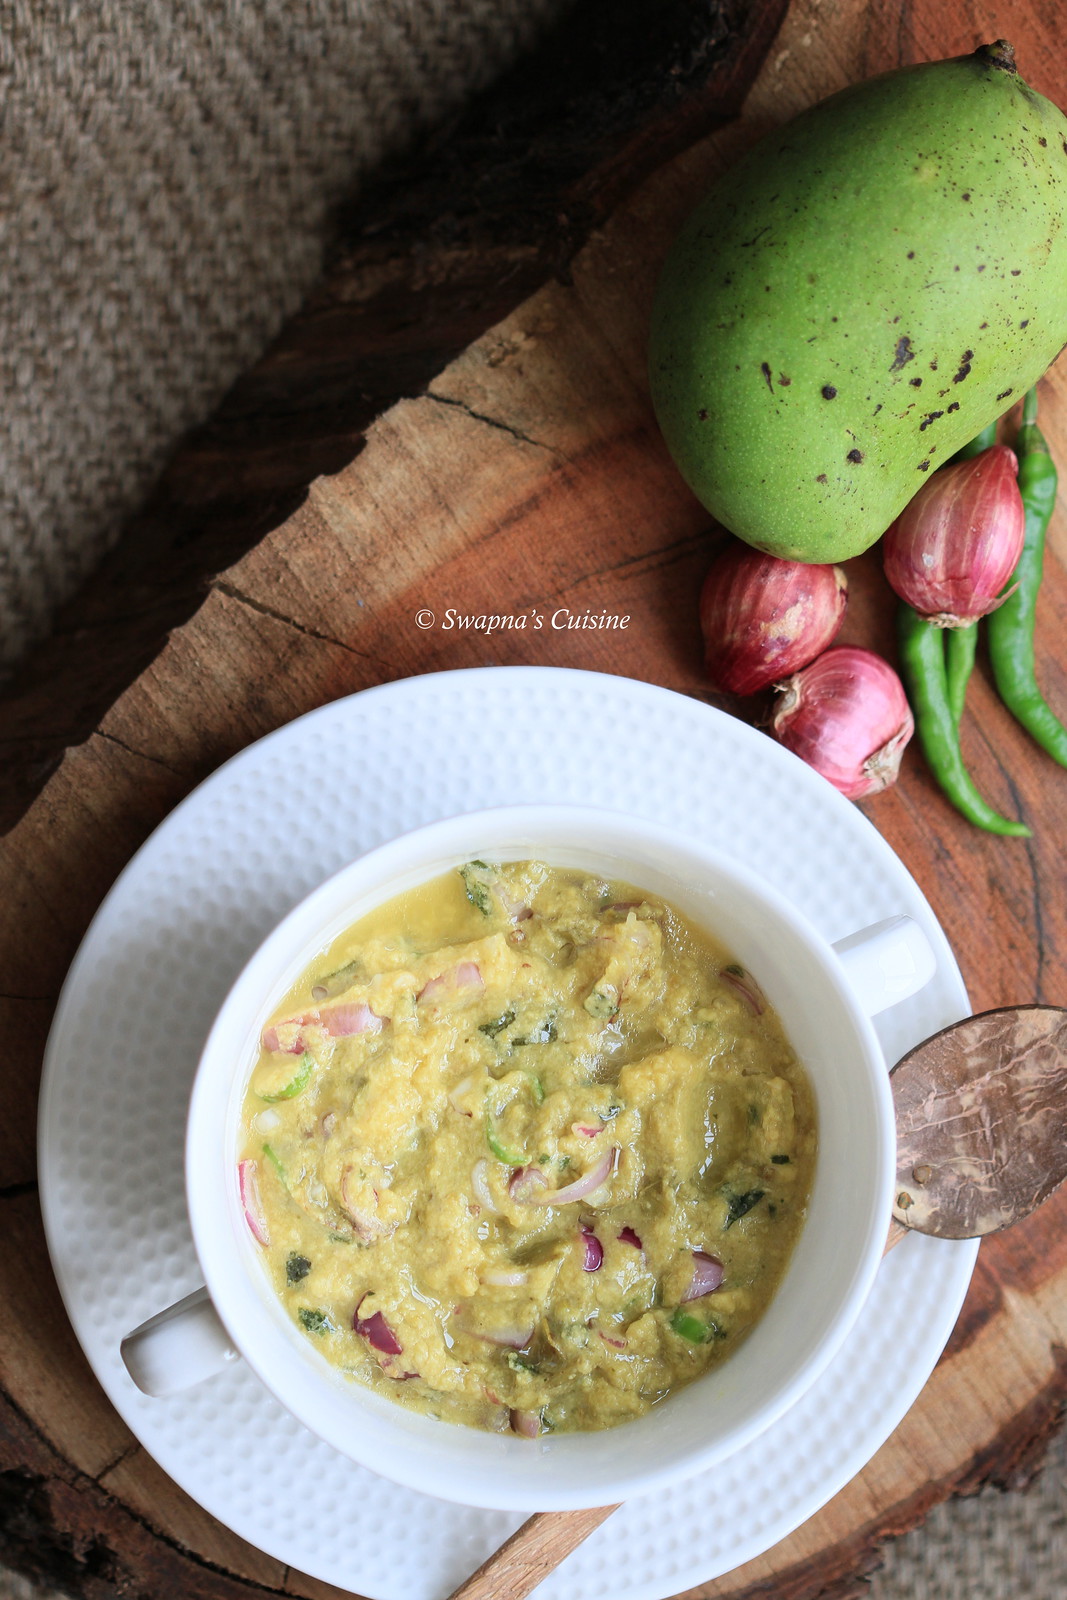
Uppumanga Chalichathu / Salted Mango with Shallots, Chillies and oil

Salted Mango with Shallots

A tongue tickling chutney made with Uppumanga (Salted Mangoes in Brine). It is great when you do not have much side dishes for rice or kanji and also a great substitute for pickle too.... This dish gives a distant taste when sour and salty mangoes mixed with shallots, green chillies and oil..... Heavenly dish for Keralites with kanji....

Uppumanga Chalichathu / Salted Mango with Shallots, Chillies and oil
Recipe Source: Mrs. K. M. Mathew
Ingredients:
Salted Mangoes in brine – 2
Shallots / Chumannulli – 6 to 8, cut into thin slices
Green Chillies – 3, cut into thin rounds
Curry leaves – few, chop the leaves fine
Coconut Oil – 1 tsp
Method:
  • Smash the salted mangoes with hand (If not soft enough cut it into fine pieces).
  • Add chopped ingredients and oil to the mango.
  • Mix well with hand and transfer into a serving bowl.
  • Serve with rice or kanji.
Salted Mango Chmanthi

Read More » Print Friendly and PDF
Related Posts Plugin for WordPress, Blogger...