Showing posts with label Valentine’s Day Special. Show all posts

Thursday, 5 August 2021

Panikoorka Wine / Mexican Mint Wine / Indian Borage Wine

Panikoorka, is popularly used in South Indian states to treat coughs and colds in children. The herb is also used to treat a variety of health problems in both children and adults. This plant is known as Indian Borage, Mexican Mint or Cuban Oregano. In Kerala, regionally, Panikoorka is also known as Karpooravalli, Navara, Kanjikoorka etc. In Kerala, people say that you should grow the panikoorka plant in your house if you have children.

I was never successful in growing this plant here when my son was small. Two years back I bought a couple of plant stems from back home and luckily it started growing well. I tried adding these leaves in many dishes in place of oregano & mint and was pleasantly surprised with the results. We also enjoyed fresh lemonade with panikoorka leaves in it. Then the idea of making wine with panikoorka leaves struck me and when I tried it, it came out super tasty. Do try wine with these healthy leaves and let me know whether you liked it.


Panikoorka Wine / Mexican Mint Wine / Indian Borage Wine

Ingredients:

Panikoorka Leaves - 4 to 5 cups firmly packed

Sugar - 1 ¼ kg

Water - 3 ½ liter

Lemon juice - ½ cup

Lemon zest of 2 lemons

Yeast - ½ tsp

Method:

  • Thoroughly wash panikoorka leaves and chop and place it in a big vessel.
  • Bring half of water to a boil and pour boiling water over panikoorka leaves.
  • Mix and cover the vessel with a lid and stand for around one hour.
  • Strain the panikoorka liquor into a sterilized fermentation bottle / bharani.
  • Boil the remaining water and pour boiling water to the strained panikoorka leaves and wait for another one hour, strain into the bottle and discard the leaves.
  • Add all the other ingredients to the bottle like sugar, lemon juice, lemon zest and yeast.
  • Stir the mixture well until all the sugar has completely dissolved.
  • Cover the bottle and stir the mixture every day for 21 days.
  • After 21 days, strain the mixture through a cheese/ muslin cloth into clean and dry bottles and use.
  • After 21 days you can consume the wine, but it will be little cloudy and not very clear. If you allow the panikoorka wine to stand for couple of months you will get a very clear wine like in the picture.

My Panikoorka Plant 

Read More » Print Friendly and PDF

Wednesday, 7 July 2021

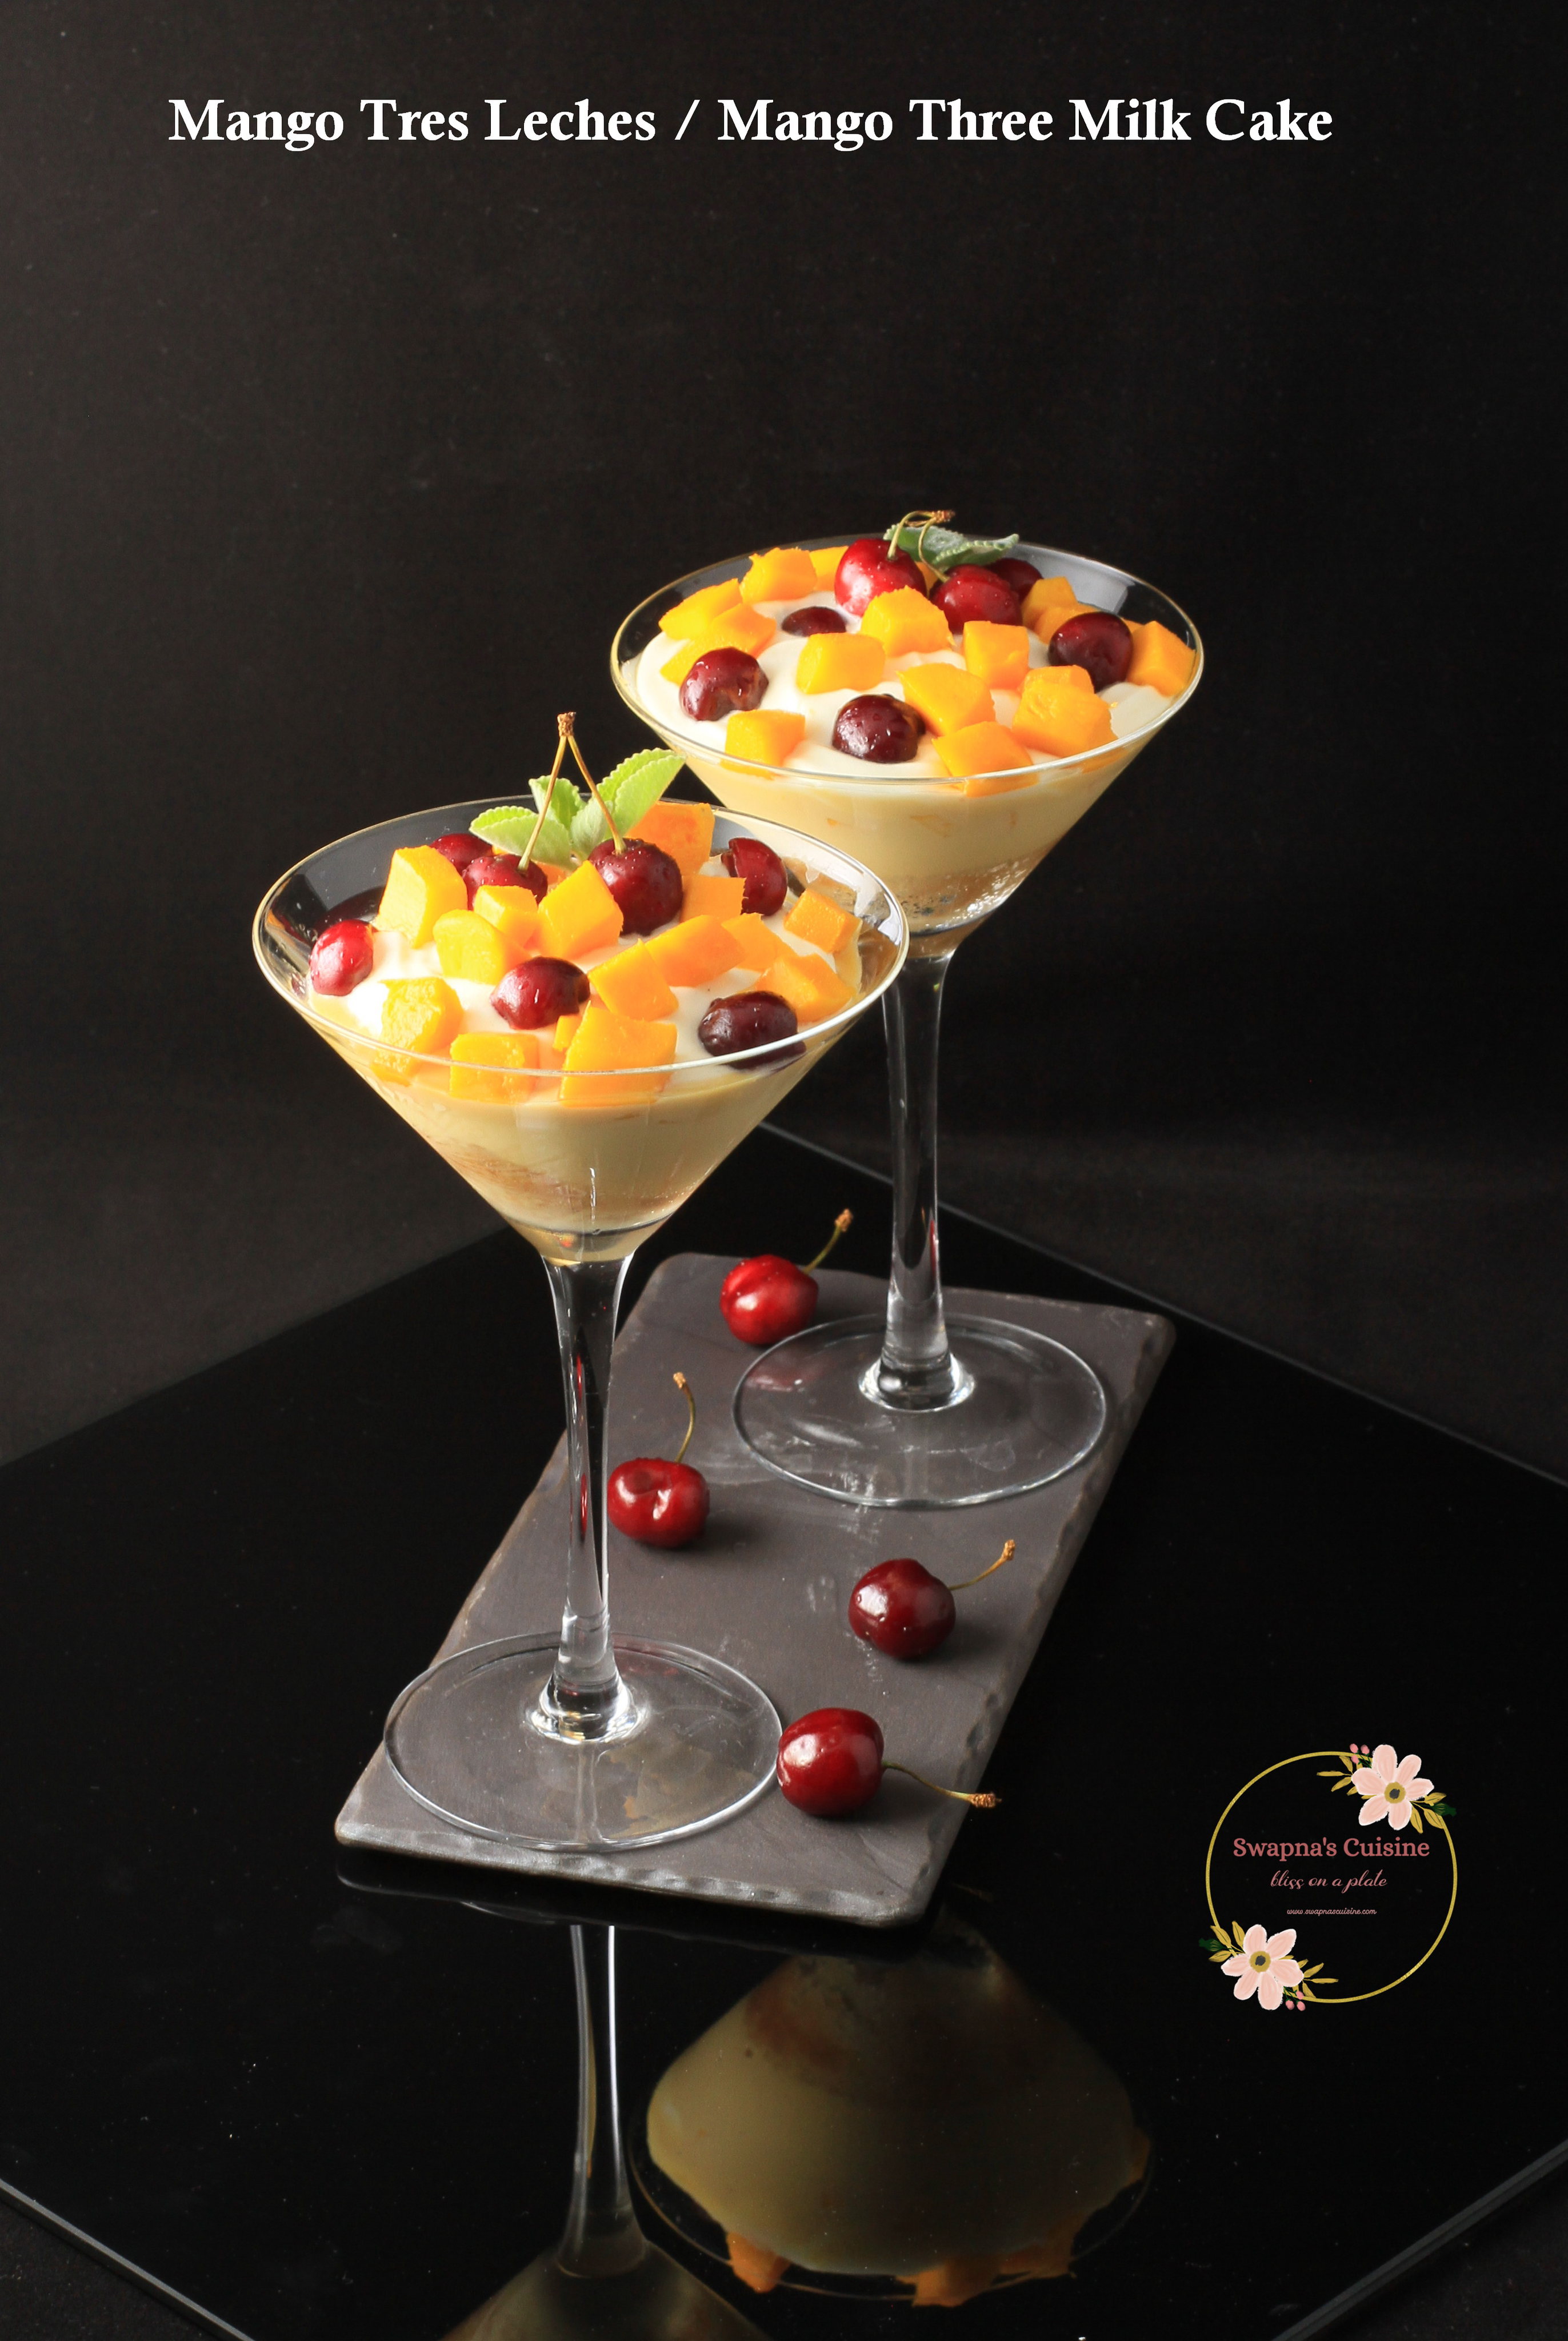
Mango Tres Leches / Mango Three Milk Cake


Many years ago I posted a Vanilla Tres Leches Cake recipe which was loved by many of my readers. Recently, I tried a mango flavoured version with an eggless sponge. It was a huge hit in our home. This time I assembled the cake in individual serving glasses and by now you all know how I love preparing desserts as individual servings. Assembling in individual glasses is more tedious and time consuming, but you can easily assemble this in the same dish which you used to bake the cake for a more effortless job. Do try this and let me know how you liked it. 


Mango Tres Leches / Mango Three Milk Cake

(6 servings)

Eggless Sponge Cake:
Ingredients:

All-purpose flour - 1⅔ cup (180gm)

Baking Soda – ½ tsp 

Baking Powder – ¾ tsp

Salt – ¼ tsp

Butter Milk - 1 cup

Vegetable oil - ¼ cup

Sugar - ⅔ cup

Vanilla Extract - 1 tsp

Apple Cider Vinegar – 1 tsp

Method:

  • Preheat the oven to 180C. Lightly grease one 9” round or square pan or two  5” round pans.
  • In a large bowl, whisk together the buttermilk, oil, sugar and vanilla extract well. Add the apple cider vinegar, baking powder, baking soda and salt and whisk again. Leave to stand for 5 minutes until bubbly.
  • Now sift over the plain flour and whisk in to mix.
  • Divide the batter between the prepared baking dishes,
  • Tap the dishes gently on the counter, then bake for 25-30 minutes until light golden brown and the tester comes out clean.
  • Remove to rack, demould after 10-15 minutes, then cool completely.
  • Once the cake has completely cooled cut out rounds to fit your serving glasses / bowl. 
  • Poke holes all over the cake using a fork to better absorb the Mango Tres Leches syrup.

For Mango Tres Leches Syrup

1 cup thick mango puree or 2 ripe mangoes

½ can (200 gm) sweetened condensed milk

¾ cup evaporated milk

¾ cup heavy cream or whipping cream

  • Puree mango pieces in a blender without adding any water. Then add condensed milk, evaporated milk and whipping cream and blend again. Mango Tres Leches syrup is ready.
  • Reserve ¼ cup of the syrup to add to the topping mix. Then divide the milk mixture and pour over each cake.
  • Leave for a couple of hours to soak the  milk.

Cream Topping

1 cup (250ml) whipping cream

3 tbsp icing sugar

¼ cup of reserved mango Tres Leches syrup

Diced mangoes, fresh cherries and mint leaves to decorate

  • Whip the cream, when soft peaks form add the sugar and the reserved ¼ cup of the mango Tres Leches syrup little by little, continue whipping until stiff peaks form about 2 mints.
  • Layer the whipped cream mix over the soaked cake, Garnish with diced mango pieces, cherries and mint leaves. Best to rest the cake in the fridge overnight to complete the soaking process and serve.   


Read More » Print Friendly and PDF

Wednesday, 3 February 2021

Salted Caramel Fudge Truffles

I had planned to post this Salted Caramel Fudge recipe for New Year, but the first post of the year got delayed this far… These chocolate dipped, melt- in-mouth caramel truffles are really addictive and I must warn you that you will not be able to stop with just one truffle :) I made these truffles on stove top, but it can be made completely on a microwave and I will be sharing both methods below.  These Truffles are great as one of the items on a dessert table for parties and also are a great option for gifting... Do try these as a Valentine’s day special and let me know how you liked it...


Salted Caramel Fudge Truffles
(Recipe from here)
Ingredients:
Unsalted Butter - 60 grams (1/4 cup)
Sweetened Condensed Milk - 240 ml (1 cup)
Brown Sugar - 90 grams (1/2 cup)
White Chocolate - 150 grams (1 cup), broken into pieces
Sea Salt - 1/2 teaspoon
Dark or Milk chocolate - 300 grams (2 cups)
Crushed peanut or hazelnuts, optional

Method:

Stove Stop Method:

  • In a medium saucepan, add condensed milk, brown sugar and butter. Place on low heat and stir together until combined and the sugar is dissolved.
  • Turn up the heat to medium and continue to stir until the mixture is simmering and starts to thicken. This may take 5-6 minutes in which time the caramel will be very thick and golden in colour.
  • Remove the caramel mixture from the heat and stir in all the white chocolate. Give it a good stir to make sure the chocolate is melted and mixture is smooth. Lastly, stir in sea salt.
  • Place caramel fudge in the fridge to firm up for at least 3-4 hours.
  • Leave the caramel fudge at room temperature for 5 minutes.
  • Meanwhile, melt the chocolate over a double boiler, stirring until the chocolate is melted and smooth.
  • Scoop out tablespoons of the caramel fudge and roll into a ball.
  • Dip each ball into the melted dark chocolate. Use a fork to scoop out the ball and place on an oven tray lined with baking paper.
  • Repeat with remaining caramel fudge truffles. Top each truffle with crushed nuts (if using).
  • Store truffles in the fridge.
Microwave Method:

  • In a microwave-safe bowl add butter, sweetened condensed milk and brown sugar.
  • Heat in the microwave for approximately 3 minutes, stopping to stir every minute. By the end of the 3 minutes, the butter will be completely melted and the sugar is dissolved. 
  • Give the caramel a good stir, then heat for another 3 minutes, making sure you stir every 30 seconds. If you don’t stir the caramel will get too hot and bubble over. 
  • The caramel wil be very thick and golden in colour. 
  • Add white chocolate. Give it a good stir to make sure the chocolate is melted and mixture is smooth. 
  • Lastly, stir in sea salt.
  • Place caramel fudge in the fridge to firm up for at least 3-4 hours.
  • Leave the caramel fudge at room temperature for 5 minutes.
  • Meanwhile, melt the chocolate in the microwave, stirring every 30 seconds, until melted and smooth.
  • Scoop out tablespoons of the caramel fudge and roll into a ball.
  • Dip each ball into the melted dark chocolate. Use a fork to scoop out the ball and place on an oven tray lined with baking paper.
  • Repeat with remaining caramel fudge truffles. Top each truffle with crushed nuts (if using).
  • Store truffles in the fridge.


Read More » Print Friendly and PDF

Saturday, 17 November 2018

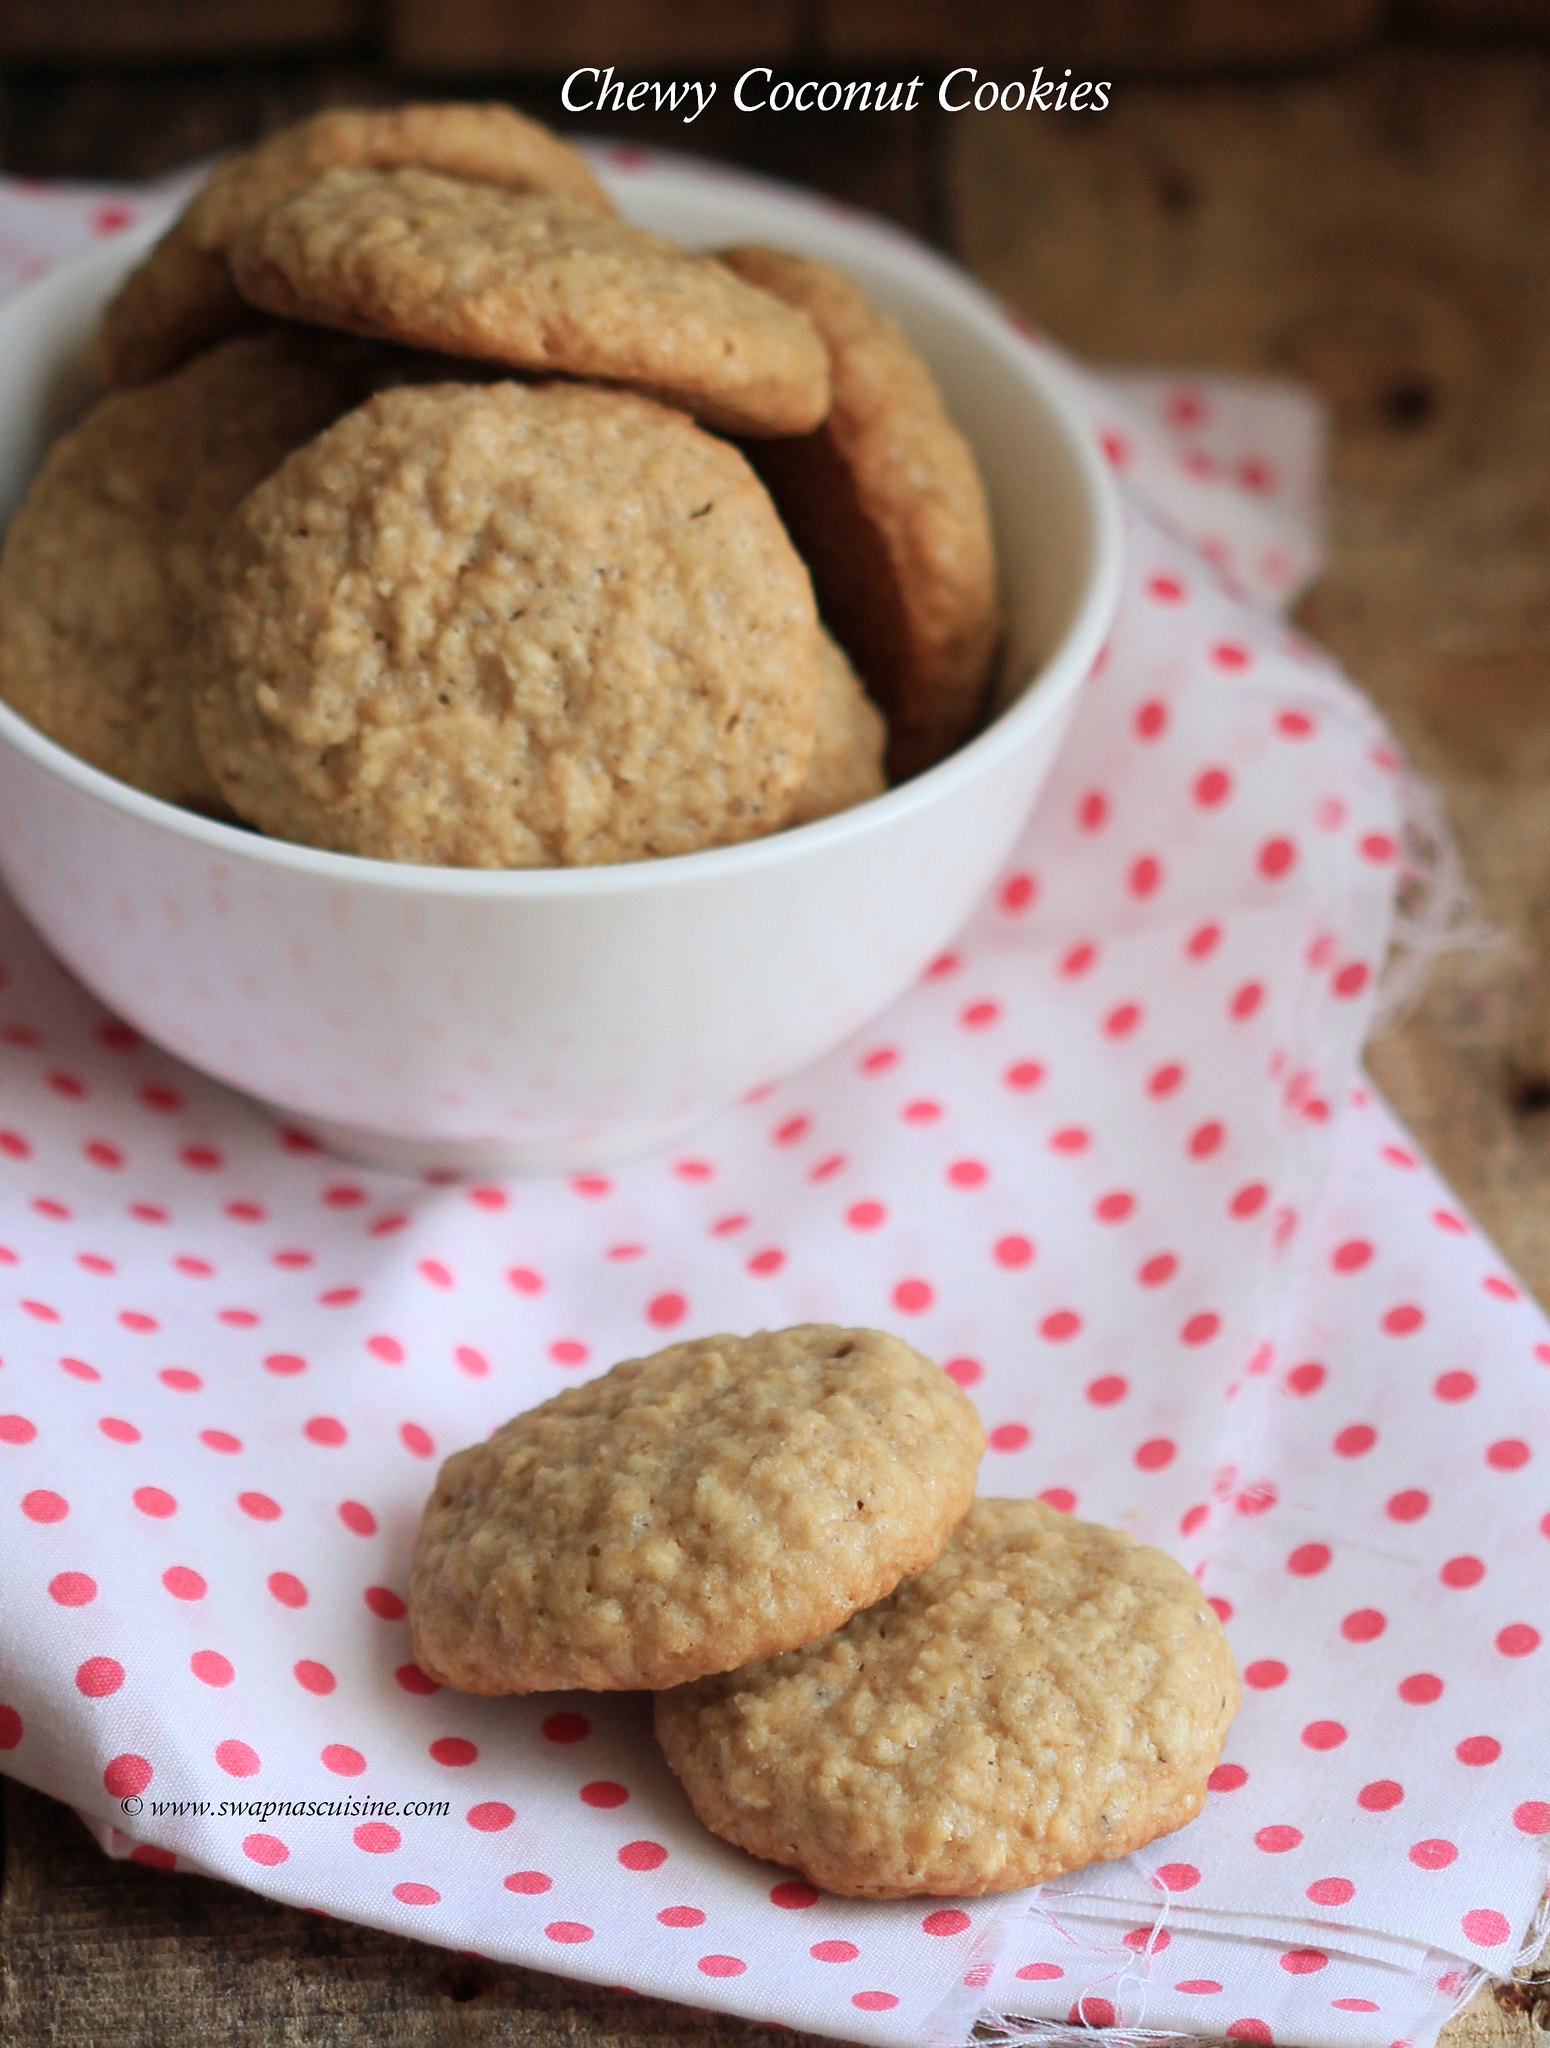
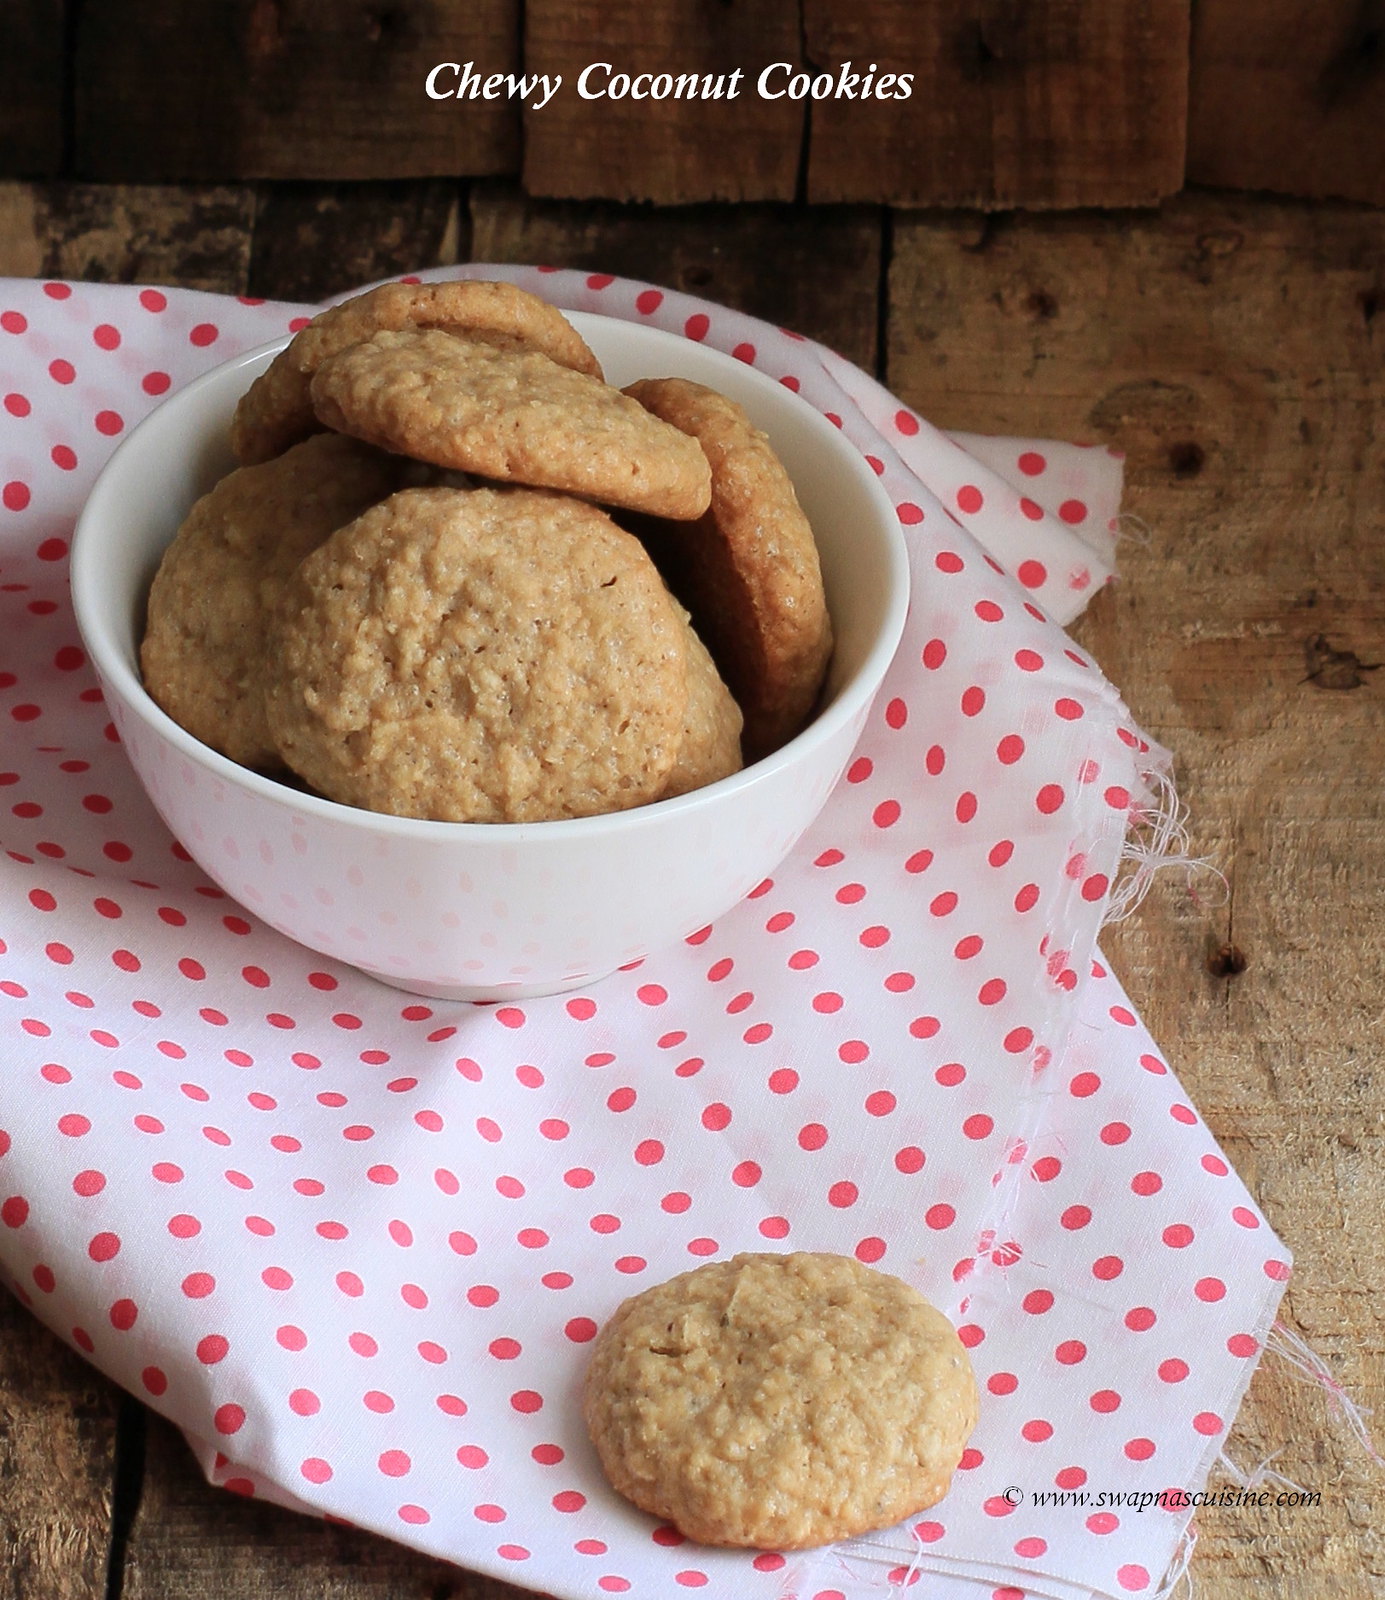
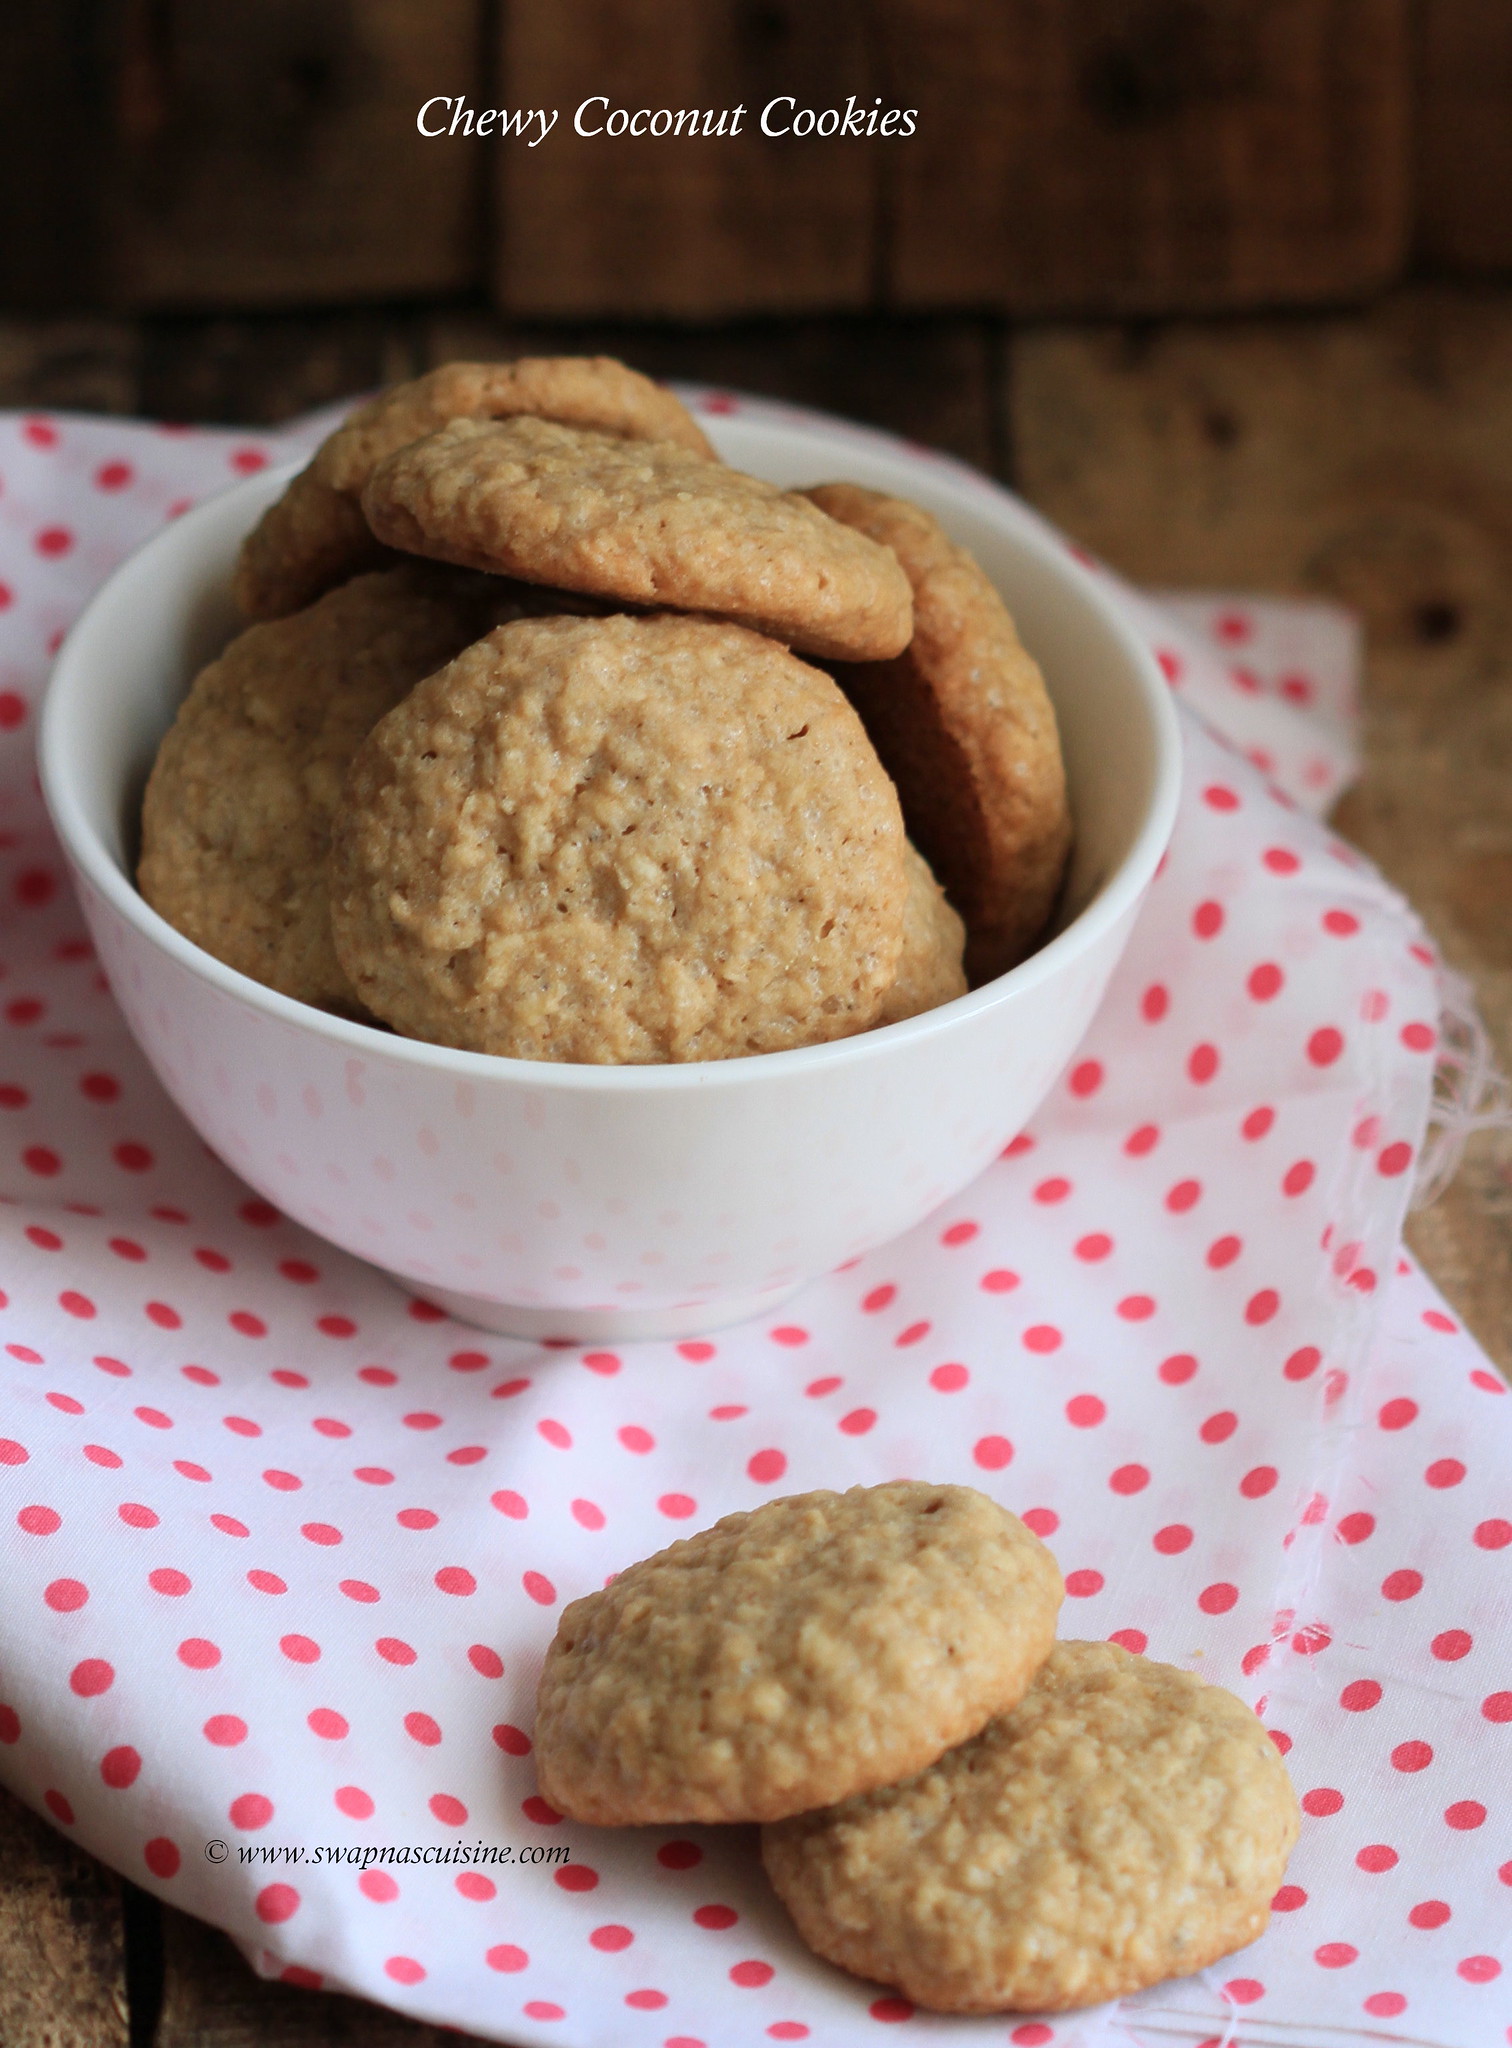
Chewy Coconut Cookies


How to make coconut cookies

I think these cookies are adult favourites as children mostly prefer chocolate chip cookies or cream biscuits. Here we both like these cookies but our son doesn’t like it at all. If you like coconut flavour I am sure you will love these coconut loaded chewy and delicious cookies. I really love the combination of coconut and cardamom flavour. So I sometimes add cardamom powder and it tastes heavenly!

Coconut cookies recipe


Chewy Coconut Cookies
(Recipe from here)

Ingredients:
All-purpose flour - 1 1/4 cups
Baking soda - 1/2 tsp
Salt - 1/4 tsp
Butter - 1/2 cup
Brown sugar - 1/2 cup, packed
White sugar - 1/2 cup
Egg - 1
Vanilla essence - 1/2 tsp
Cardamom powder - 1/2 tsp (optional)
Flaked coconut - 1 1/3 cups

Method:

  • Preheat oven to 175˚ C / 350˚ F.
  • Combine the flour, baking soda, salt and cardamom powder (if using); set aside.
  • In a medium bowl, cream the butter, brown sugar, and white sugar until smooth.
  • Beat in the egg and vanilla until light and fluffy.
  • Gradually blend in the flour mixture, then mix in the coconut.
  • Drop dough by teaspoonful’s onto an ungreased cookie sheet. Cookies should be about 3 inches apart.
  • Bake for 8 to 10 minutes in the preheated oven, or until lightly toasted.
  • Cool on wire racks.
Chewy Coconut Cookie

Read More » Print Friendly and PDF

Wednesday, 3 October 2018

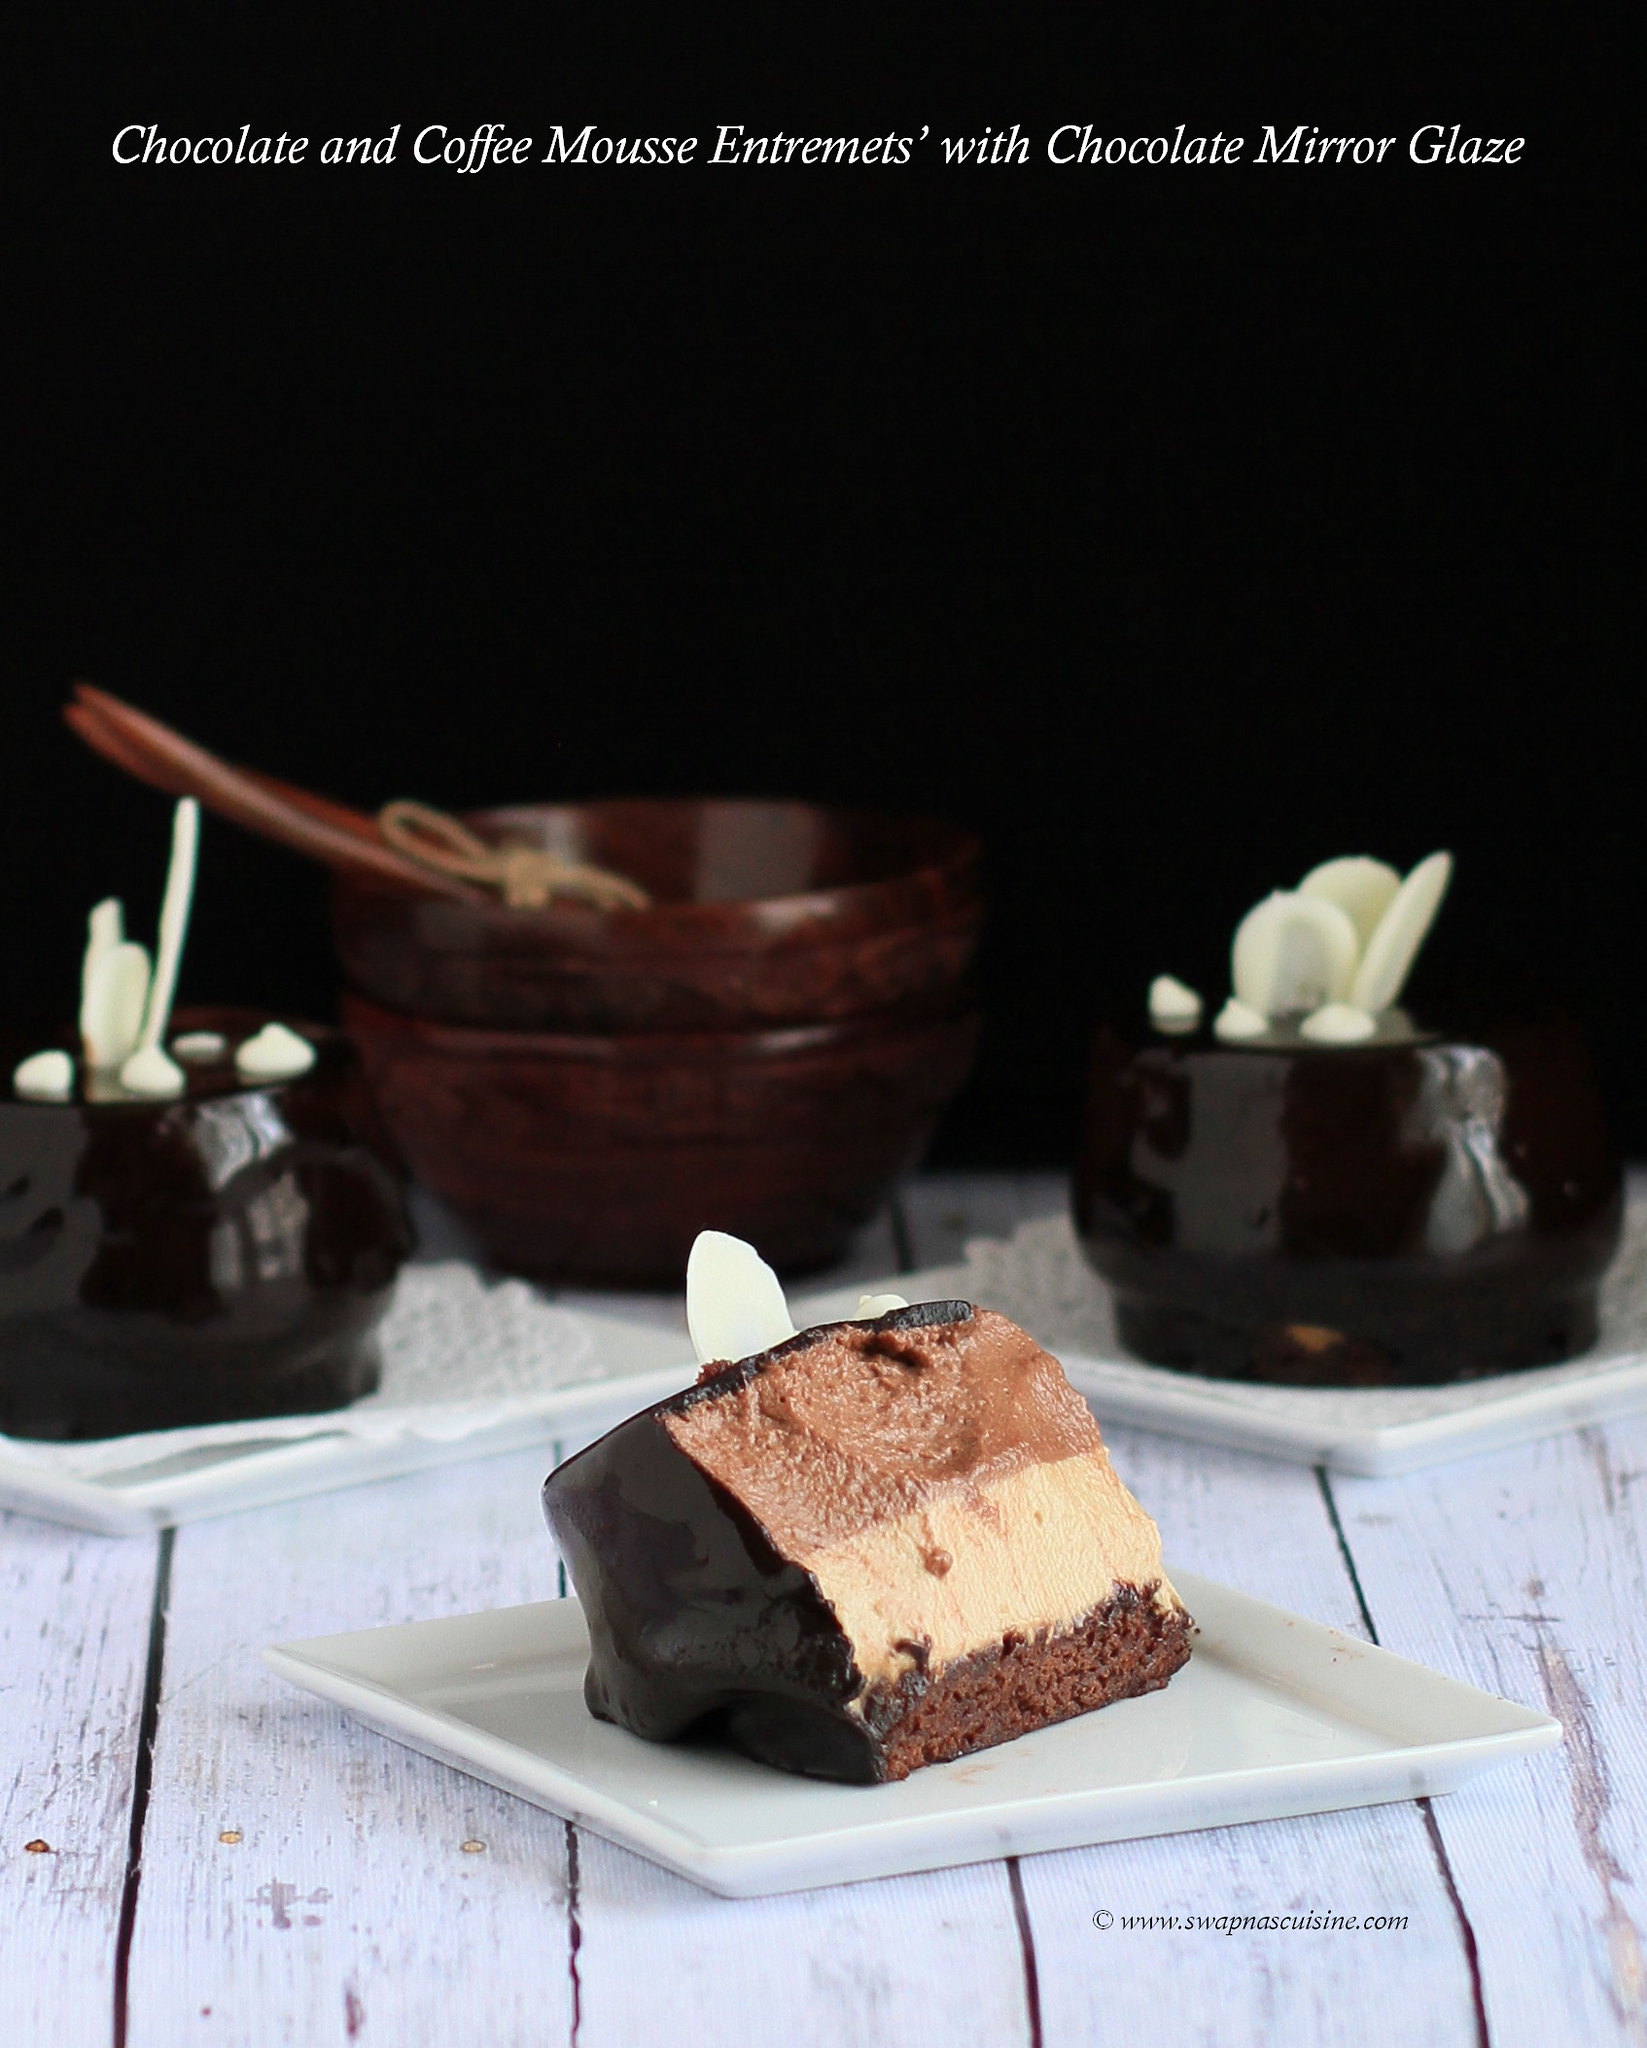
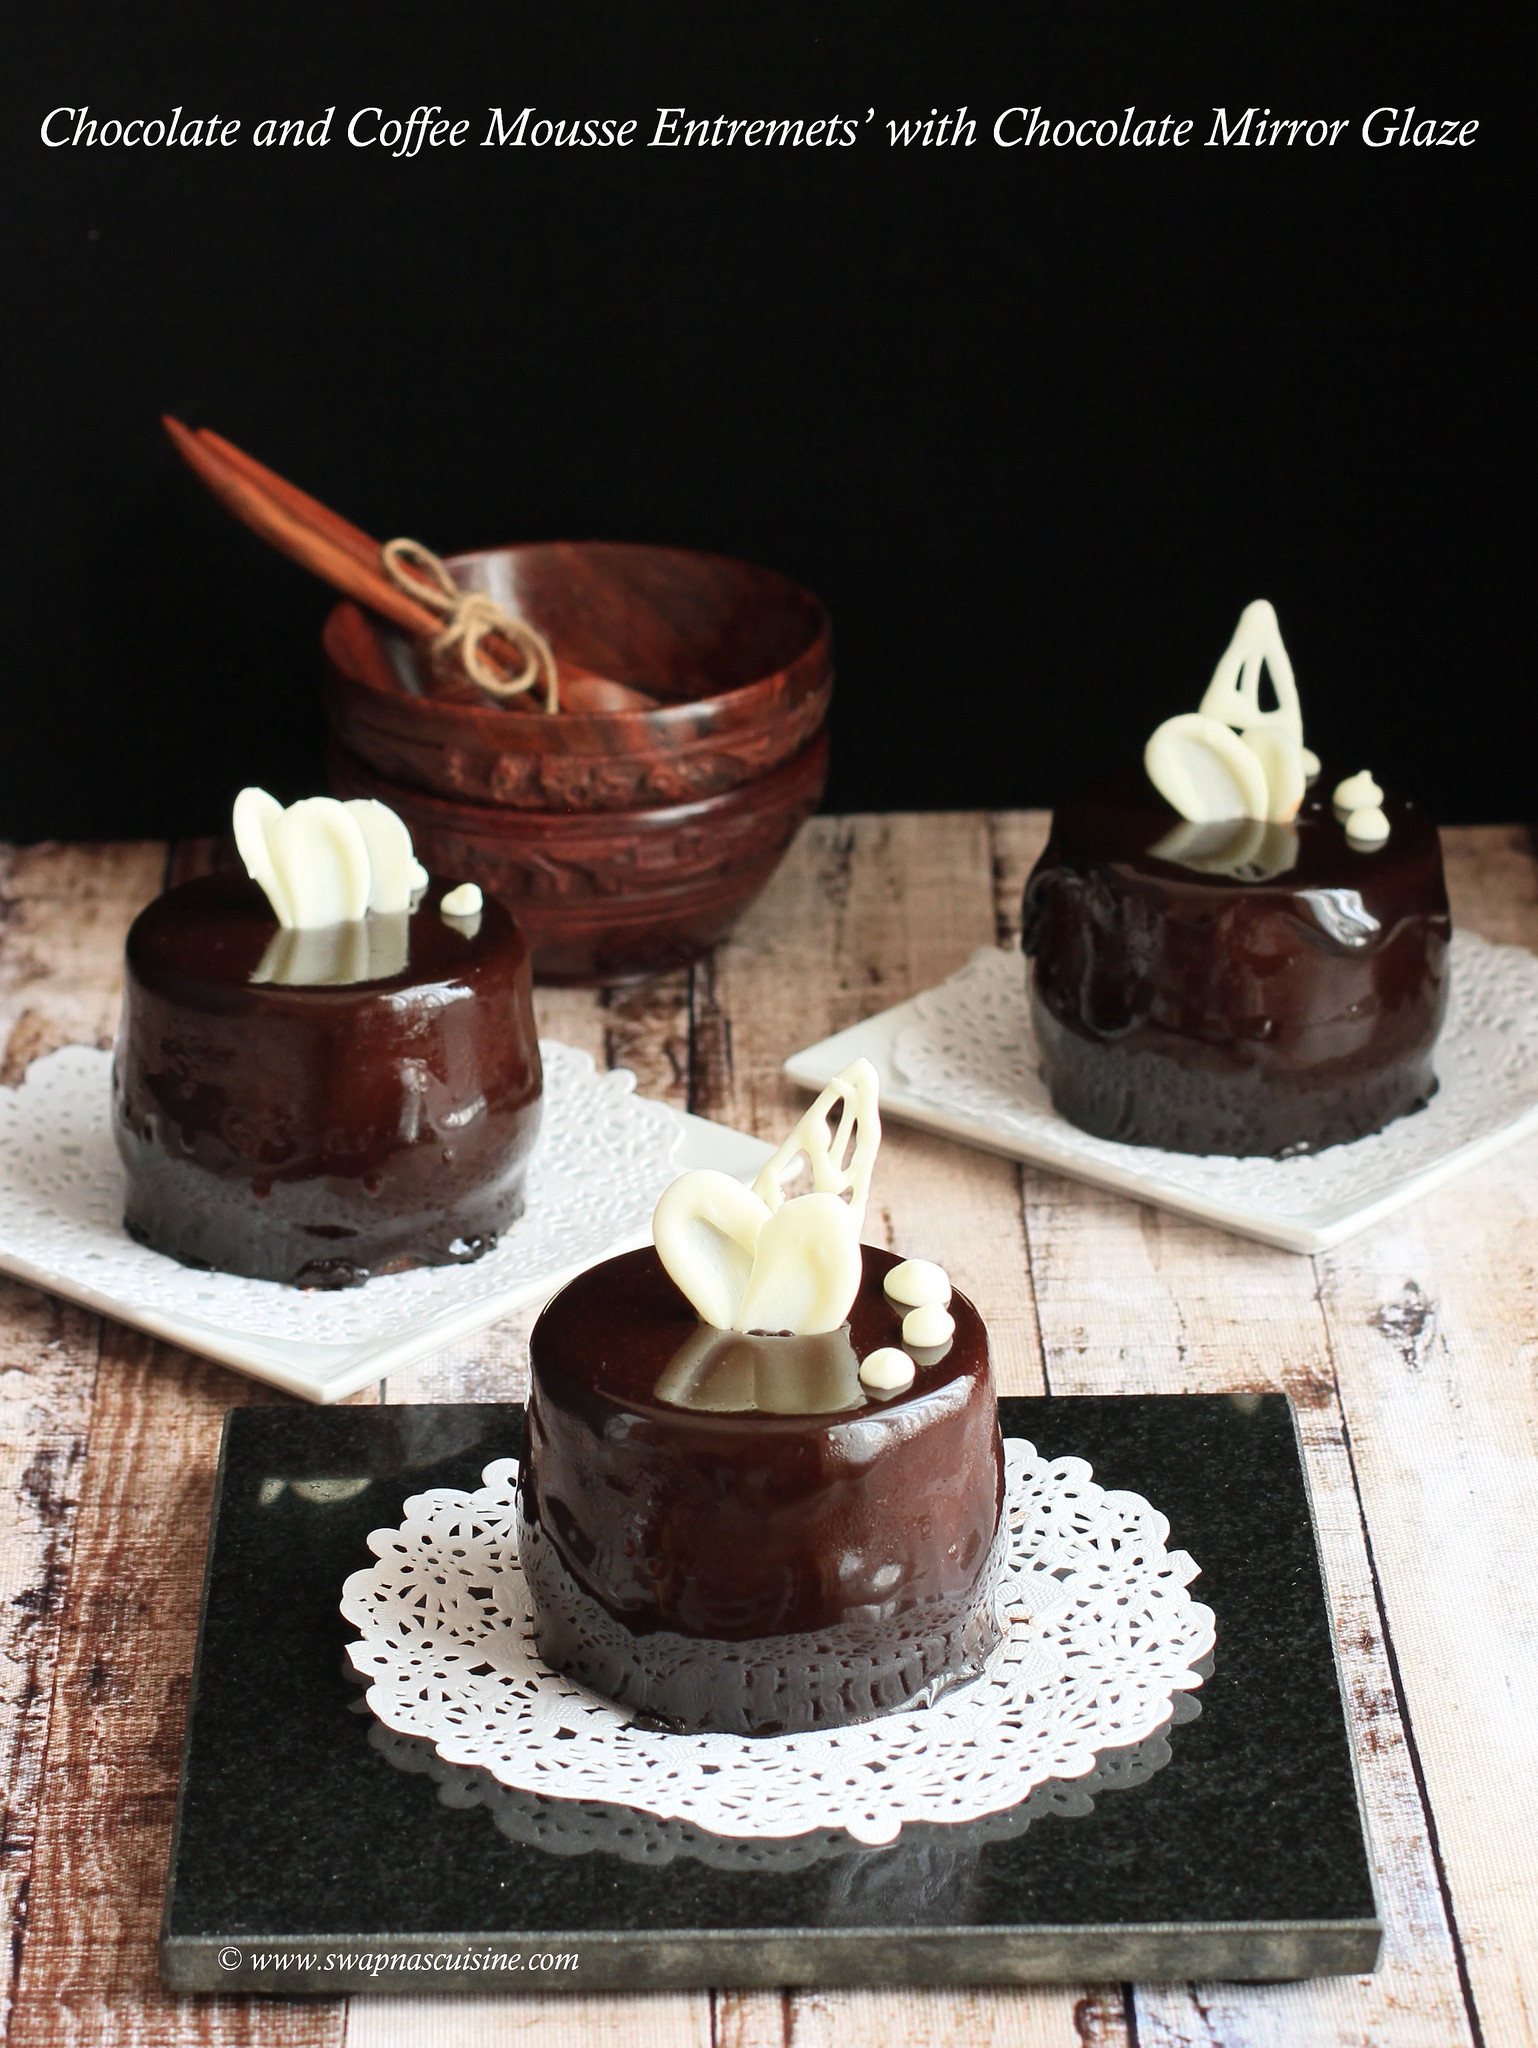
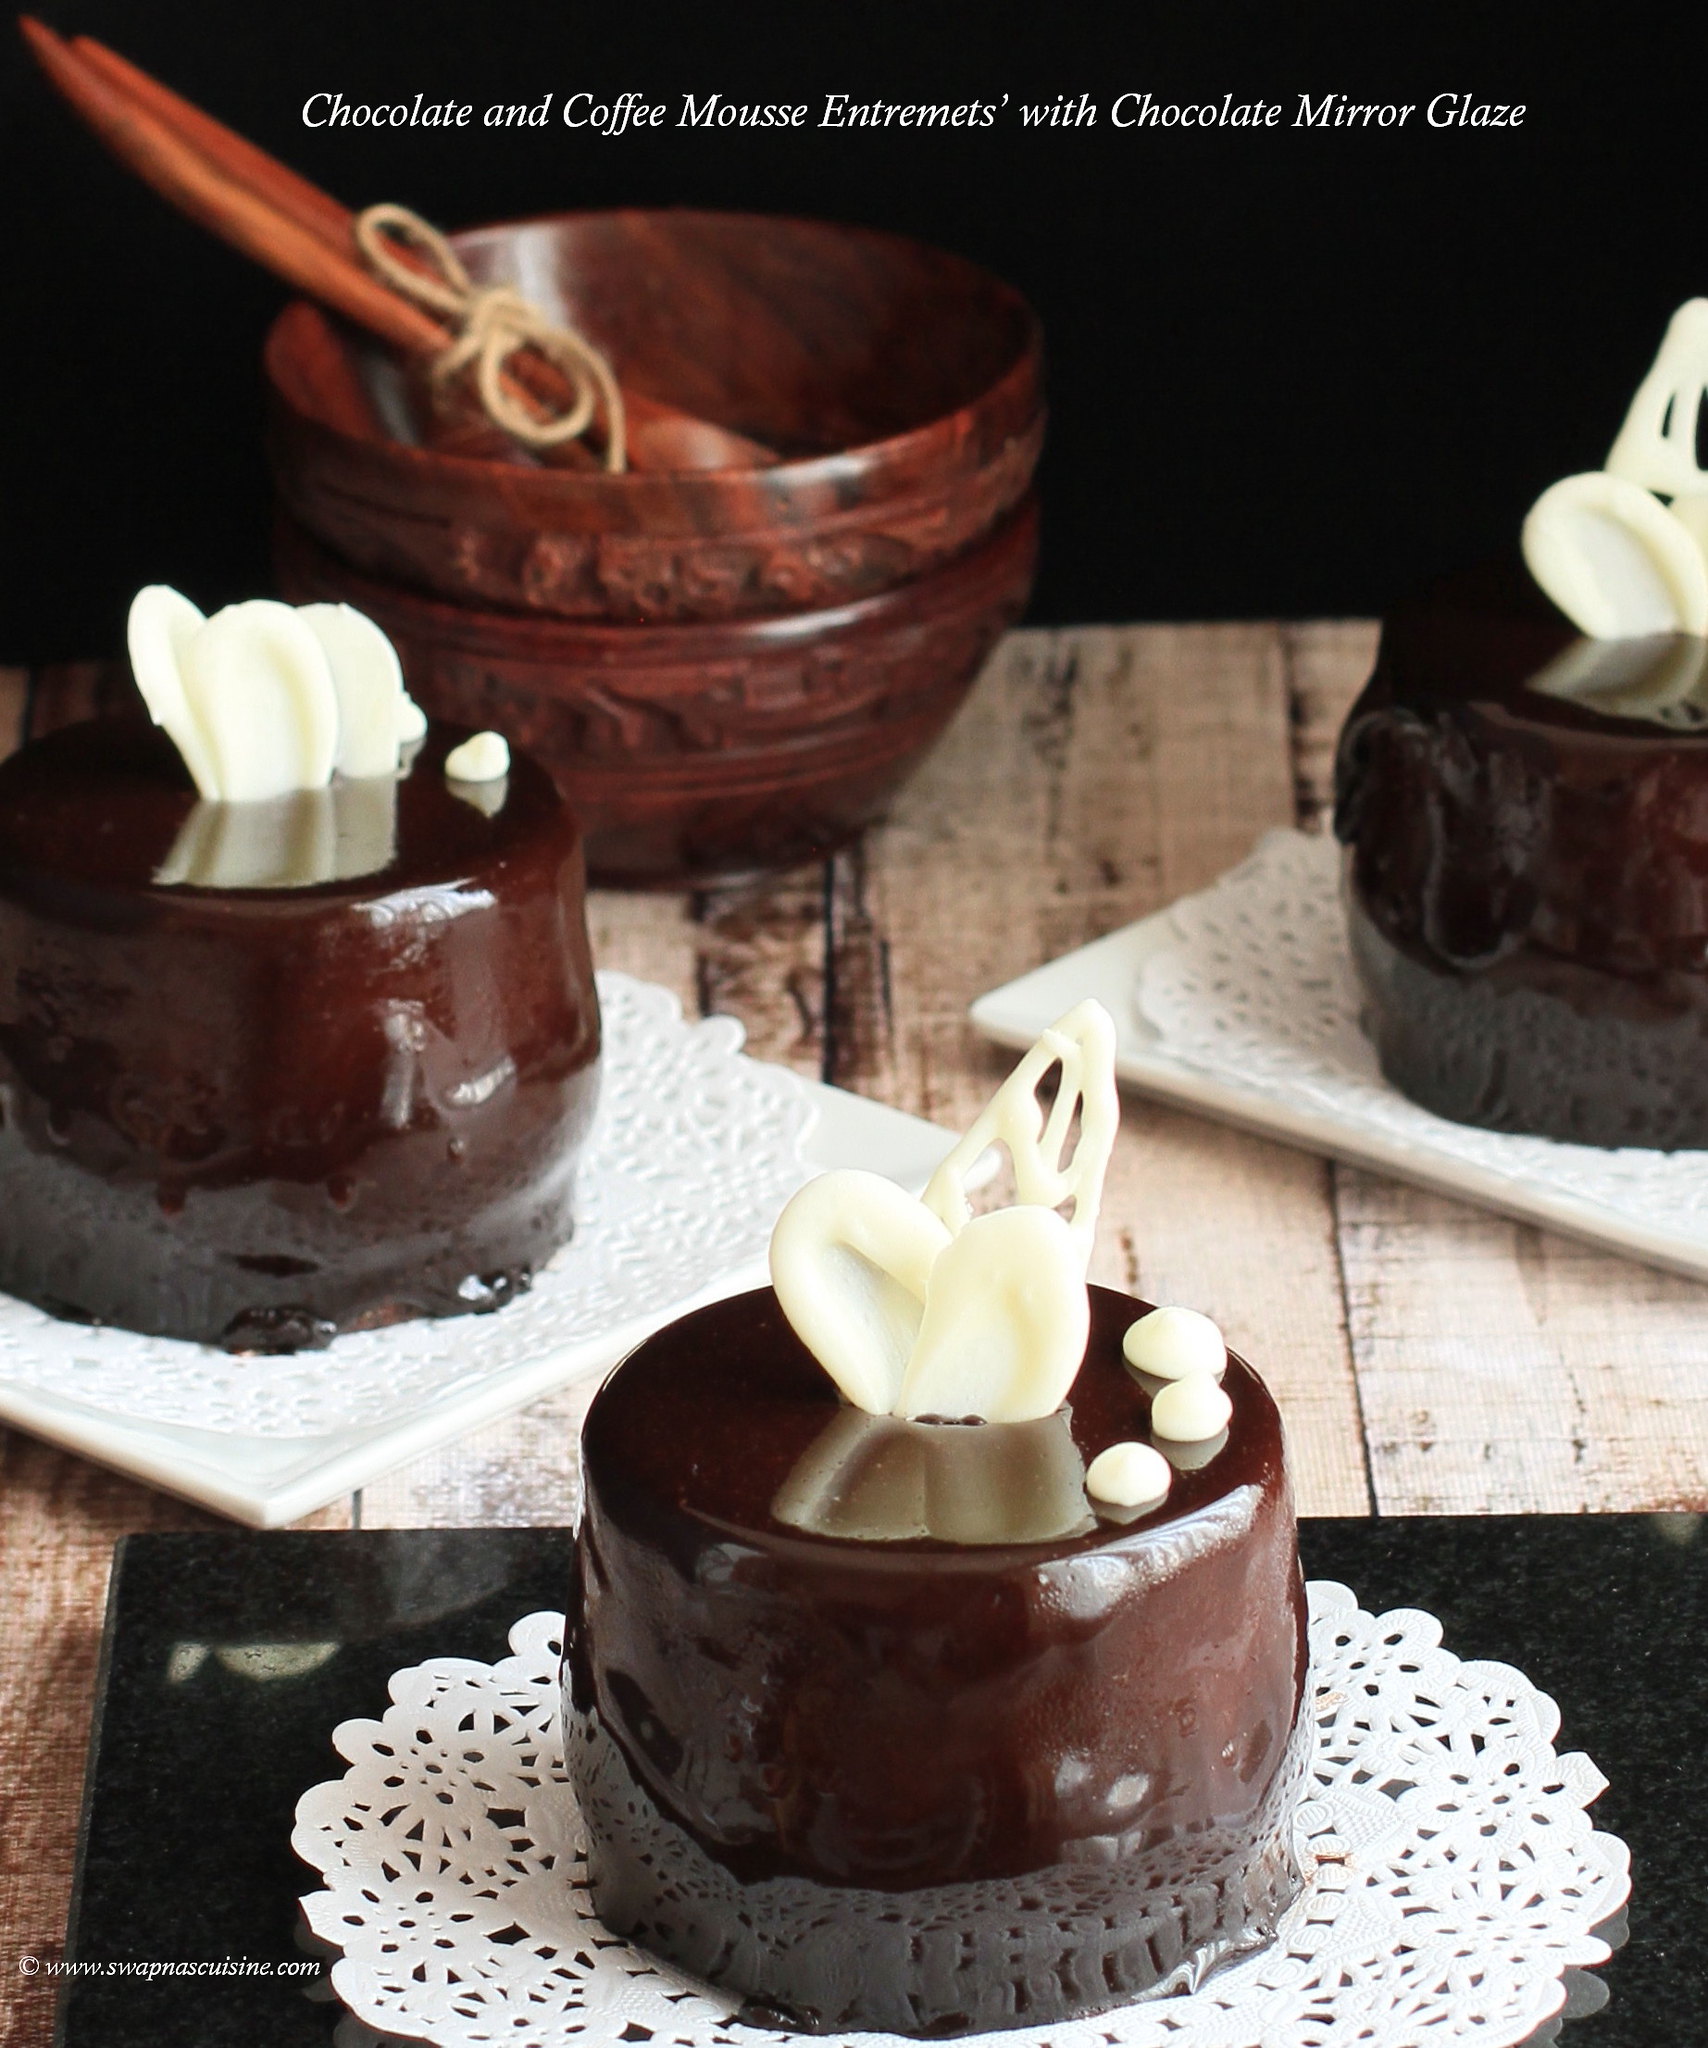
Chocolate and Coffee Mousse Entremets’ with Chocolate Mirror Glaze


Chocolate Mousse Entremets

As always an intention of a short break somehow gets extended to several months!! After a great eight weeks of summer vacation we came back last month. By the time I settled down, my son’s mid-term exam had started! Anyway to compensate for the five month long gap, today, I have come up with a lengthy dessert post for you all :) :) 

An entremet or entremets is in modern French cuisine a small dish served between courses or simply a dessert. It is a multi-layered mousse-based cake with various complementary flavours and varying textural contrasts. Entremets are the perfect dessert for someone who likes a little bit of everything. This dessert consists of a brownie base, two types of mousses and a mirror glaze. The recipe is long, but with a little patience and planning ahead of time, it is quiet easy to make. As you all know I am a huge fan of making individual desserts and hence I set this in small dessert rings but you can just as easily set it in an 8 inch cake ring or loose bottom cake tin. This was an experimental trial for our wedding anniversary last month. Both the mousse recipes are from previous posts of mine. This is the first time I am trying my hands on chocolate mirror glaze. We really loved the different textures and flavours in this dessert. Do try this on your special day and let me know the outcome....
 How to make French Entremet


How to make Chocolate Mirror Glaze with cocoa powder


Chocolate and Coffee Mousse Entremets’ with Chocolate Mirror Glaze Recipe 

Chocolate Brownies
Ingredients:
White sugar - 1 cup
Butter - ½ cup
Cocoa powder - ¼ cup
Vanilla essence - ½ tsp
Eggs - 2
All-purpose flour - ¾ cup
Baking powder - ¼ tsp
Salt - ¼ tsp
Walnut halves - ¼ cup
Method:
  • Melt the butter or margarine and mix all ingredients in the order given.
  • Bake at 350˚F (175˚C) for 20 to 25 minutes in a 9 x 13 inch greased pan.
  • Once the brownie has completely cooled cut out 6 rounds with small dessert rings (I used 2.5” rings).

Coffee Mousse
Ingredients:
Egg yolk - 1
Sugar - ¼ cup (50g)
Corn flour - ¾ tbsp 
Warm milk - 1/3 cup (80ml)
Vanilla essence - ¼ tsp 
Instant coffee - ½ tbsp
Rum / Coffee Liqueur - 1 tbsp (optional) 
Gelatine powder - ¼ tbsp 
Cold water - 1 tbsp 
Whipping cream - ½ cup (120g), 35% fat, chilled

Method:
  • Stir egg yolk with sugar until creamy and pale yellow coloured. Stir in corn starch. Gradually whisk in the warm milk until completely combined.
  • Place the yolks mixture into a small saucepan and cook over low heat while stirring until boils and thickens.
  • Remove from heat and stir in vanilla essence and instant coffee. Let it cool.
  • Dissolve gelatine in 1tbsp cold water and let it swell for about 5 to 10 minutes. Place over low heat just until the gelatine dissolves and then pour it over coffee mixture. (You can also add 1tbsp of rum or coffee liqueur to the mix if you prefer)
  • Whip the cold whipping cream until stiff peaks form. Gradually incorporate into coffee mixture.
  • Pour this mixture evenly on top of the brownie layer in the cake rings and refrigerate until set while you are making chocolate mousse. 

Eggless Chocolate Mousse
Ingredients:
Milk - 1 cup
Cocoa powder - 1 tbsp
Cornflour - ½ tbsp
Sugar - 2 tbsp
Gelatine -1 ½ tsp
Cooking chocolate - 40gm, grated
Coffee powder - ½ tsp
Vanilla essence - ¼ tsp
Cream - ½ cup, whipped till fluffy

Method:
  • Mix cocoa powder and cornflour in ¼ cup milk in a small bowl to a paste.
  • Boil the rest of the milk with sugar in a heavy bottomed pan.
  • Add cocoa and cornflour paste to the boiling milk, stirring continuously.
  • Add grated chocolate. Cook on low heat for 3-4 minutes till chocolate dissolves. Add coffee and remove from fire.
  • Put 3 tbsp water in a small pan. Add gelatine. Dissolve on low heat. (For china grass mix it with 1 cup water and heat till it dissolves).
  • Mix gelatine solution with the chocolate custard. Chill in the freezer for about 20 minutes till a little thick but not set. Beat the thickened chocolate custard.
  • Beat cream and essence till slightly thick and fluffy. Add whipped cream to chocolate mixture. Mix gently.
  • Pour this mixture evenly on top of the coffee mousse layer in the cake rings.
  • Freeze these rings really well while you are preparing the mirror glaze. 

Chocolate Mirror Glaze:
Ingredients:
Sugar - 210gm
Water – 1/3 cup / 75g
Cocoa Powder - 70g
Thick Cream - ½ cup + 4 tsp / 145g
Gelatine - 3 tsp
Cold Water - 3 tbsp

Method:
  • In a medium bowl, bloom gelatine in cold water and keep it aside.
  • In a saucepan, combine 1/3 cup water, sugar, thick cream and cocoa powder. Combine everything with a balloon whisk and cook on medium heat and slowly bring it to a boil. Boil for 2 minutes stirring continuously until mixture slightly thickens.
  • Remove chocolate mixture from the heat and whisk in bloomed gelatine until thoroughly combined.
  • Pass the mixture through a fine-mesh sieve, and allow mixture to cool to lukewarm before using. Stir the glaze occasionally as they cool, so they don’t form a skin on top.
  • Remove mousse from freezer and carefully slide the mousse from the dessert rings. Place it on a parchment lined cookie sheet, elevated off the sheet using small jars or cooling racks.
  • Pour glaze generously over mousses, taking care to ensure there are no bare spots left. Allow the excess glaze to drip off for 5 or 10 minutes, then gently scrape the edges to remove any remaining drops.
  • Carefully transfer cakes using a small offset spatula to cardboard cake rounds or small pieces of parchment paper for easy movement.  
  • Transfer the glazed mousse to the fridge to set for a few hours before serving.Any leftover glaze can be scraped up and refrigerated in an airtight container for later use. When you are ready to use it, warm the chocolate glaze to lukewarm. Strain it through a fine mesh strainer before using, otherwise tiny air bubbles will show on the glaze.
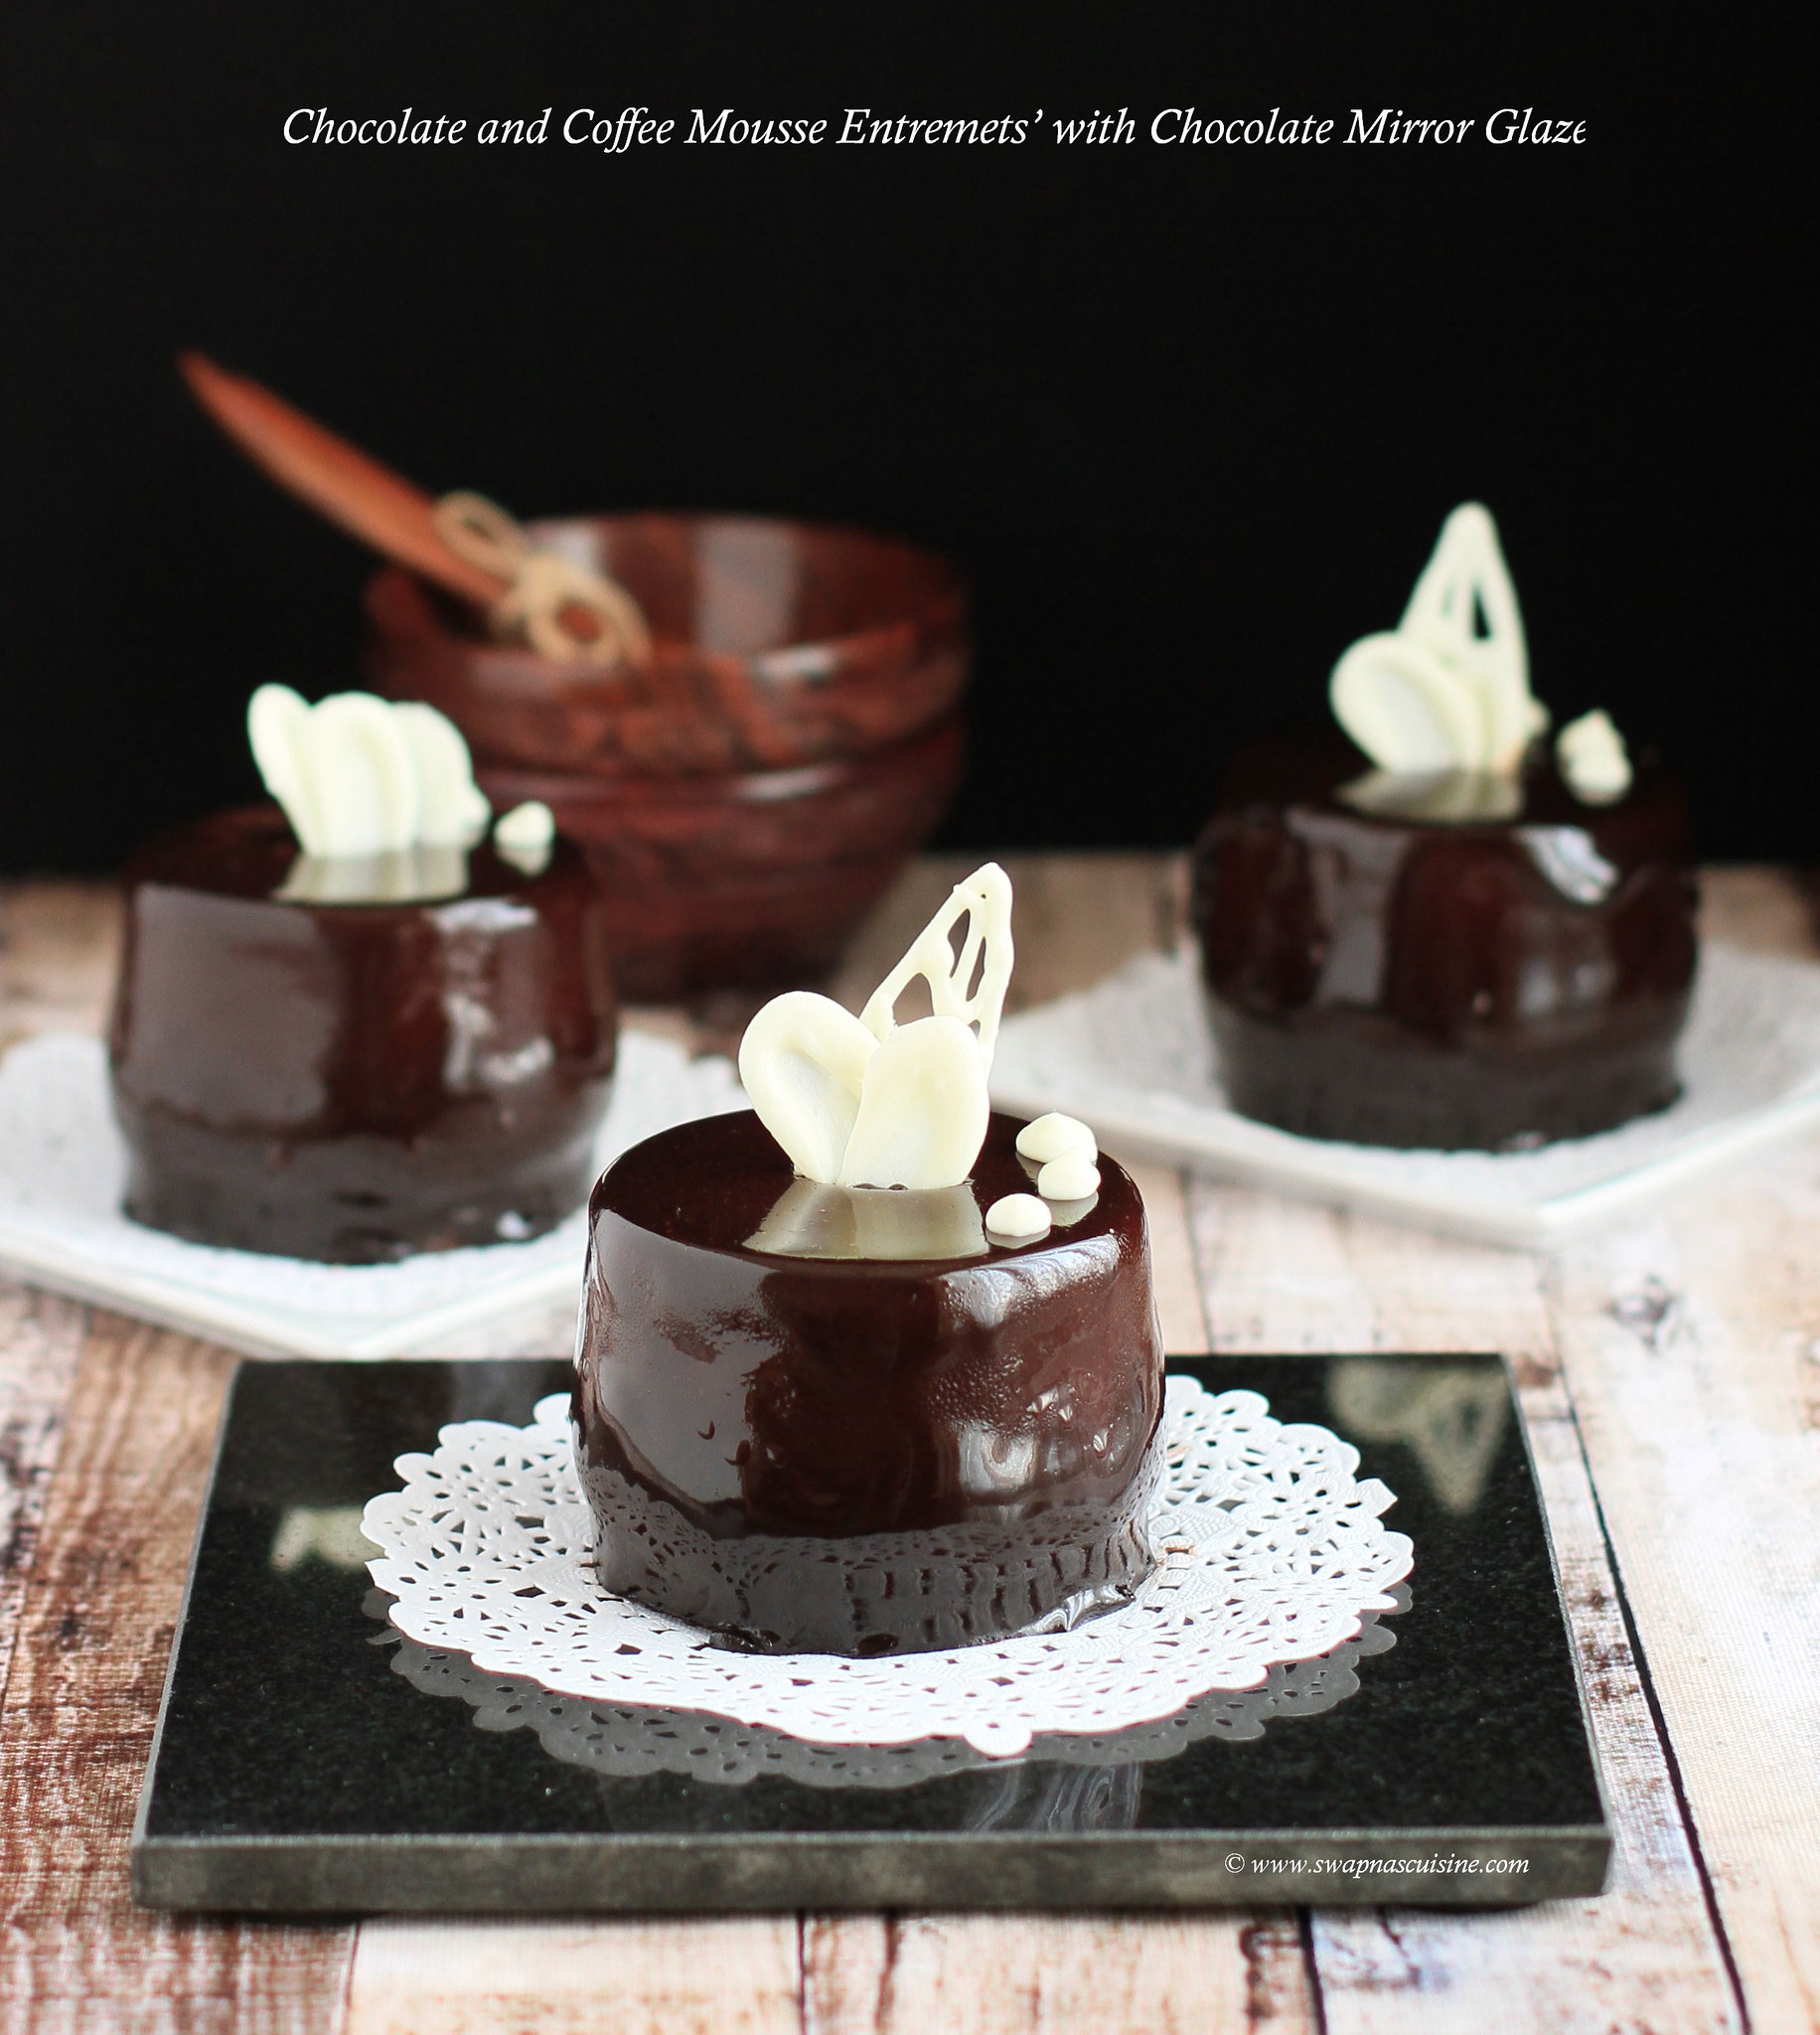
Chocolate Mirror Glaze


Read More » Print Friendly and PDF

Friday, 30 March 2018

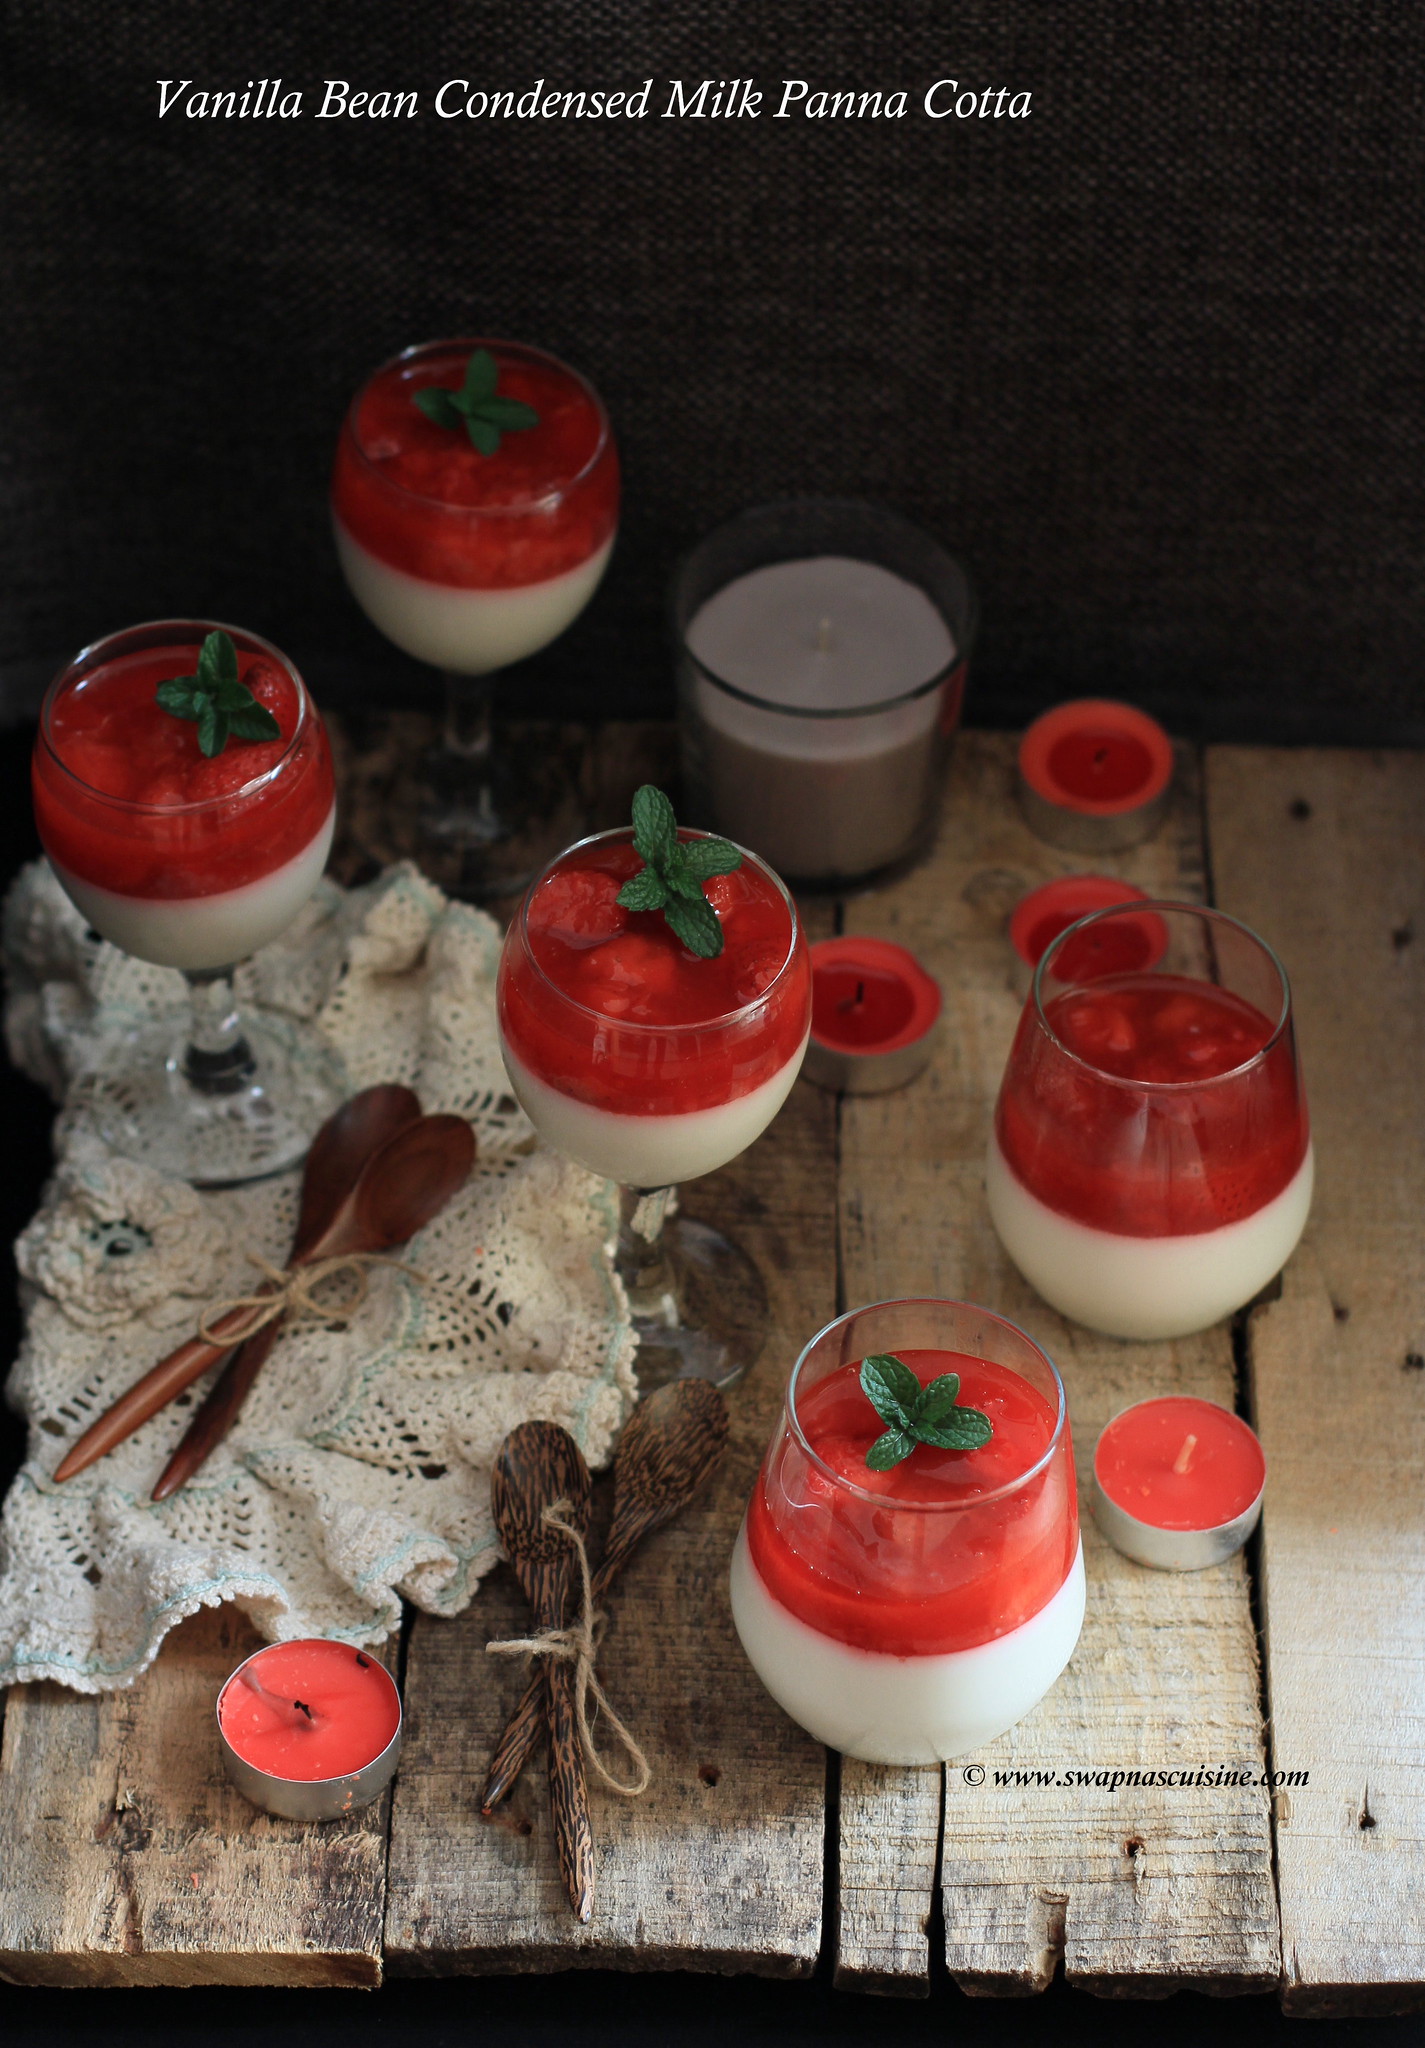
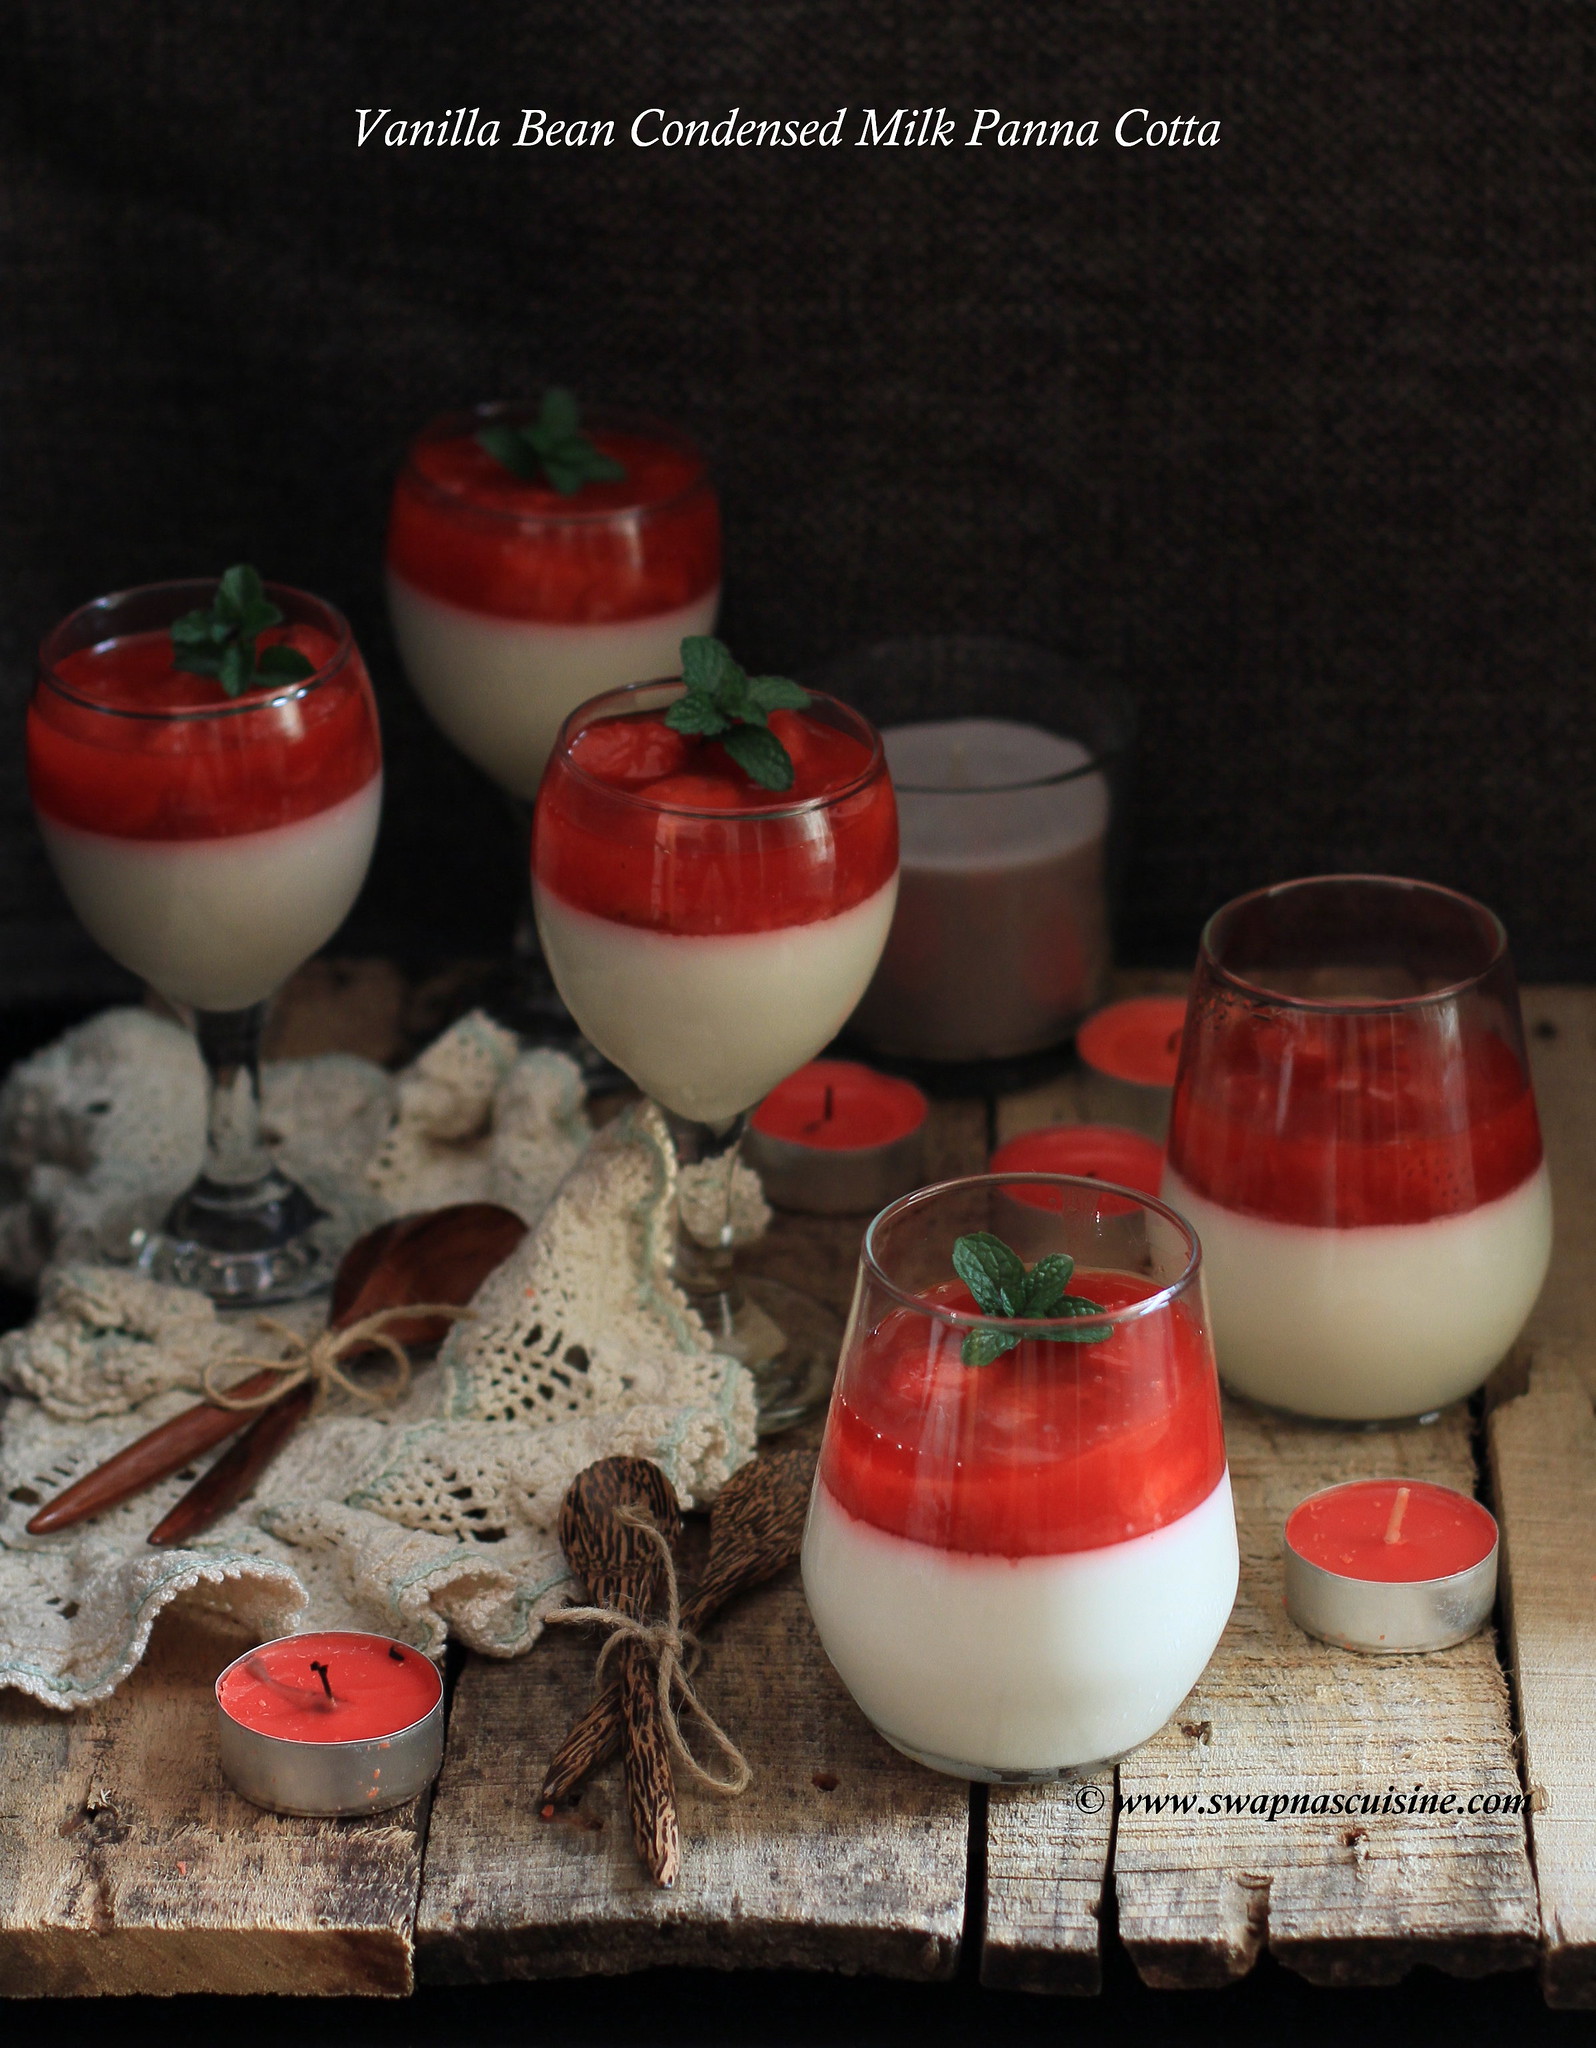
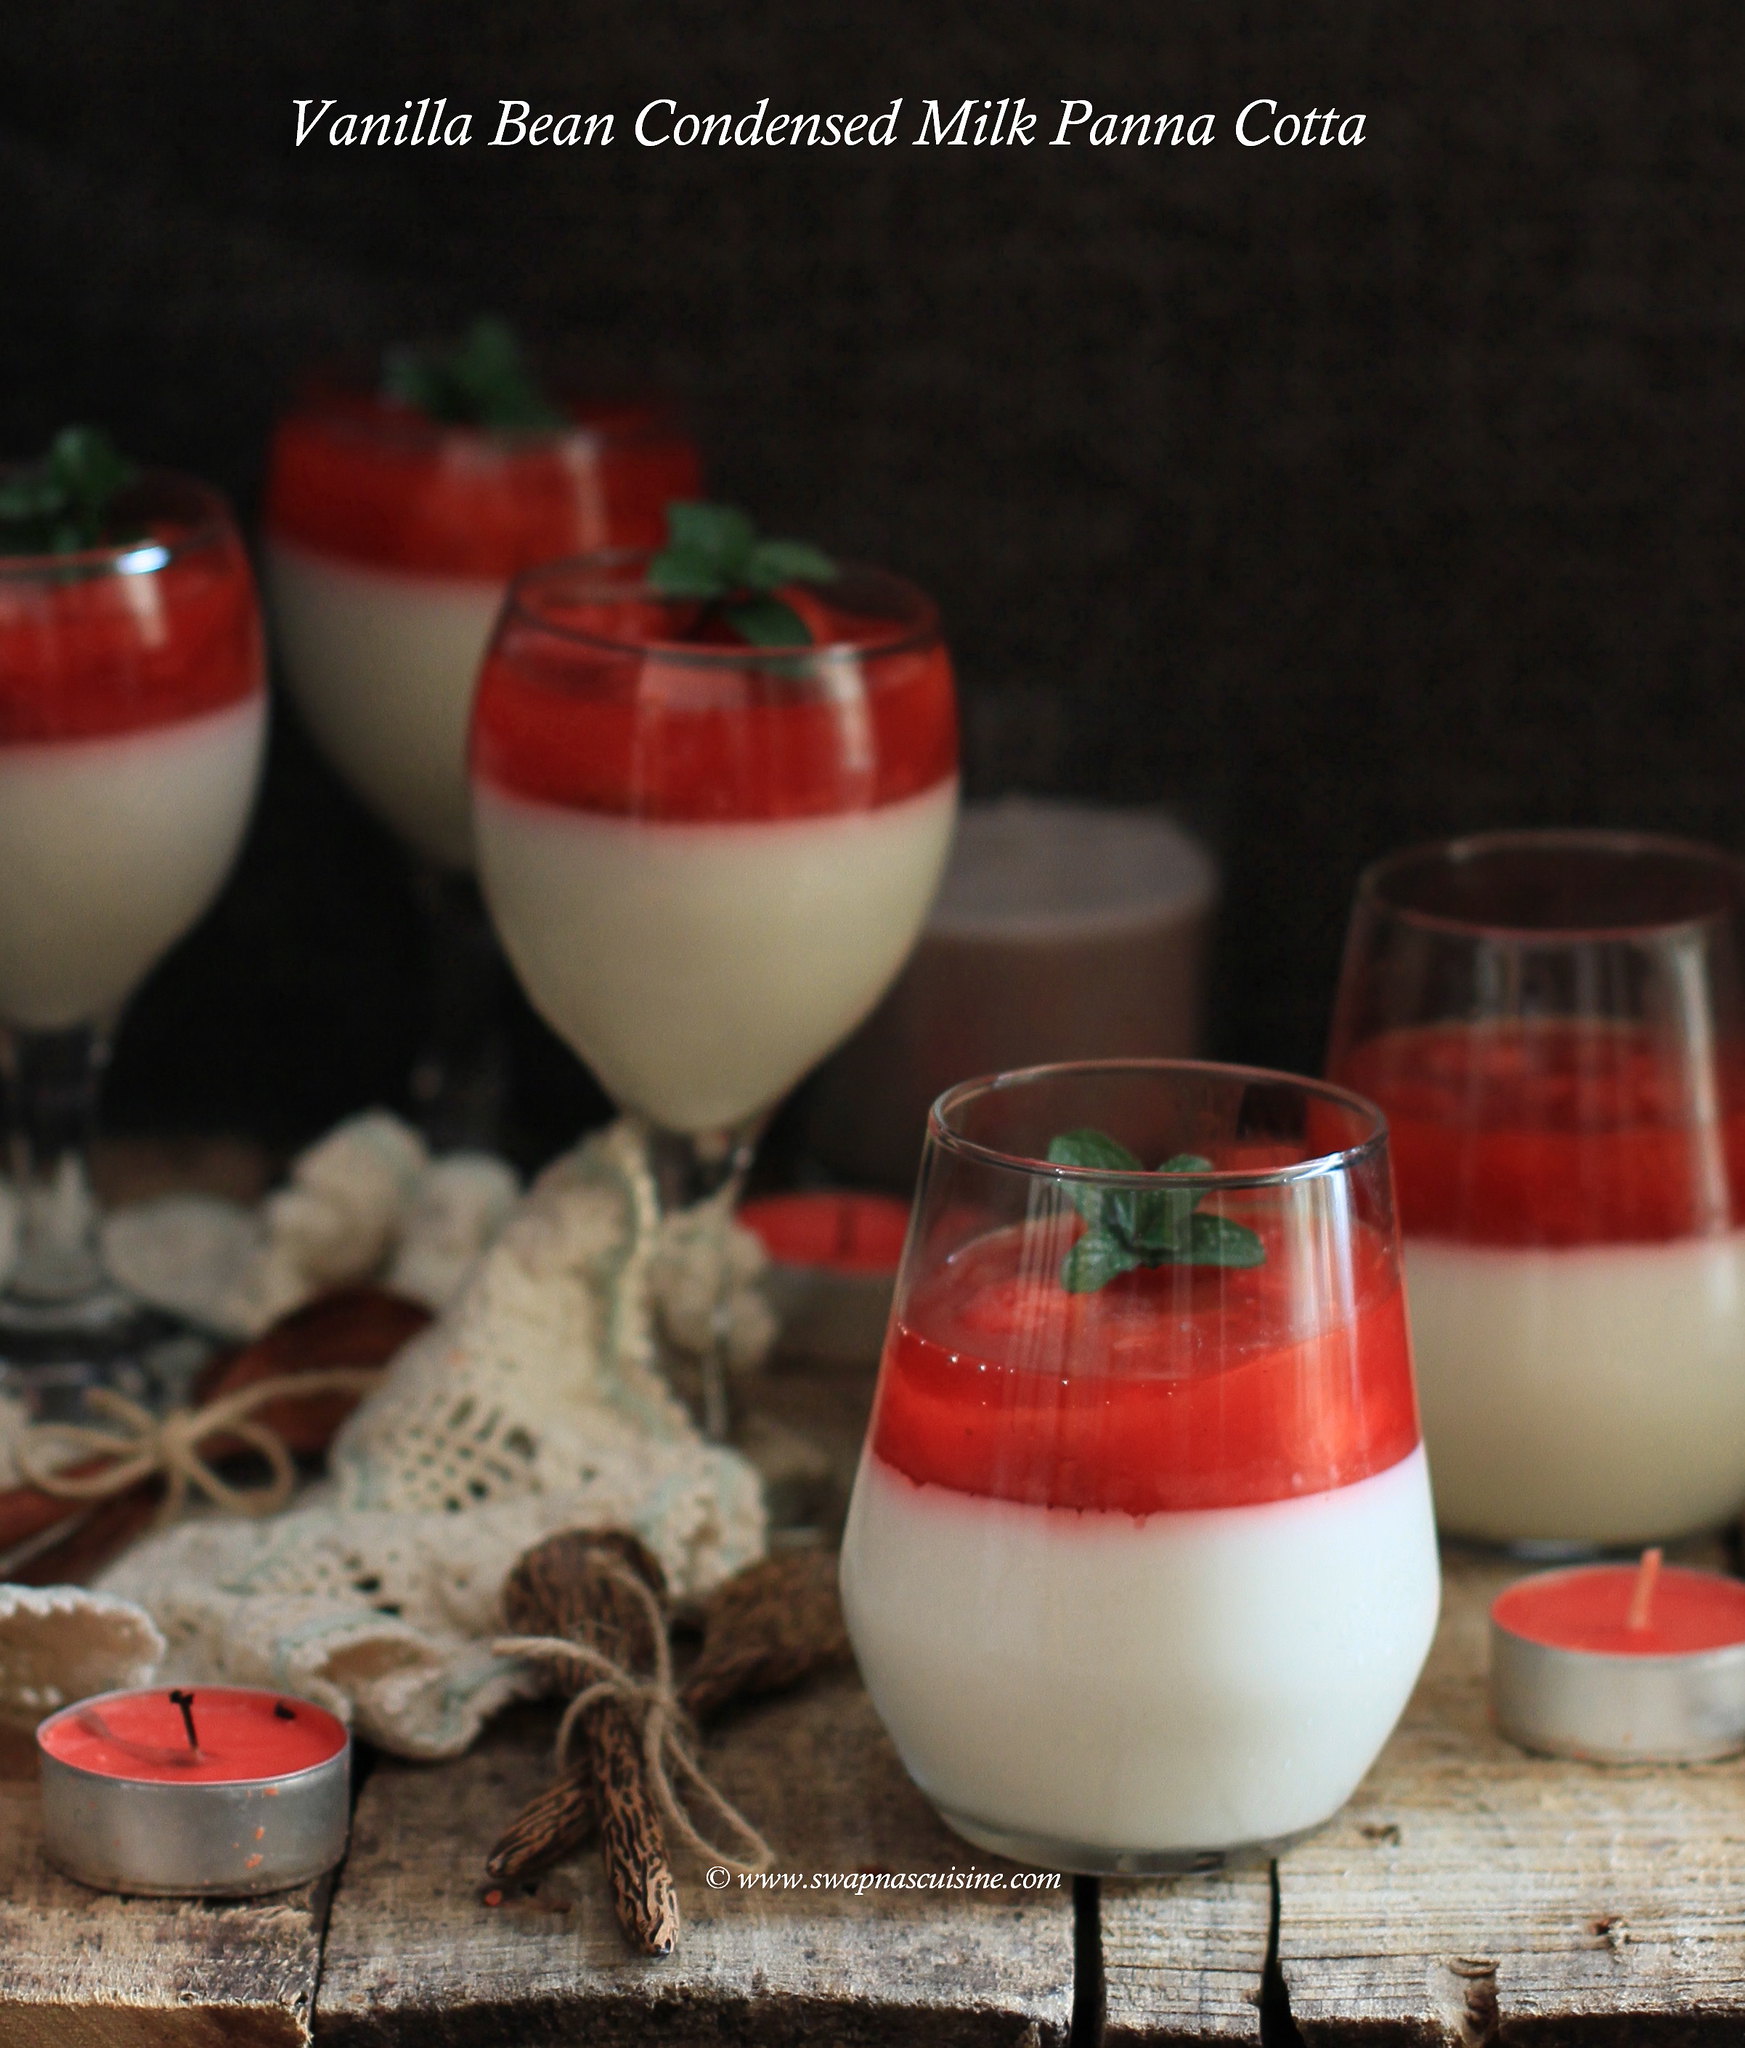
Vanilla Bean Condensed Milk Panna Cotta

May the spirit of the Lord fill your home this Easter and all the rest of your days.
Have a Blessed and Happy Easter!

Vanilla Bean Condensed Milk Panna Cotta Recipe

Hope all are ready for Easter celebrations.... Here is a really delicious and creamy, low fat panna cotta recipe for you to impress your loved ones…. 

Vanilla Bean Condensed Milk Panna Cotta
(Recipe from here)
Ingredients:
Low fat whipping cream – 500 ml
Low fat Condensed milk – 200 gm tube (half a tin)
Skimmed Milk – 200 ml
Vanilla Bean Paste – 1 tsp
Gelatine – 3 tsp

Method:
  • Place low fat cream, milk, condensed milk and vanilla in a medium saucepan; bring to a boil over medium heat, stirring constantly.
  • Remove from heat & whisk in gelatine until smooth and gelatine has dissolved.
  • Pour into six 1/3 cup glasses, cover and chill for 4 hours or overnight.
  • Spoon strawberry topping on top of the panna cotta, serve decorated with fresh strawberries and mint leaves.
strawberry panna cotta

Strawberry Topping
Ingredients:
Fresh or frozen strawberries – 250gms
Sugar – 1/2 cup
Cornflour - 1 1/2 tbsp
Pinch of salt
Almond extract - 1/8 tsp
Juice of ½ lime
Method:
  • In a large saucepan toss together the strawberries, sugar, cornflour, lime juice and salt. Allow it to sit for about 30 minutes to allow the sugar to draw out the juice.
  • Cook over moderate heat, stirring constantly, until thickened and boiling. Simmer 1 minute. The mixture should just barely drop from a spoon. Remove from heat and stir in almond essence. Cool and spoon over cold panna cotta. 
Condensed milk panna cotta recipe

Read More » Print Friendly and PDF

Monday, 12 February 2018

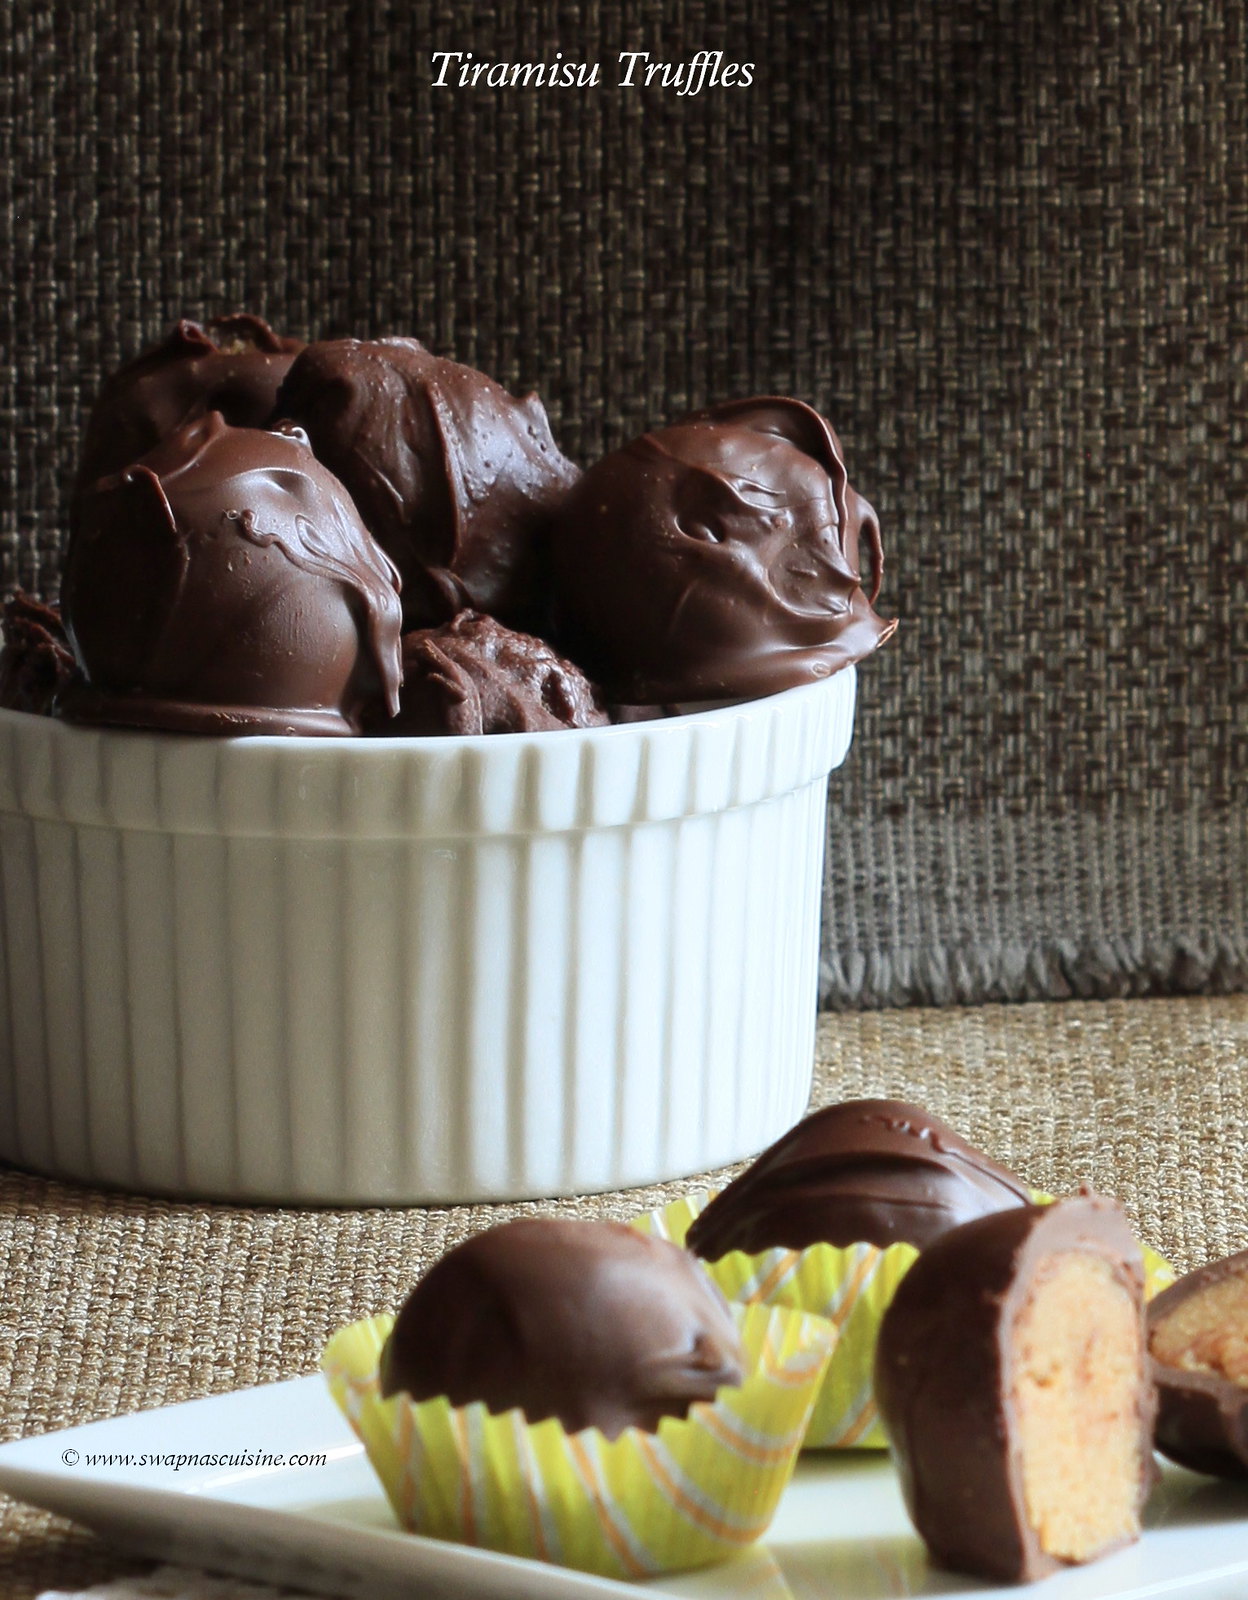
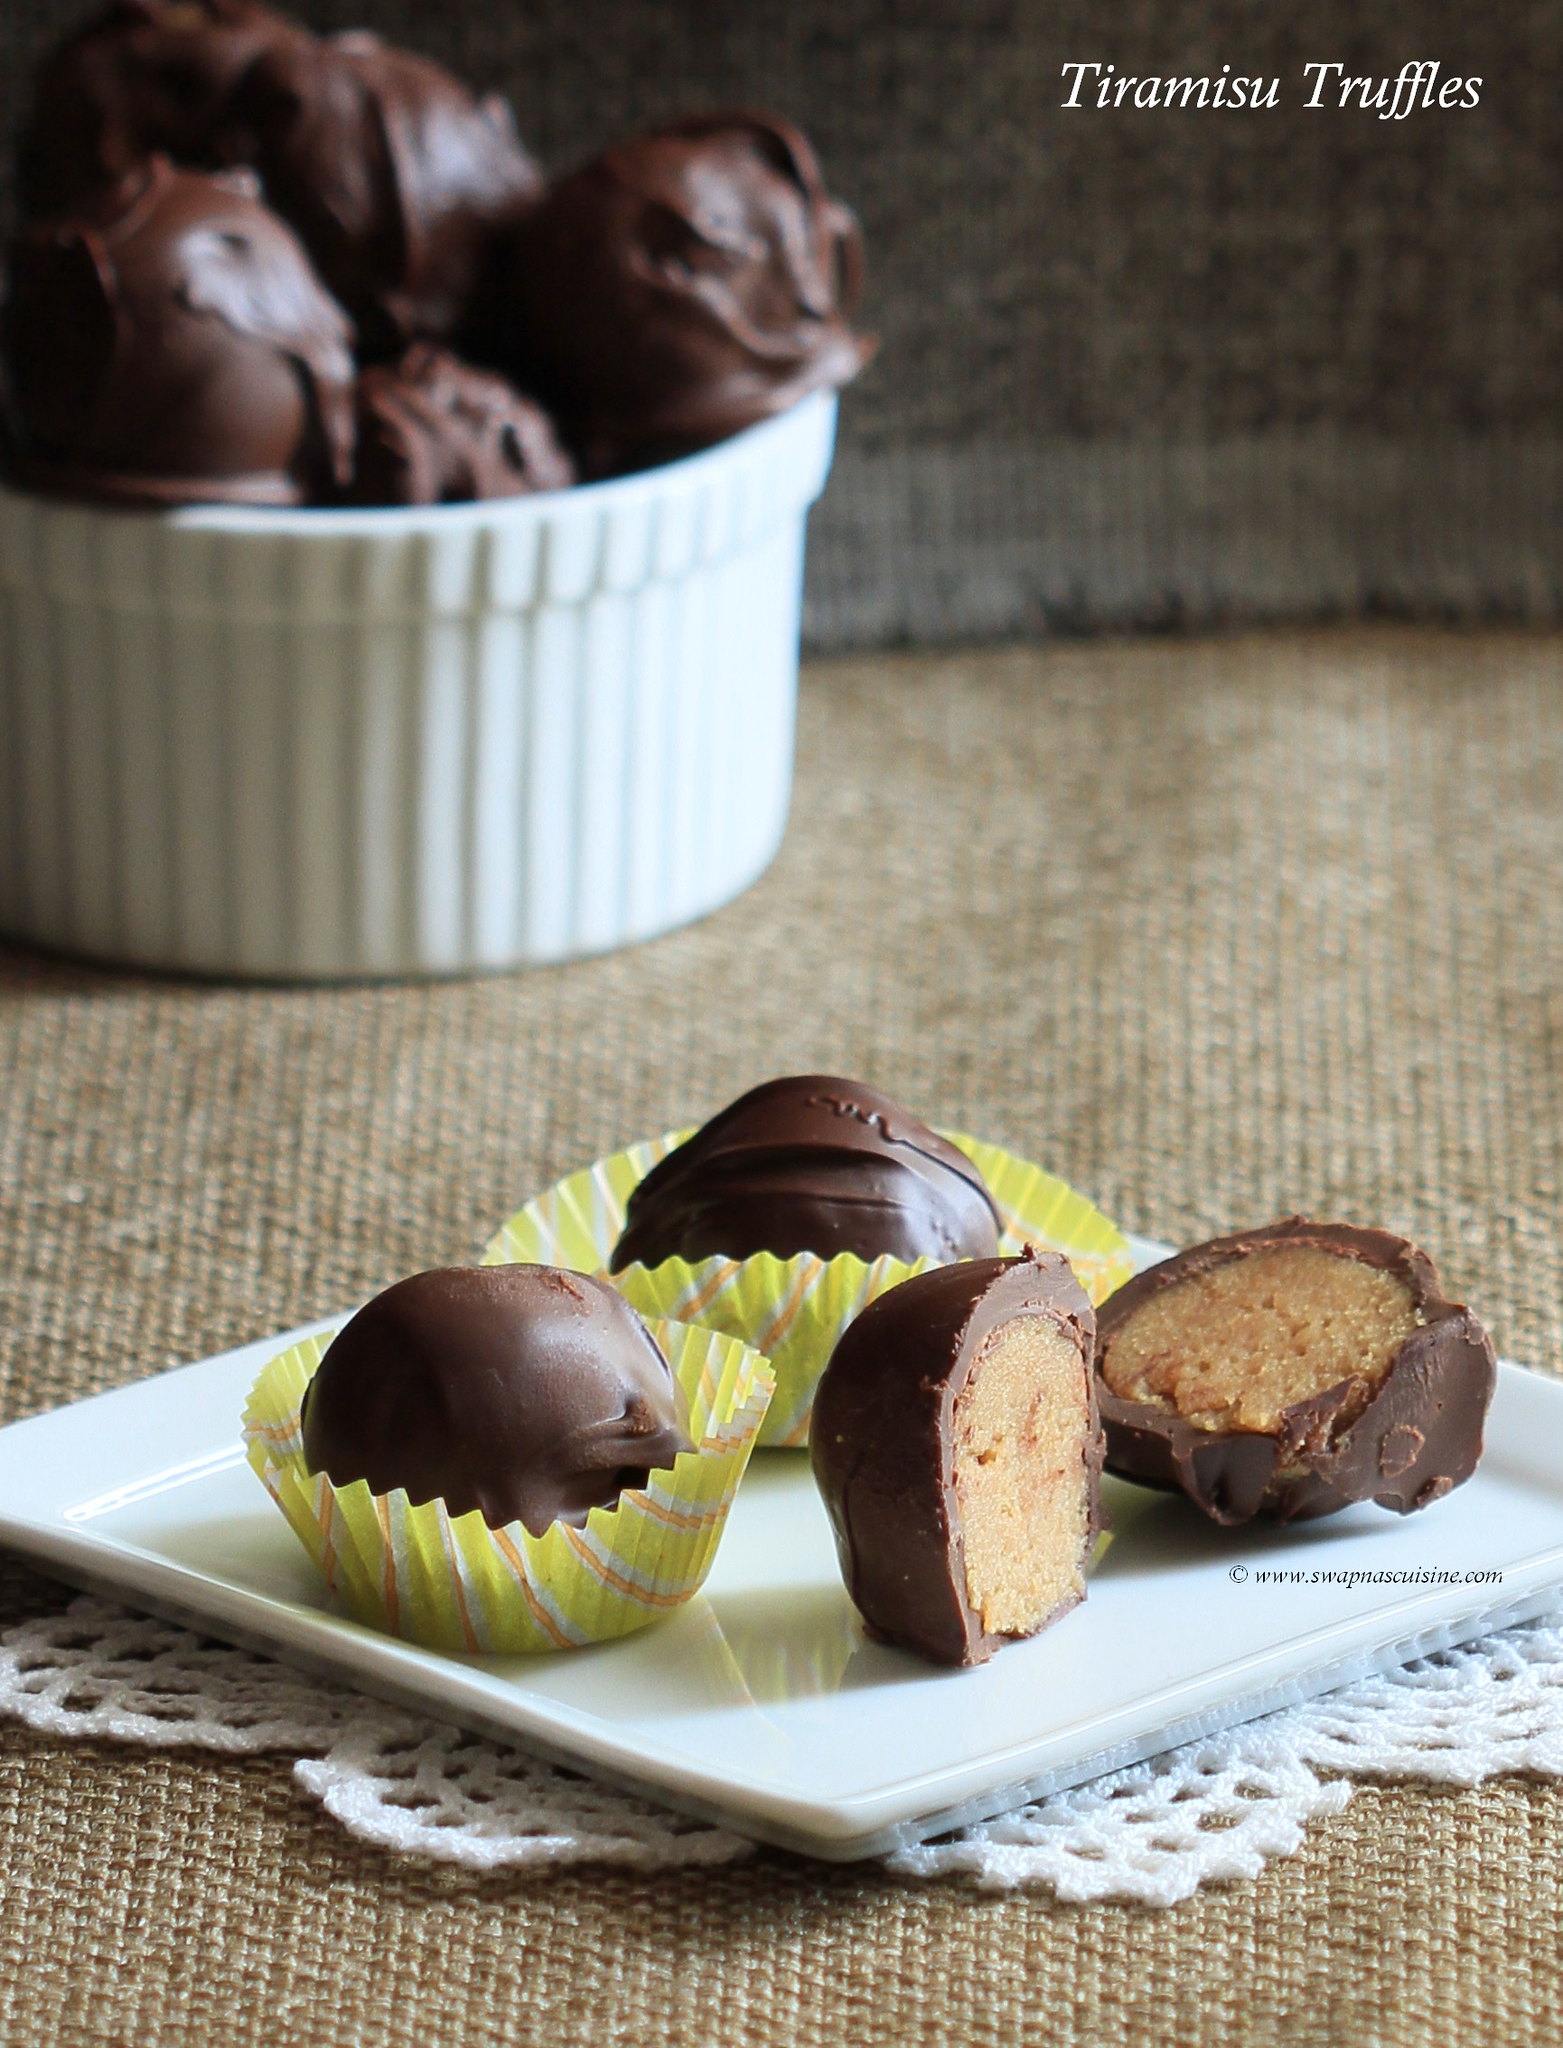
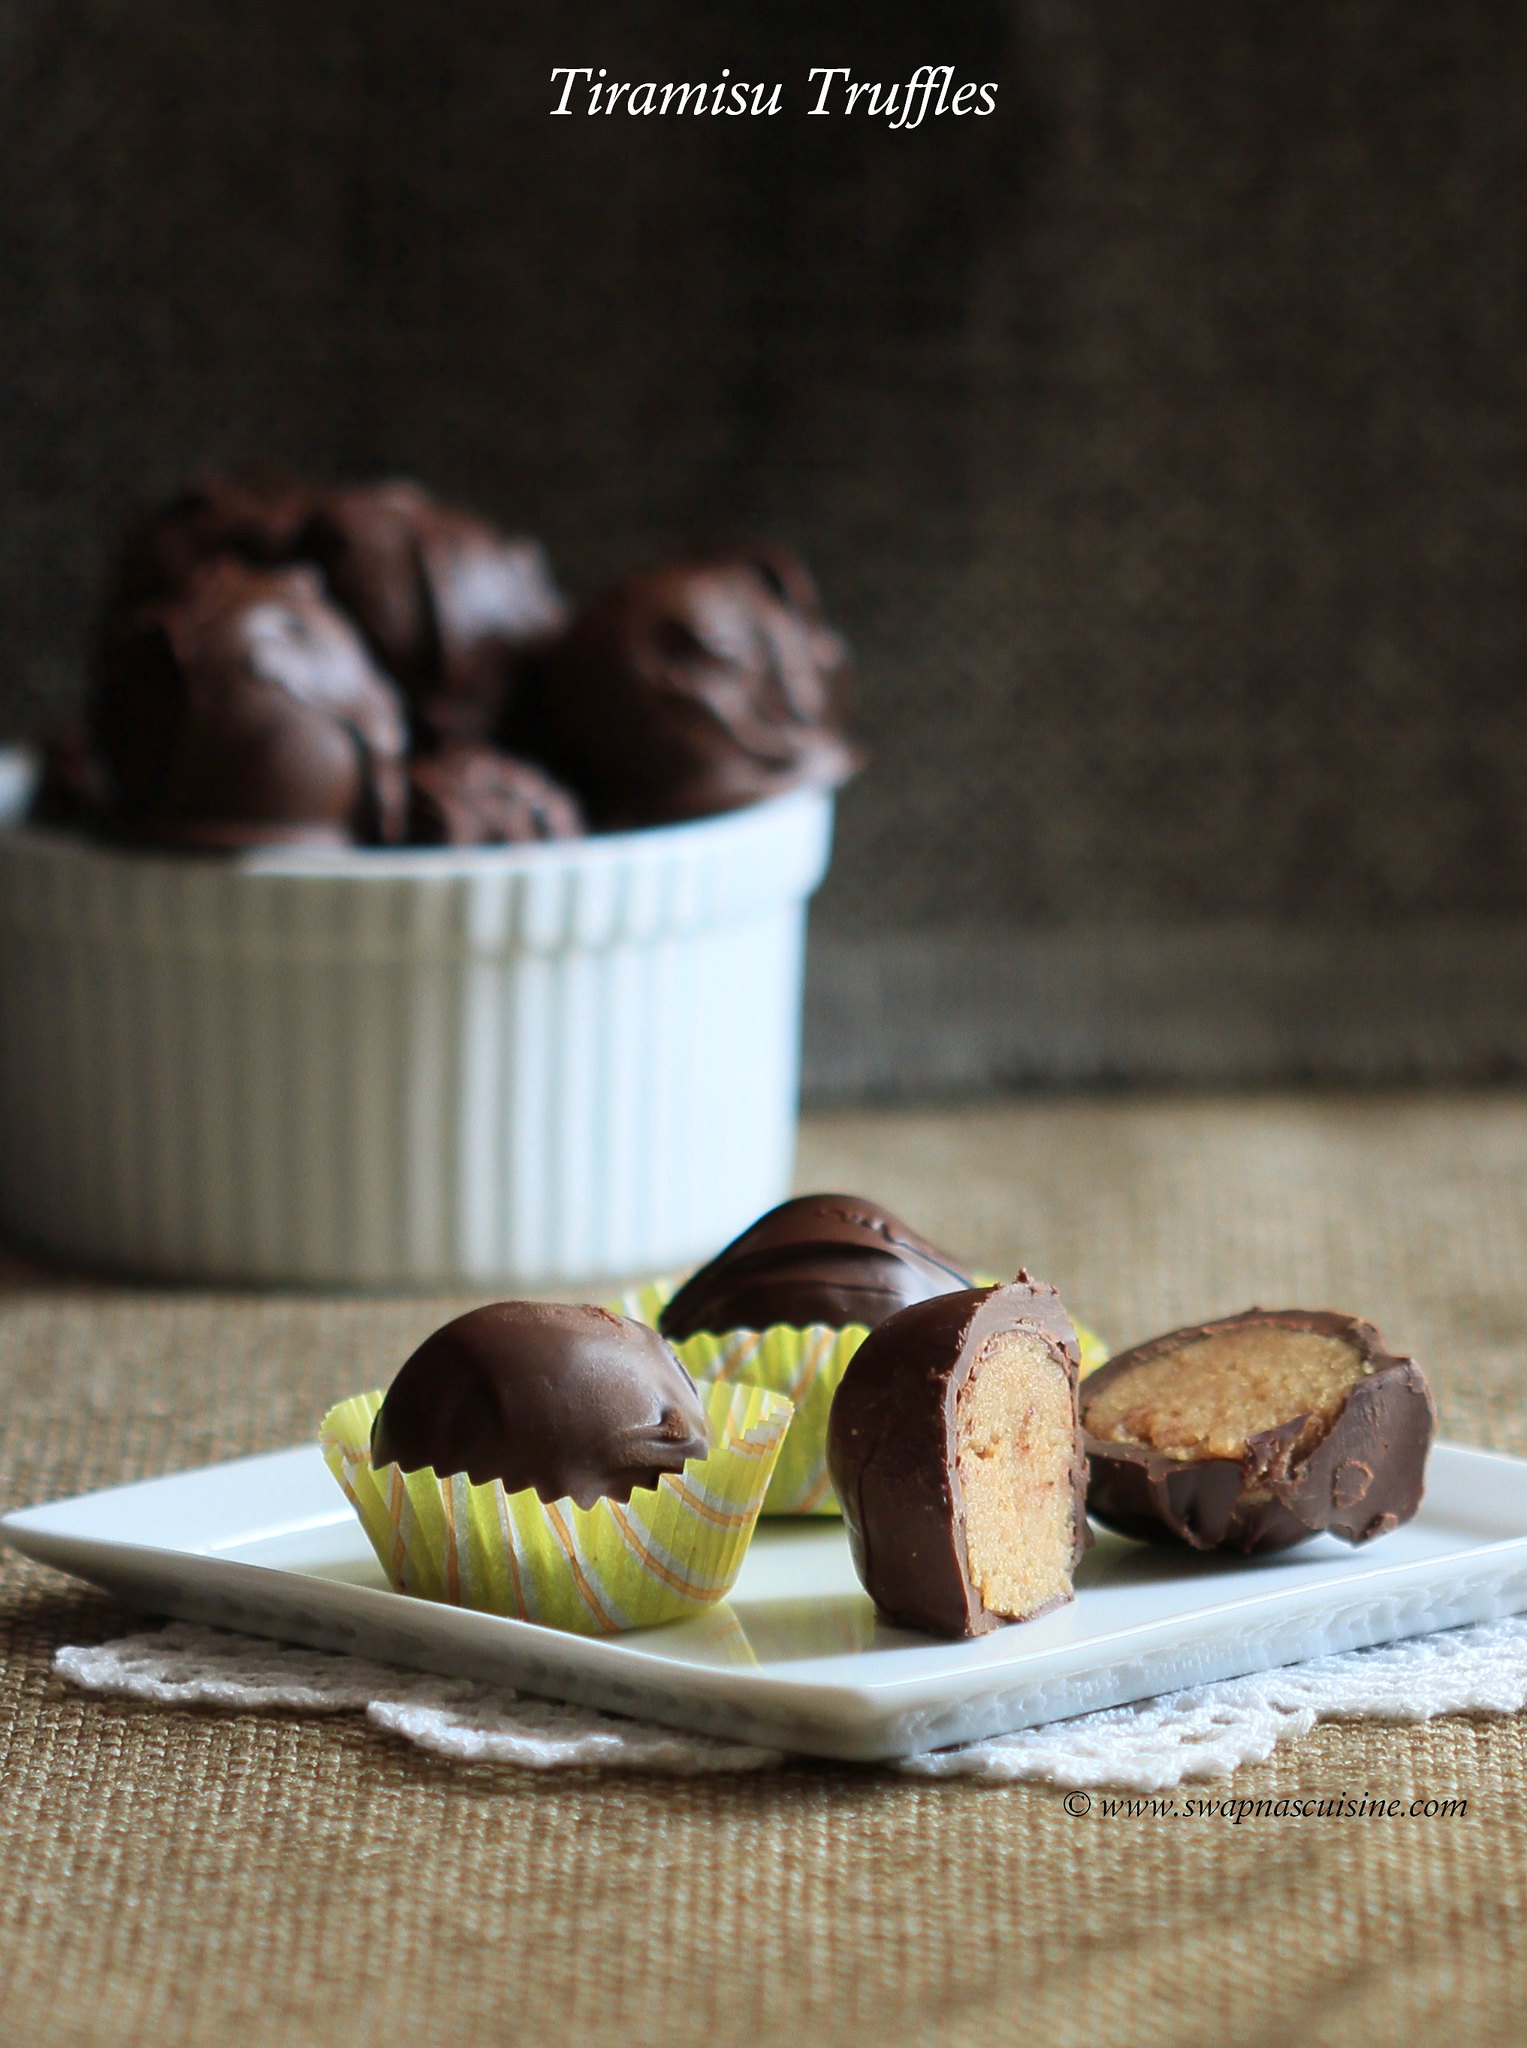
No-Bake Tiramisu Truffles


Valentine ’s Day Desserts


Valentine ’s Day is just around the corner, so here is a quick recipe for you to try out! Tiramisu truffles are a wonderful blend of Italian biscuits, coffee and chocolate all in one delicious bite. These truffles taste best when served the next day after making it, which allows the Savoiardi (ladyfinger biscuits) to absorb all the flavours and really bring out the true taste of tiramisu.

How to make truffles at home

No-Bake Tiramisu Truffles
(Adapted from here)

Ingredients
24 Savoiardi  / Ladyfinger Biscuits (12 oz or 1 packet)
2 tbsp Sugar
2/3 cup mascarpone cheese, room temperature
1 tbsp instant coffee powder
2-3 tbsp Rum / coffee liquor
2 cups (12 ounces) semi-sweet chocolate
1 tsp instant coffee powder (optional)

Method: 
  • In a food processor, blend Savoiardi (ladyfinger biscuits) until you have fine crumbs. Set aside 2 tablespoons to sprinkle on the truffles later.
  • Add the sugar and 1 tbsp coffee powder and whisk until combined.
  • In to this add the mascarpone cheese and mix until fully incorporated.
  • Add the rum or coffee liquor one tablespoon at a time. You need to get a the dough similar to a soft cookie dough. Transfer the mixture to a container and place in the fridge for 45 minutes to an hour.
  • Line a baking sheet with wax paper or parchment paper. Remove the mixture from the fridge (it should be firmer now). Start to shape the mixture into 36 (1-inch) balls and place them on the prepared baking sheet. Freeze for 10 minutes.
  • Melt the chocolate over a double boiler and stir in the coffee powder (The chocolate should be completely smooth and velvety).
  • Dip a cold tiramisu truffle into the melted chocolate and transfer it back to the baking sheet.
  • Sprinkle the truffle with the crushed lady fingers you set aside earlier. Repeat for the remaining truffles.
  • Place the baking sheet in the fridge for a 5 to 10 minutes for the chocolate to harden. Store tiramisu truffles in an airtight container in the fridge.
  • You can bring them to room temperature before serving if preferred.


No-Bake Tiramisu Truffles Recipe


Read More » Print Friendly and PDF

Monday, 25 December 2017

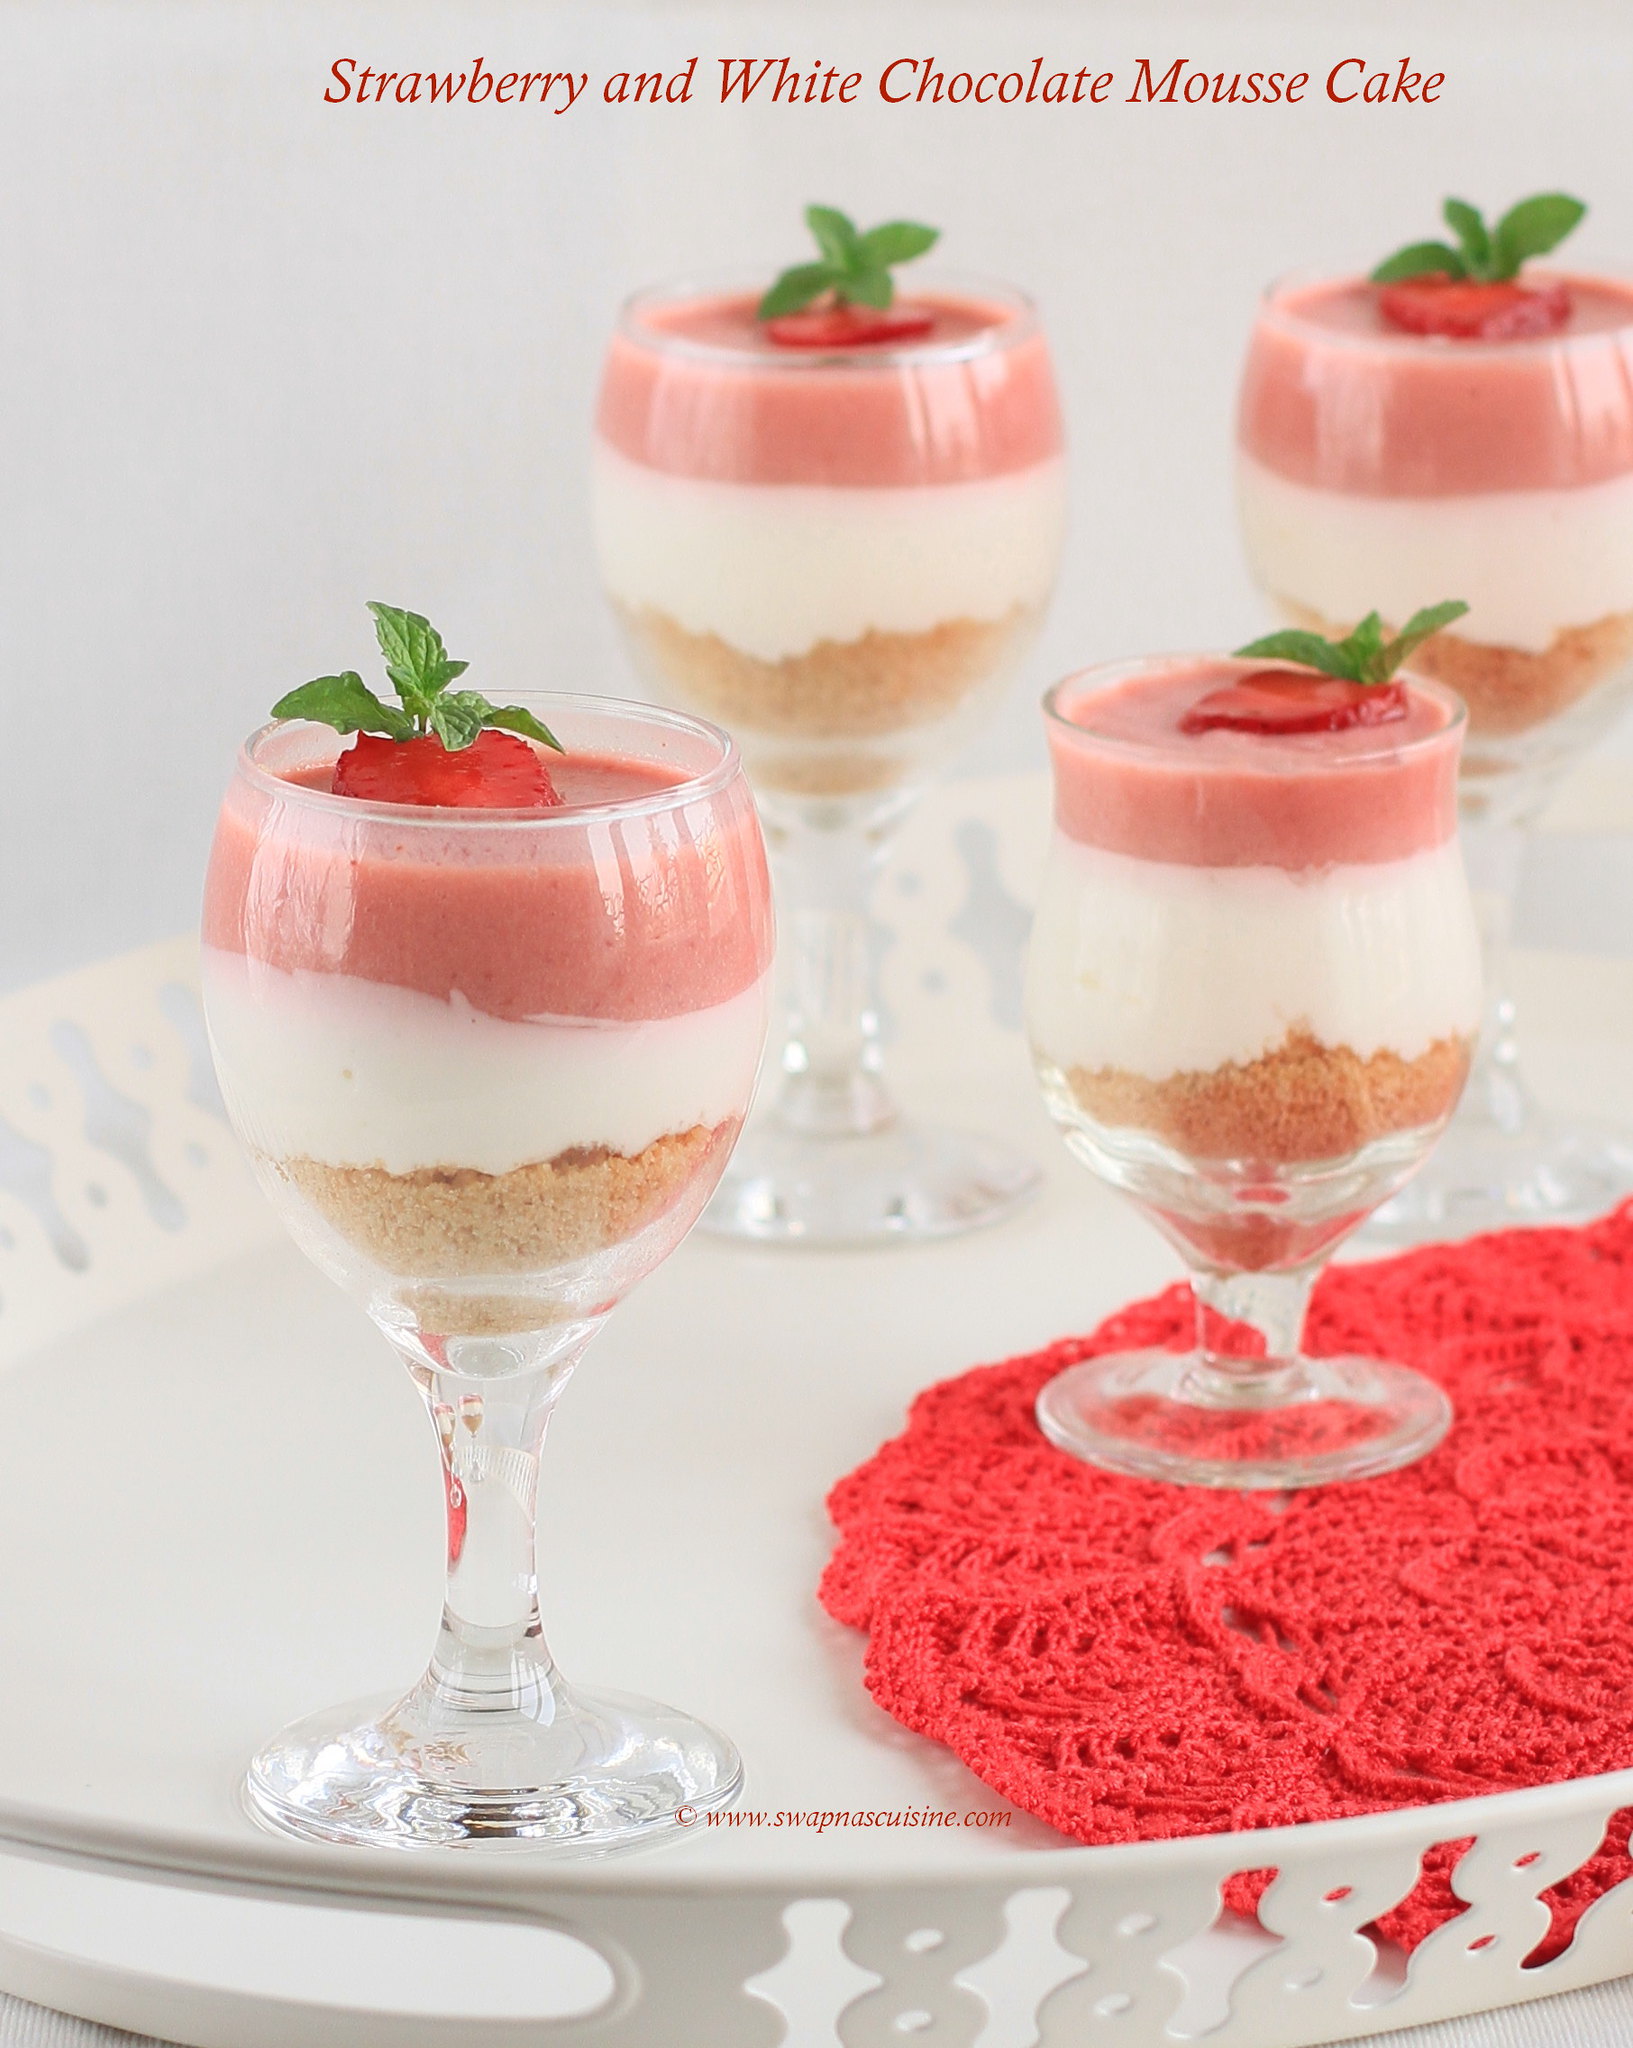
Strawberry and White Chocolate Mousse Cake Recipe

May this festive season sparkle and shine, may all of your wishes and dreams come true, and may you feel this happiness all year round. Merry Christmas!

Eggless Mousse Recipe


It is like just yesterday we celebrated Christmas and in just a blink of an eye it’s another Christmas! Hope you all have finalised your Christmas menu and are all set to celebrate with your loved ones… If you are still confused with the menu you can go through my Christmas special here or I have created an album on my Facebook page that you can check out...


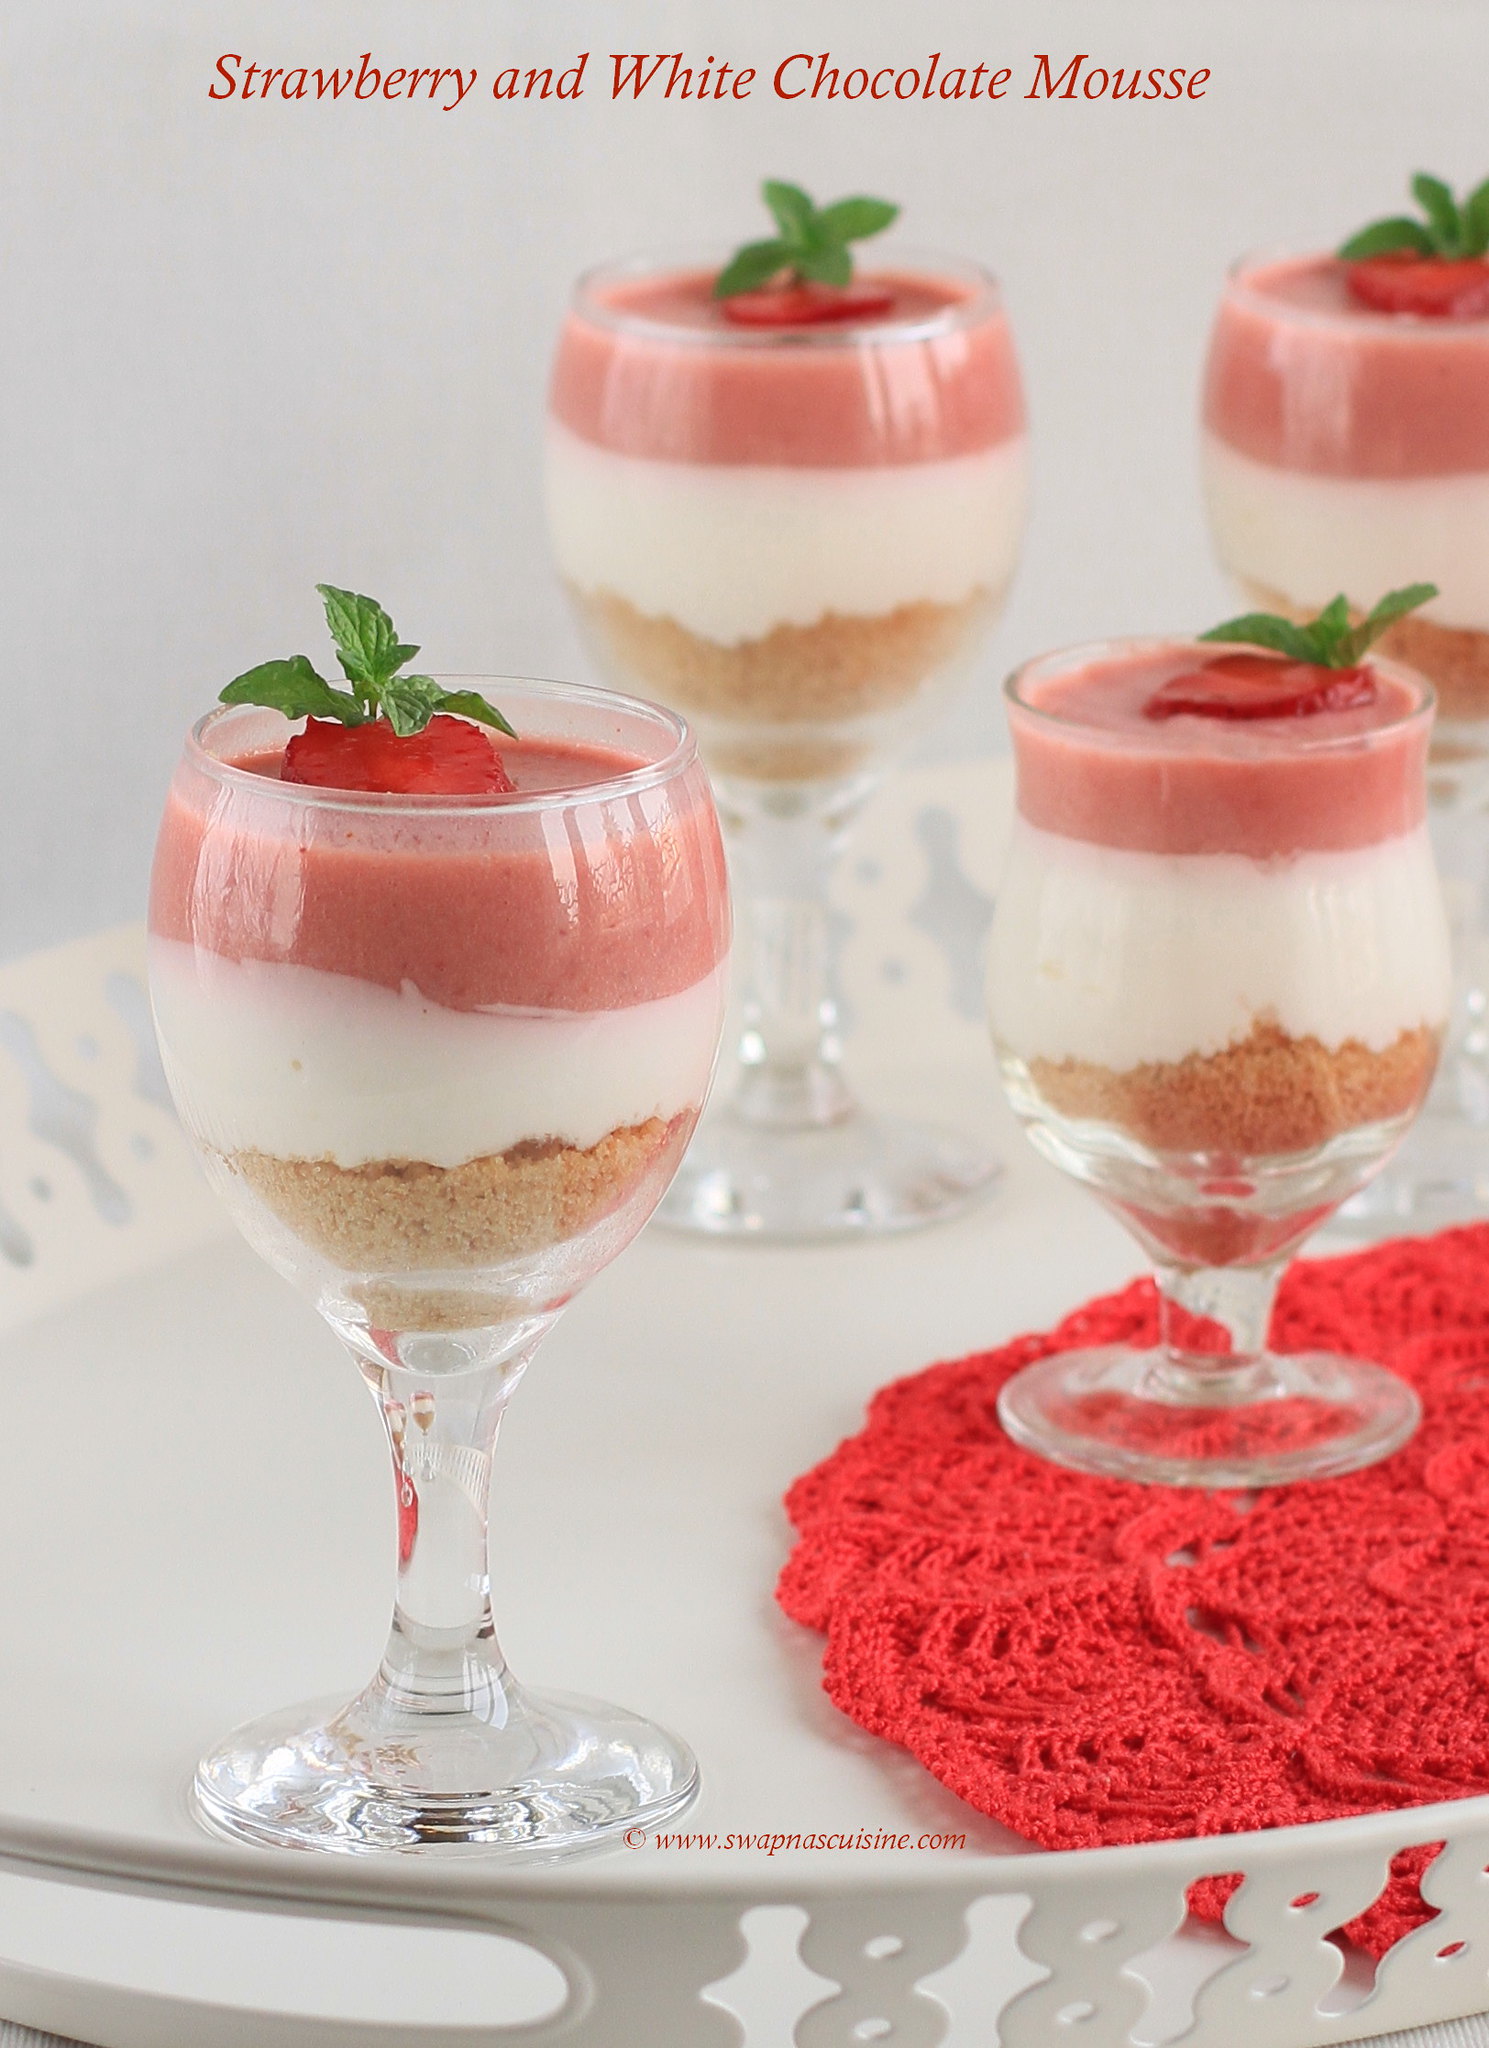
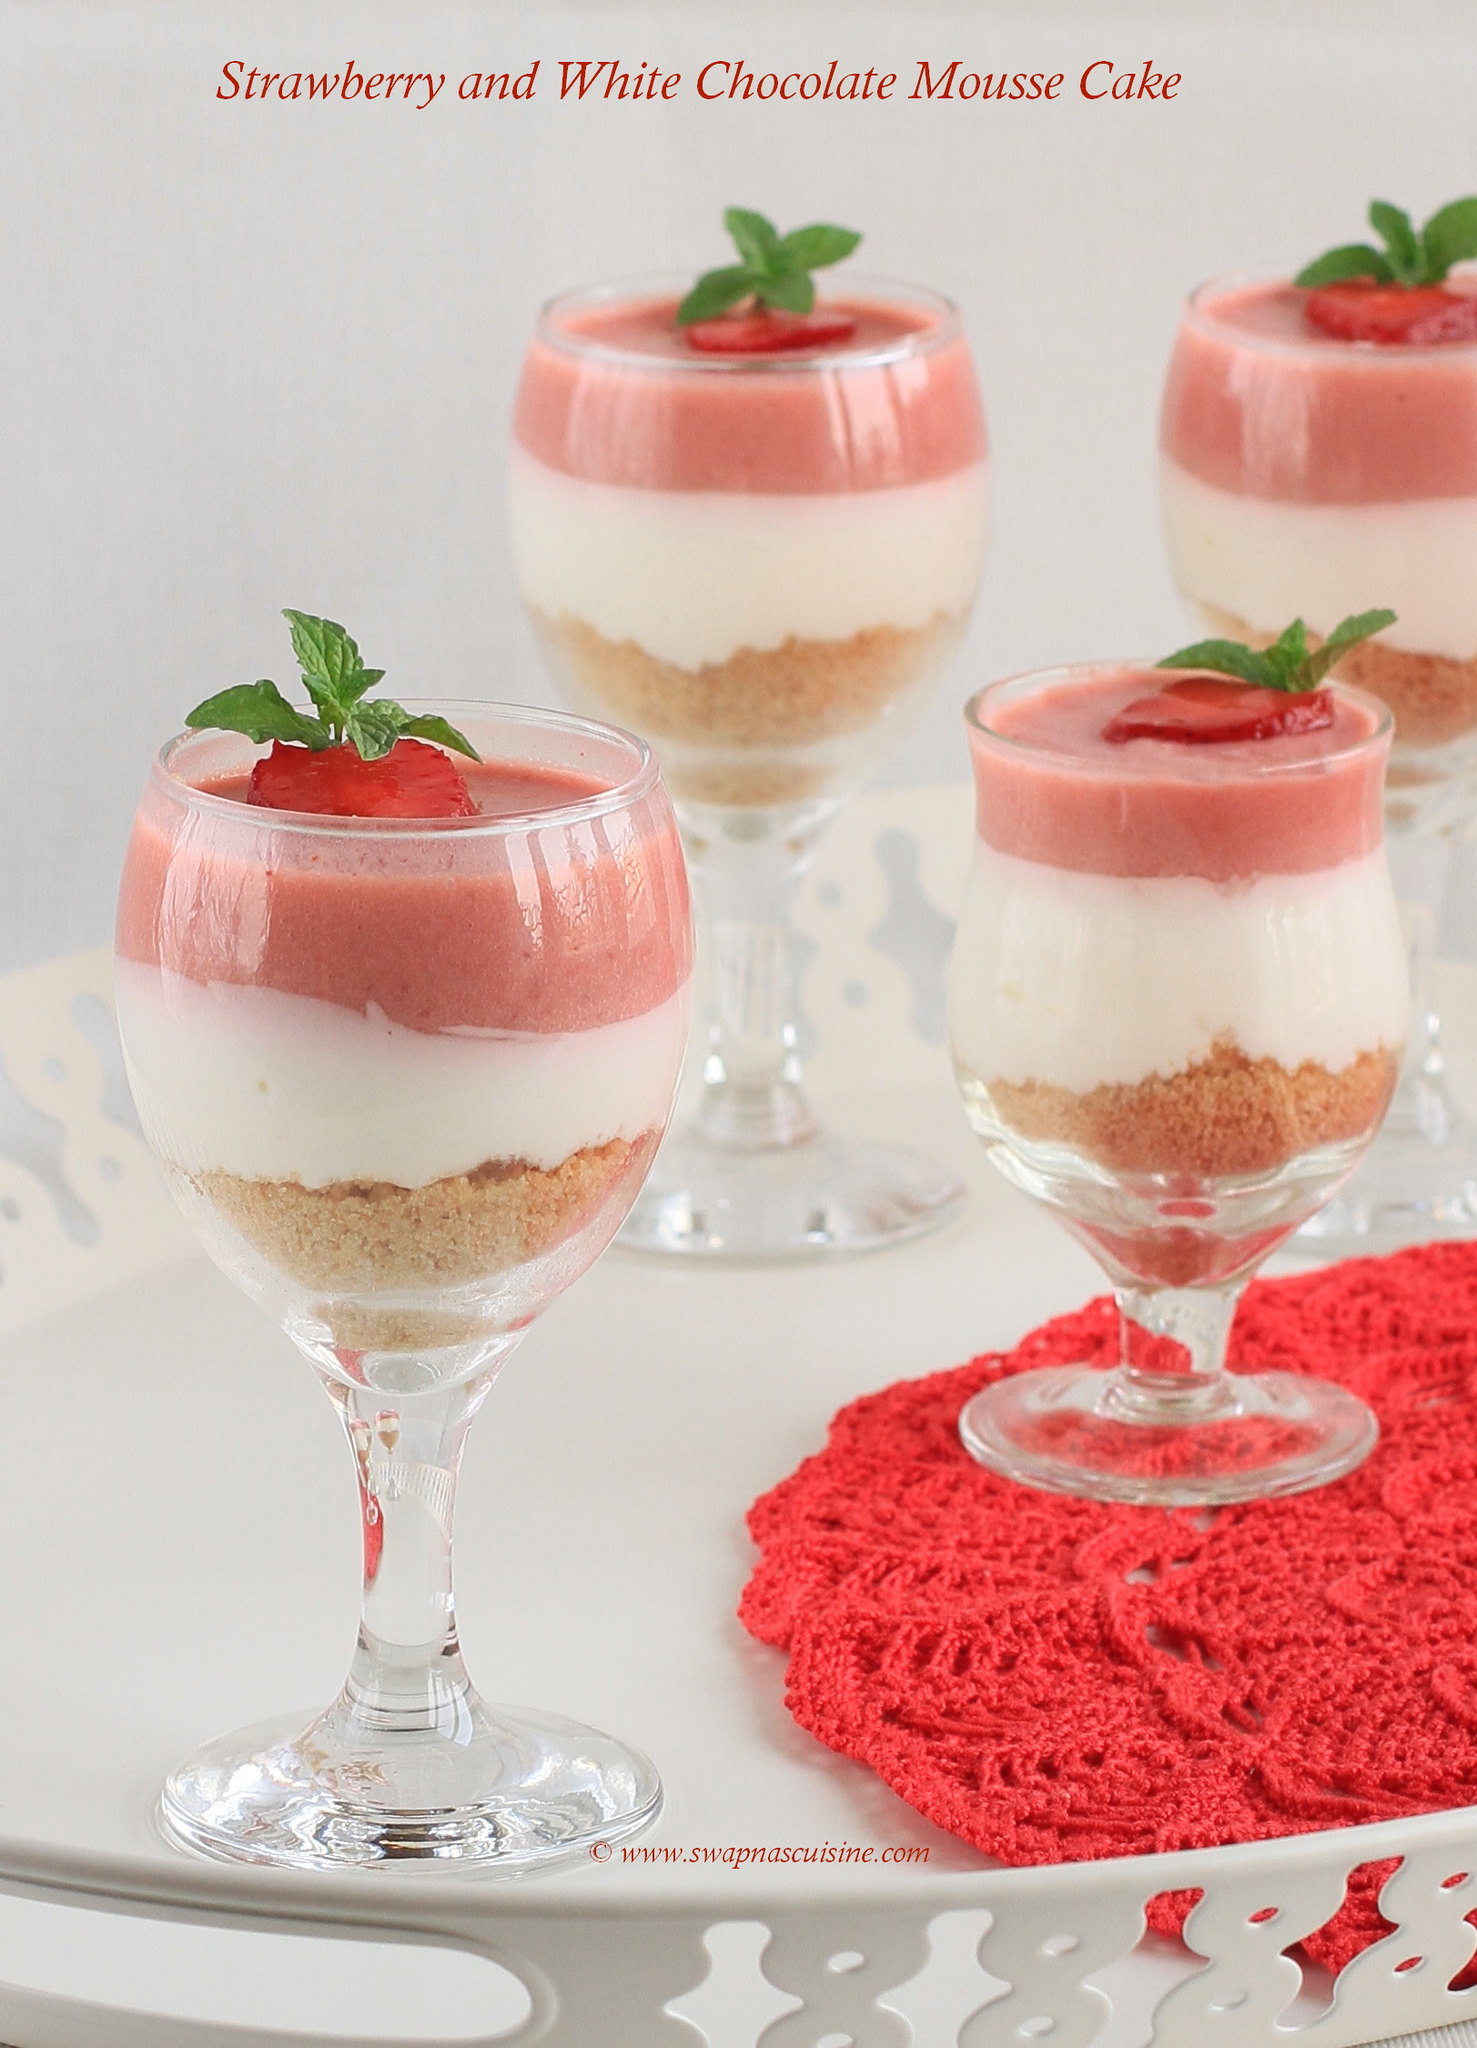
Strawberry and White Chocolate Mousse Cake is a very easy to make recipe. I made this first time for my husband’s birthday earlier this year. That time I set it in a cake tin and I also did mirror glazing on top of it. It was an awesome birthday cake for people who prefer something different from the usual.... I am a huge fan of making desserts in individual glasses, so the second time I prepared this, I served it in individual glasses like in the picture. I really loved the way it turned out! Do try this recipe, I am sure you will love this no bake eggless decadent dessert!

White Chocolate Mousse Cake Recipe


Strawberry and White Chocolate Mousse Cake
(Recipe from here)
Prep time
30 mins
Serves: 16
Ingredients:
For the Biscuit Layer:
Crushed Arrowroot / Digestives biscuits - 250gm
Butter - 100gm
For the White chocolate layer:
White Chocolate - 200gm
Cream - 150 ml
Gelatine Powder – 2 tsp
Water - 2 tbsp
For the Strawberry Mousse layer:
Strawberries - 300gm
Sugar - ¼ Cup / 50gm
Gelatine Powder - 2 tsp
Water – 2 tbsp
500ml Cream
Method:
  • Place the biscuits into a food processor and process until smooth. Melt the butter and pour over the crushed biscuits.
  • Mix until well combined and press into the base of a cake tin / or into small individual glasses. Place into the fridge to set.
  • Place the strawberries and sugar into a saucepan and heat over medium heat until the sugar has dissolved and the strawberries have softened. Add the gelatine powder and water and mix until dissolved.
  • Place into a blender and blend until smooth. Leave to cool.
  • Melt the white chocolate and cream together in a saucepan. Add the gelatine and water and mix until dissolved. Leave to cool.
  • Whip the cream and fold half into the white chocolate mixture and half into the strawberry mixture.
  • Spread the white chocolate over the set biscuits and place back into the fridge for 10-15 minutes until starting to set.
  • Pour over the strawberry mousse and place back into the fridge to set completely for 2-3 hours.


how to make Strawberry and White Chocolate Mousse Cake

Read More » Print Friendly and PDF

Monday, 4 December 2017

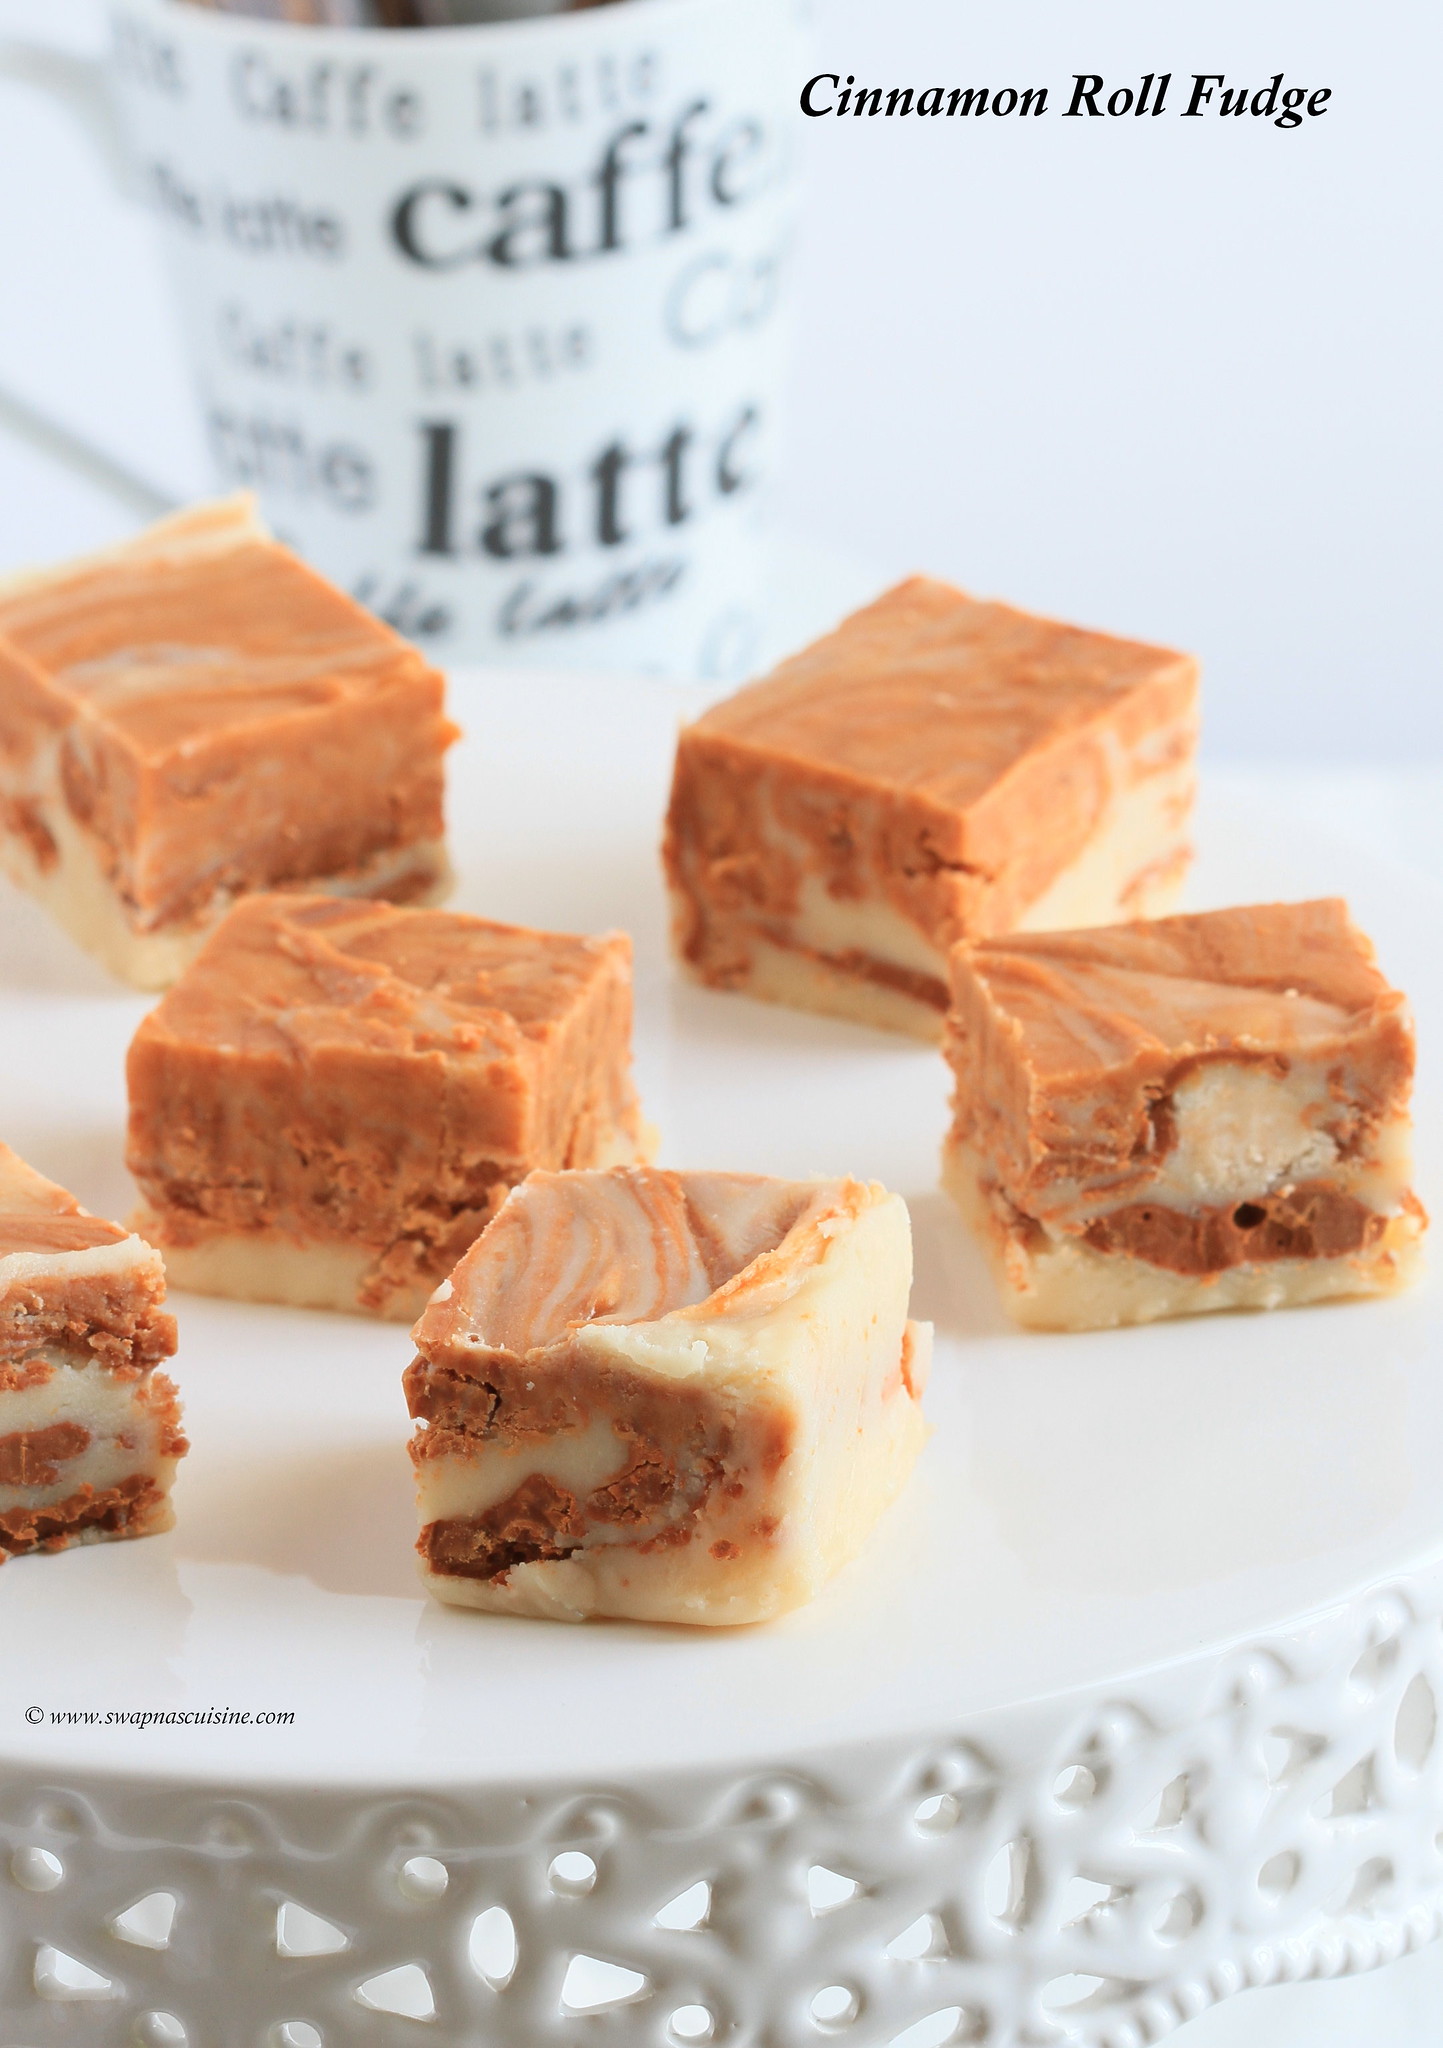
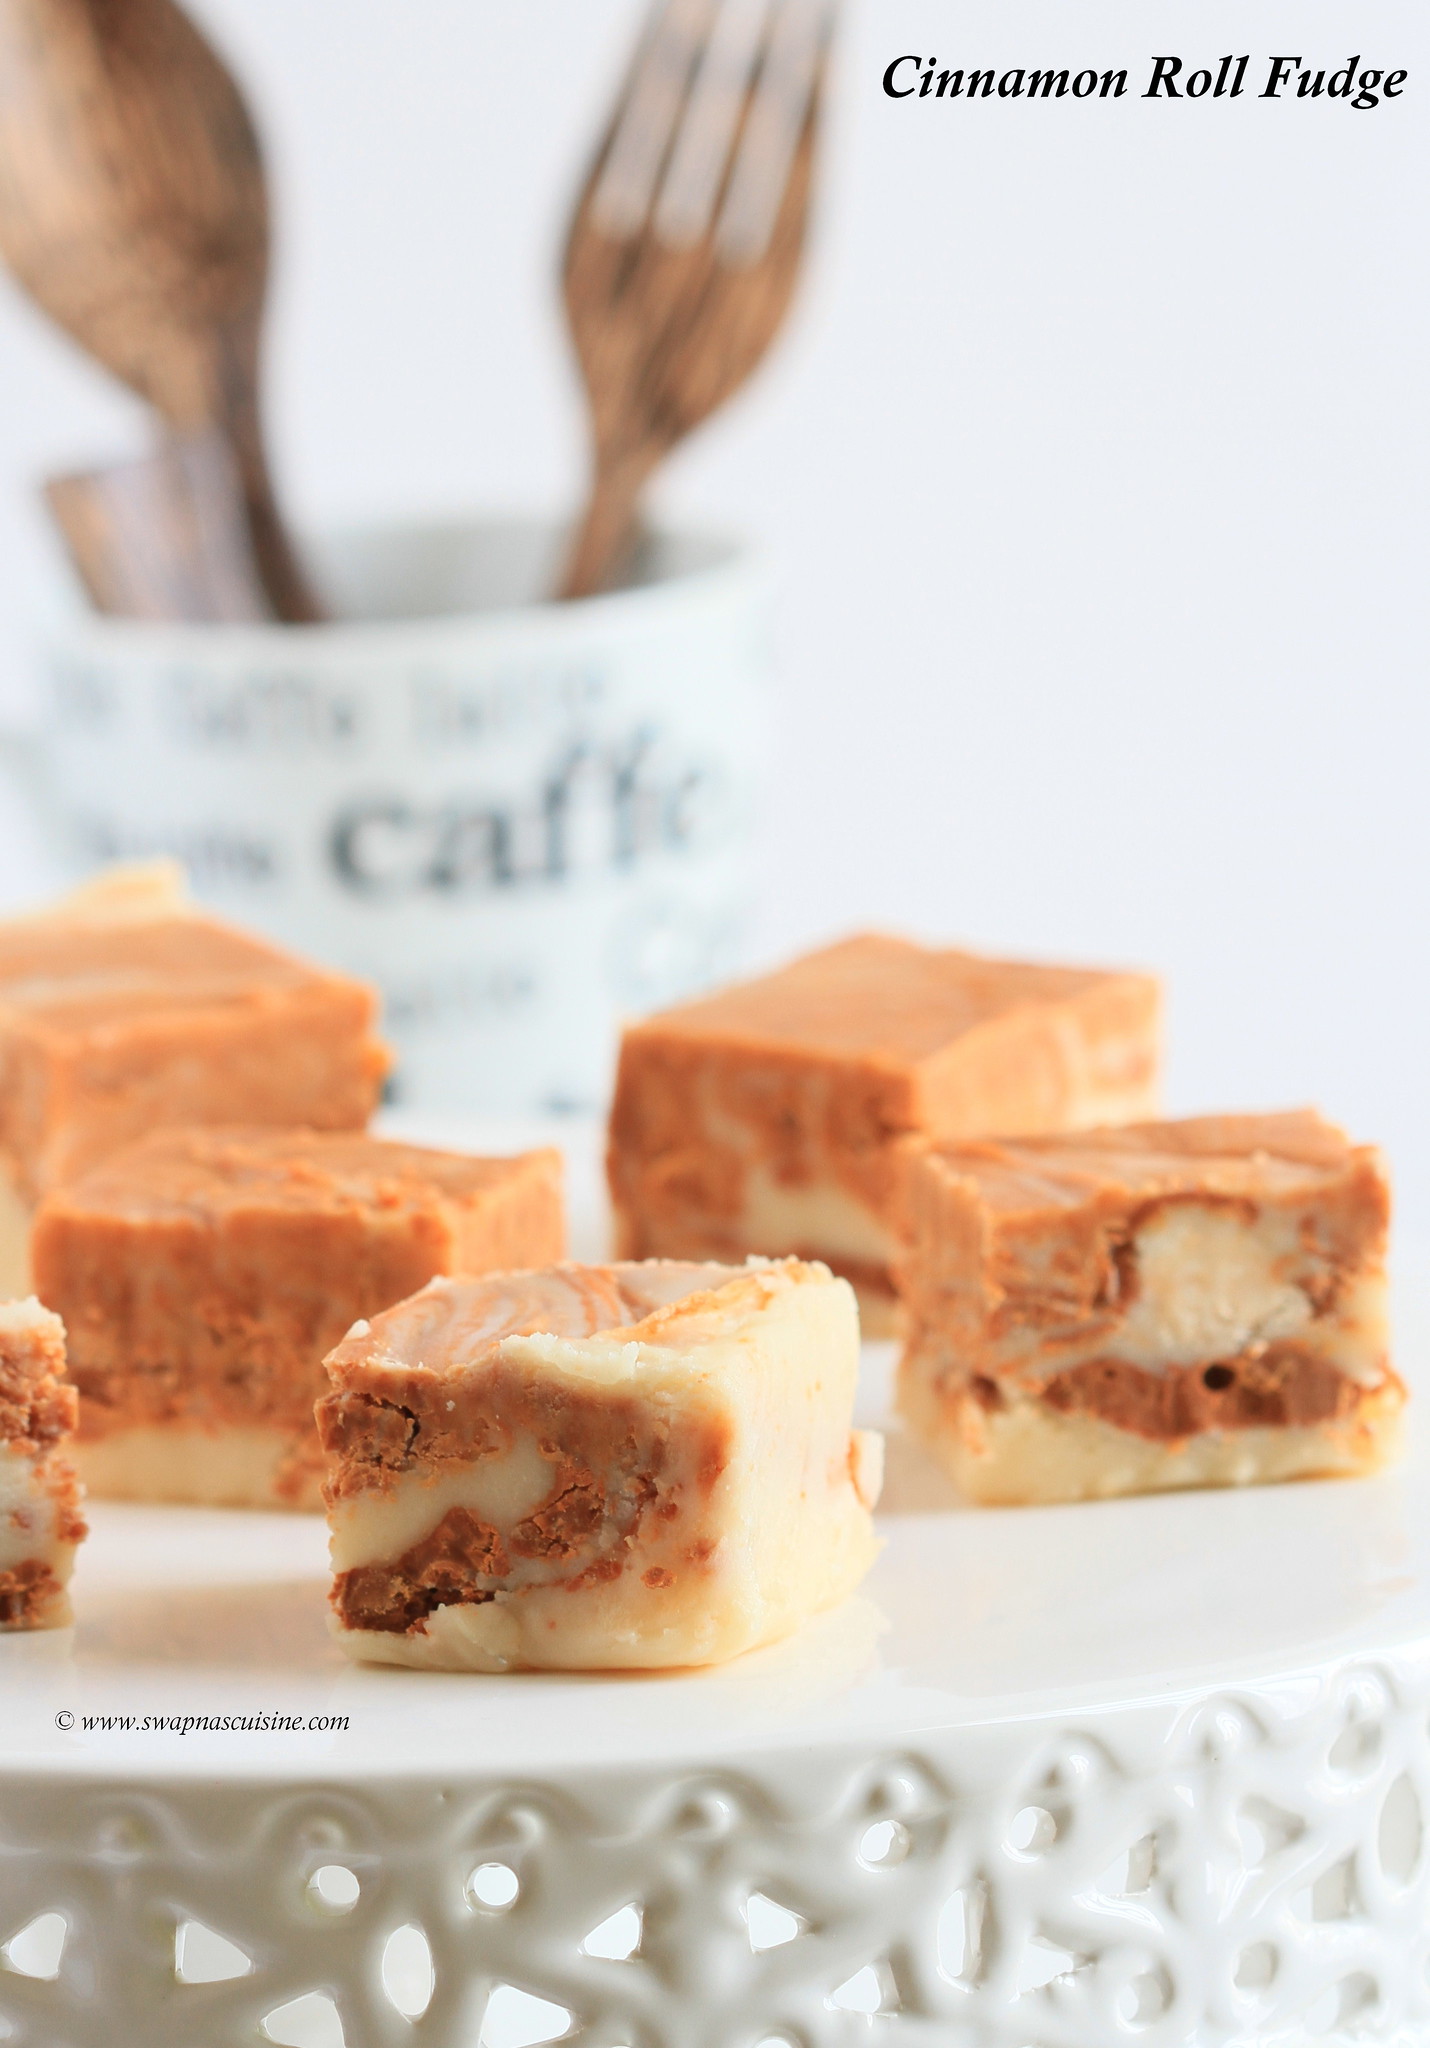
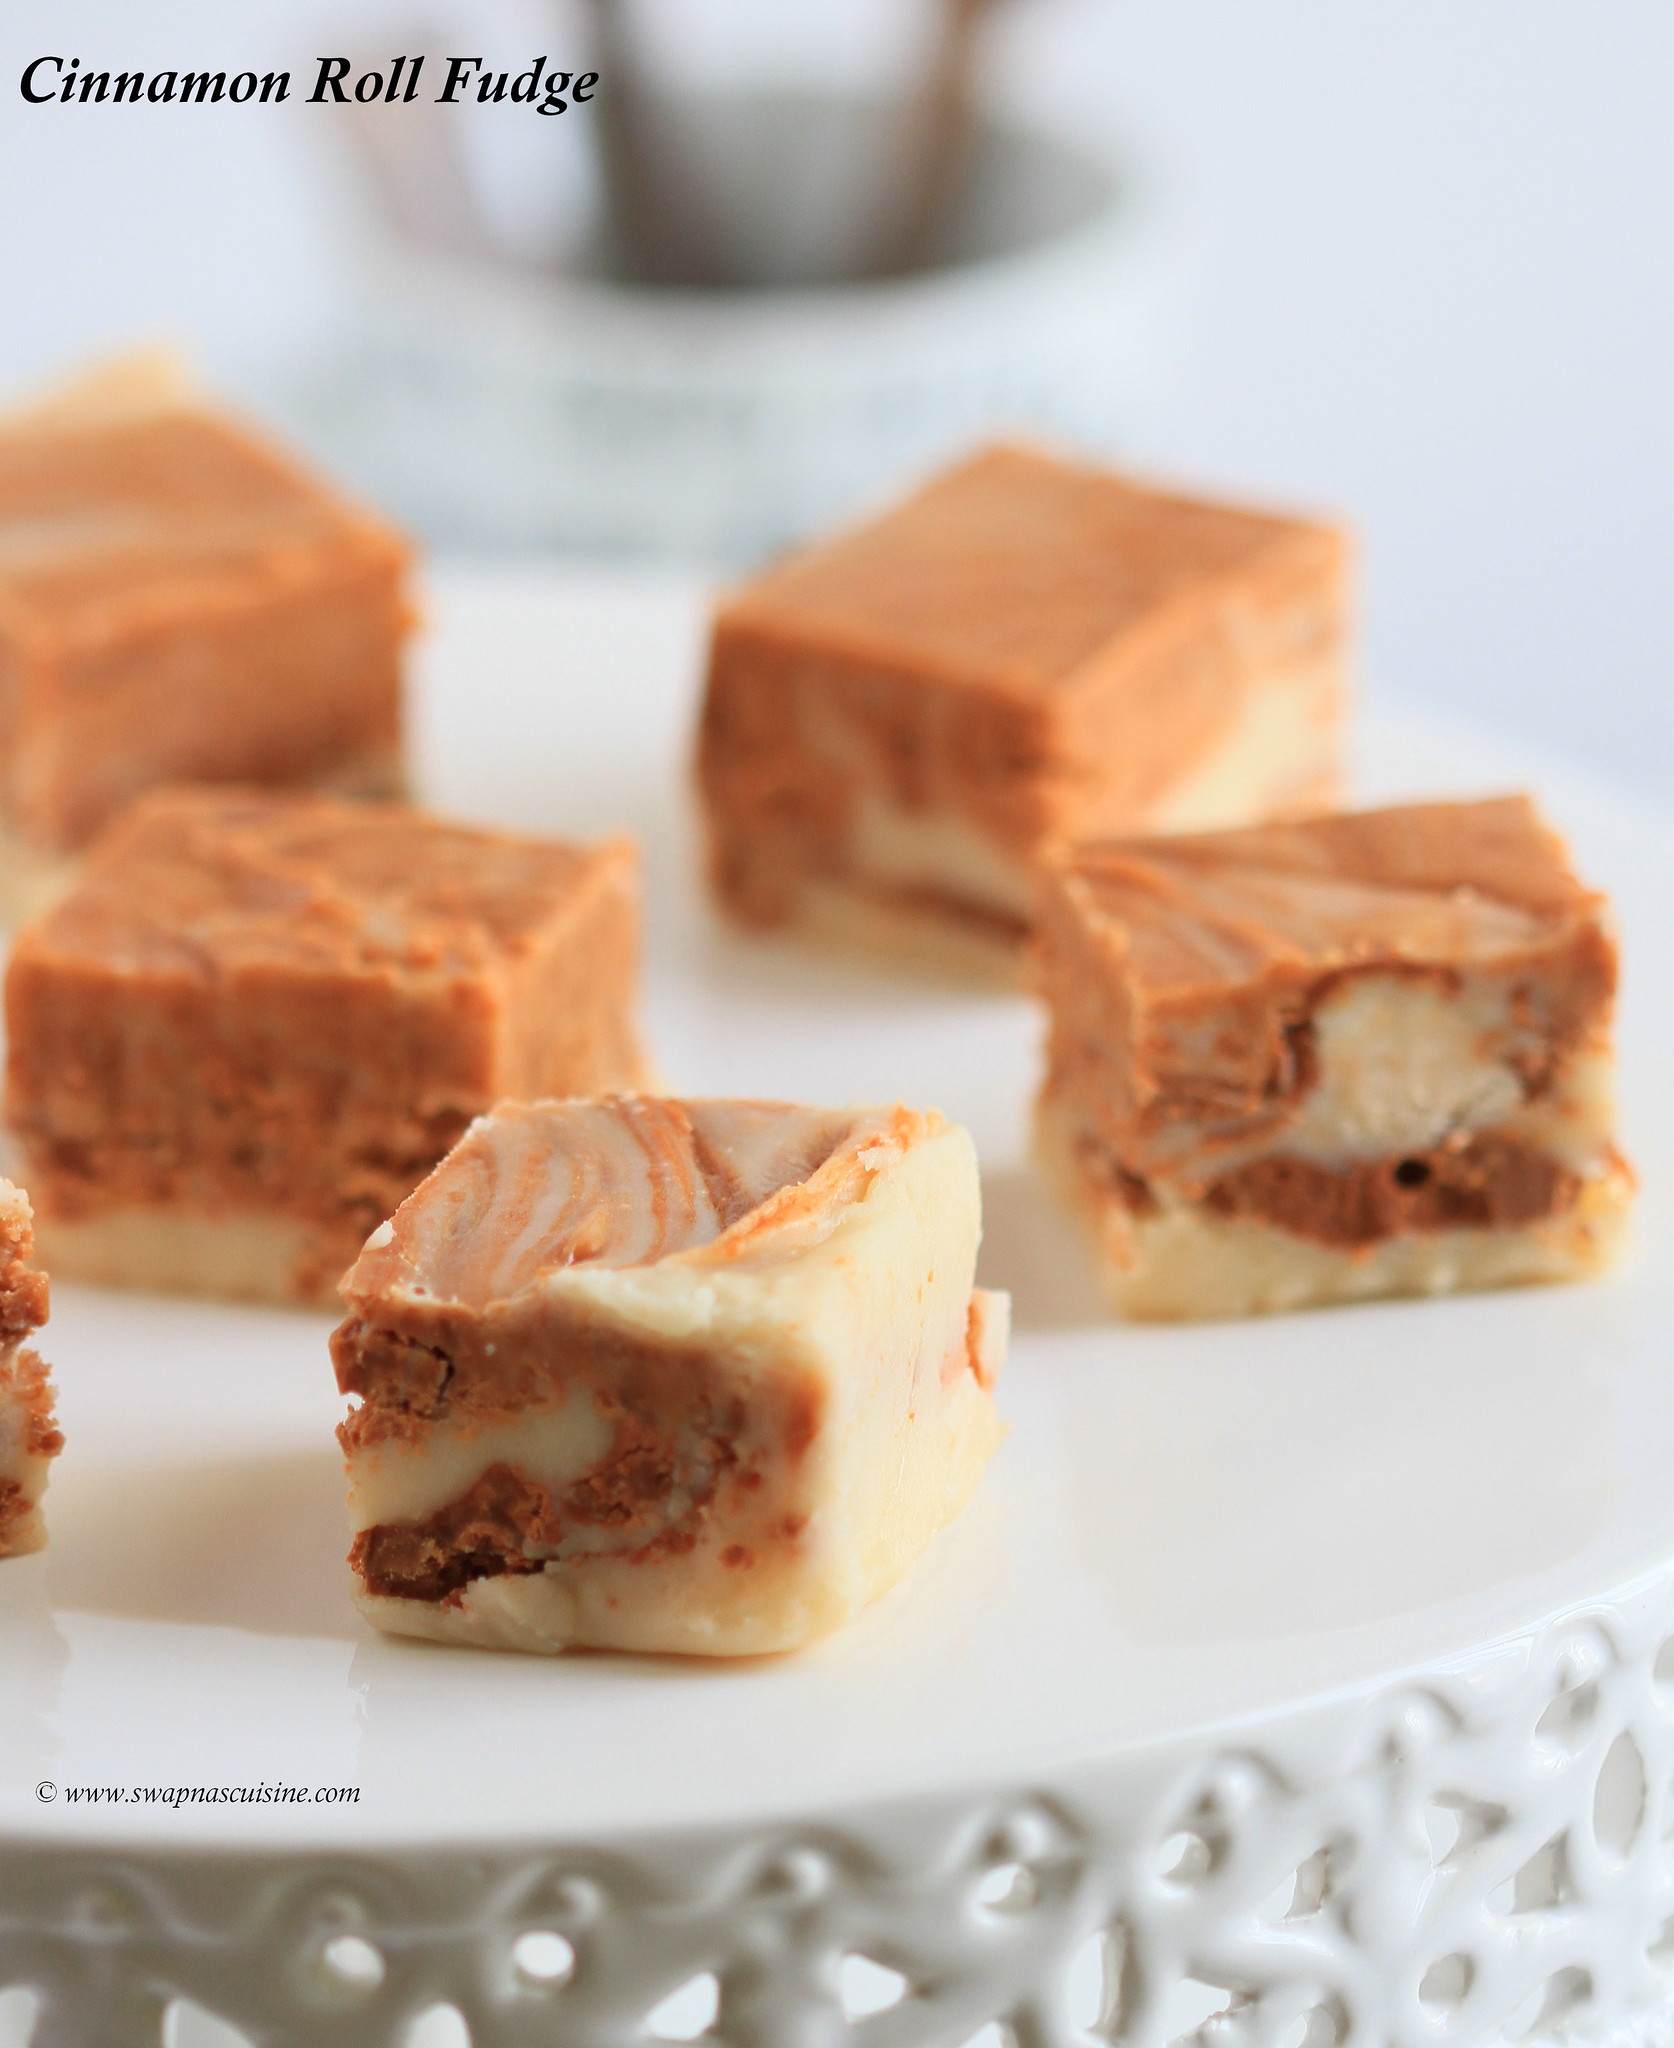
Cinnamon Roll Fudge

Cinnamon Roll Fudge recipe

Christmas is around the corner and I am sure many of you have already started your Christmas preparations…. To ring in the festive spirit I thought of sharing this Cinnamon Roll Fudge recipe…. Cinnamon Roll Fudge has a smooth and creamy texture with the combination of cinnamon and white chocolate swirling around…. If you are looking for some easy to make Christmas gift ideas, this will be a perfect one for you…  Please do check these Fudge & Truffles recipes I have posted earlier for more ideas…. Wishing you all a December filled with Peace, Love & Happiness… Enjoy!  

How to make Cinnamon Roll Fudge


Cinnamon Roll Fudge
(Recipe from here)
Ingredients:
Evaporated Milk - 2/3 cup / 170 gm can (not sweetened condensed milk)
Granulated sugar - 1 1/3 cup
Vanilla Essence - 1 teaspoon
A pinch of salt
Mini Marshmallows - 1 1/2 cups
White chocolate chips - 1 1/2 cup
Cinnamon chips - 1 cup

Method:
  • Melt cinnamon chips in a heat safe bowl on top of a small pot of simmering water. Do not let the hot water touch the bowl. Take the bowl off when cinnamon chips are melted and set aside. (The melted cinnamon chips may have a thick consistency. But when it cools, it will become creamy.)
  • Put marshmallows and white chocolate in a large mixing bowl, set aside.
  • Bring milk, sugar, vanilla, and salt to boil over medium heat. Cook for 4 minutes, stir constantly. Remove from heat.
  • Pour over marshmallows and white chocolate. Stir until all combined and the chocolate chips and marshmallows are melted. (If marshmallows are not melted, you have to heat the mixture in low heat stirring continuously).
  • Pour 1/2 the fudge mixture into a lined 8” X 8” baking dish. Line the pan with parchment paper or aluminium foil, sprayed with cooking spray.
  • Spoon small dollops of 1/2 of the melted cinnamon chips onto the bottom layer of fudge mixture. Continue with the rest of the fudge mixture and finish off with the rest of the melted cinnamon. Glide a knife all the way through the fudge to make swirls.
  • Place in the refrigerator to set up for at least 2 hours or set overnight at room temperature before cutting into pieces.
  • Enjoy!

Cinnamon Fudge recipe

Read More » Print Friendly and PDF

Wednesday, 17 May 2017

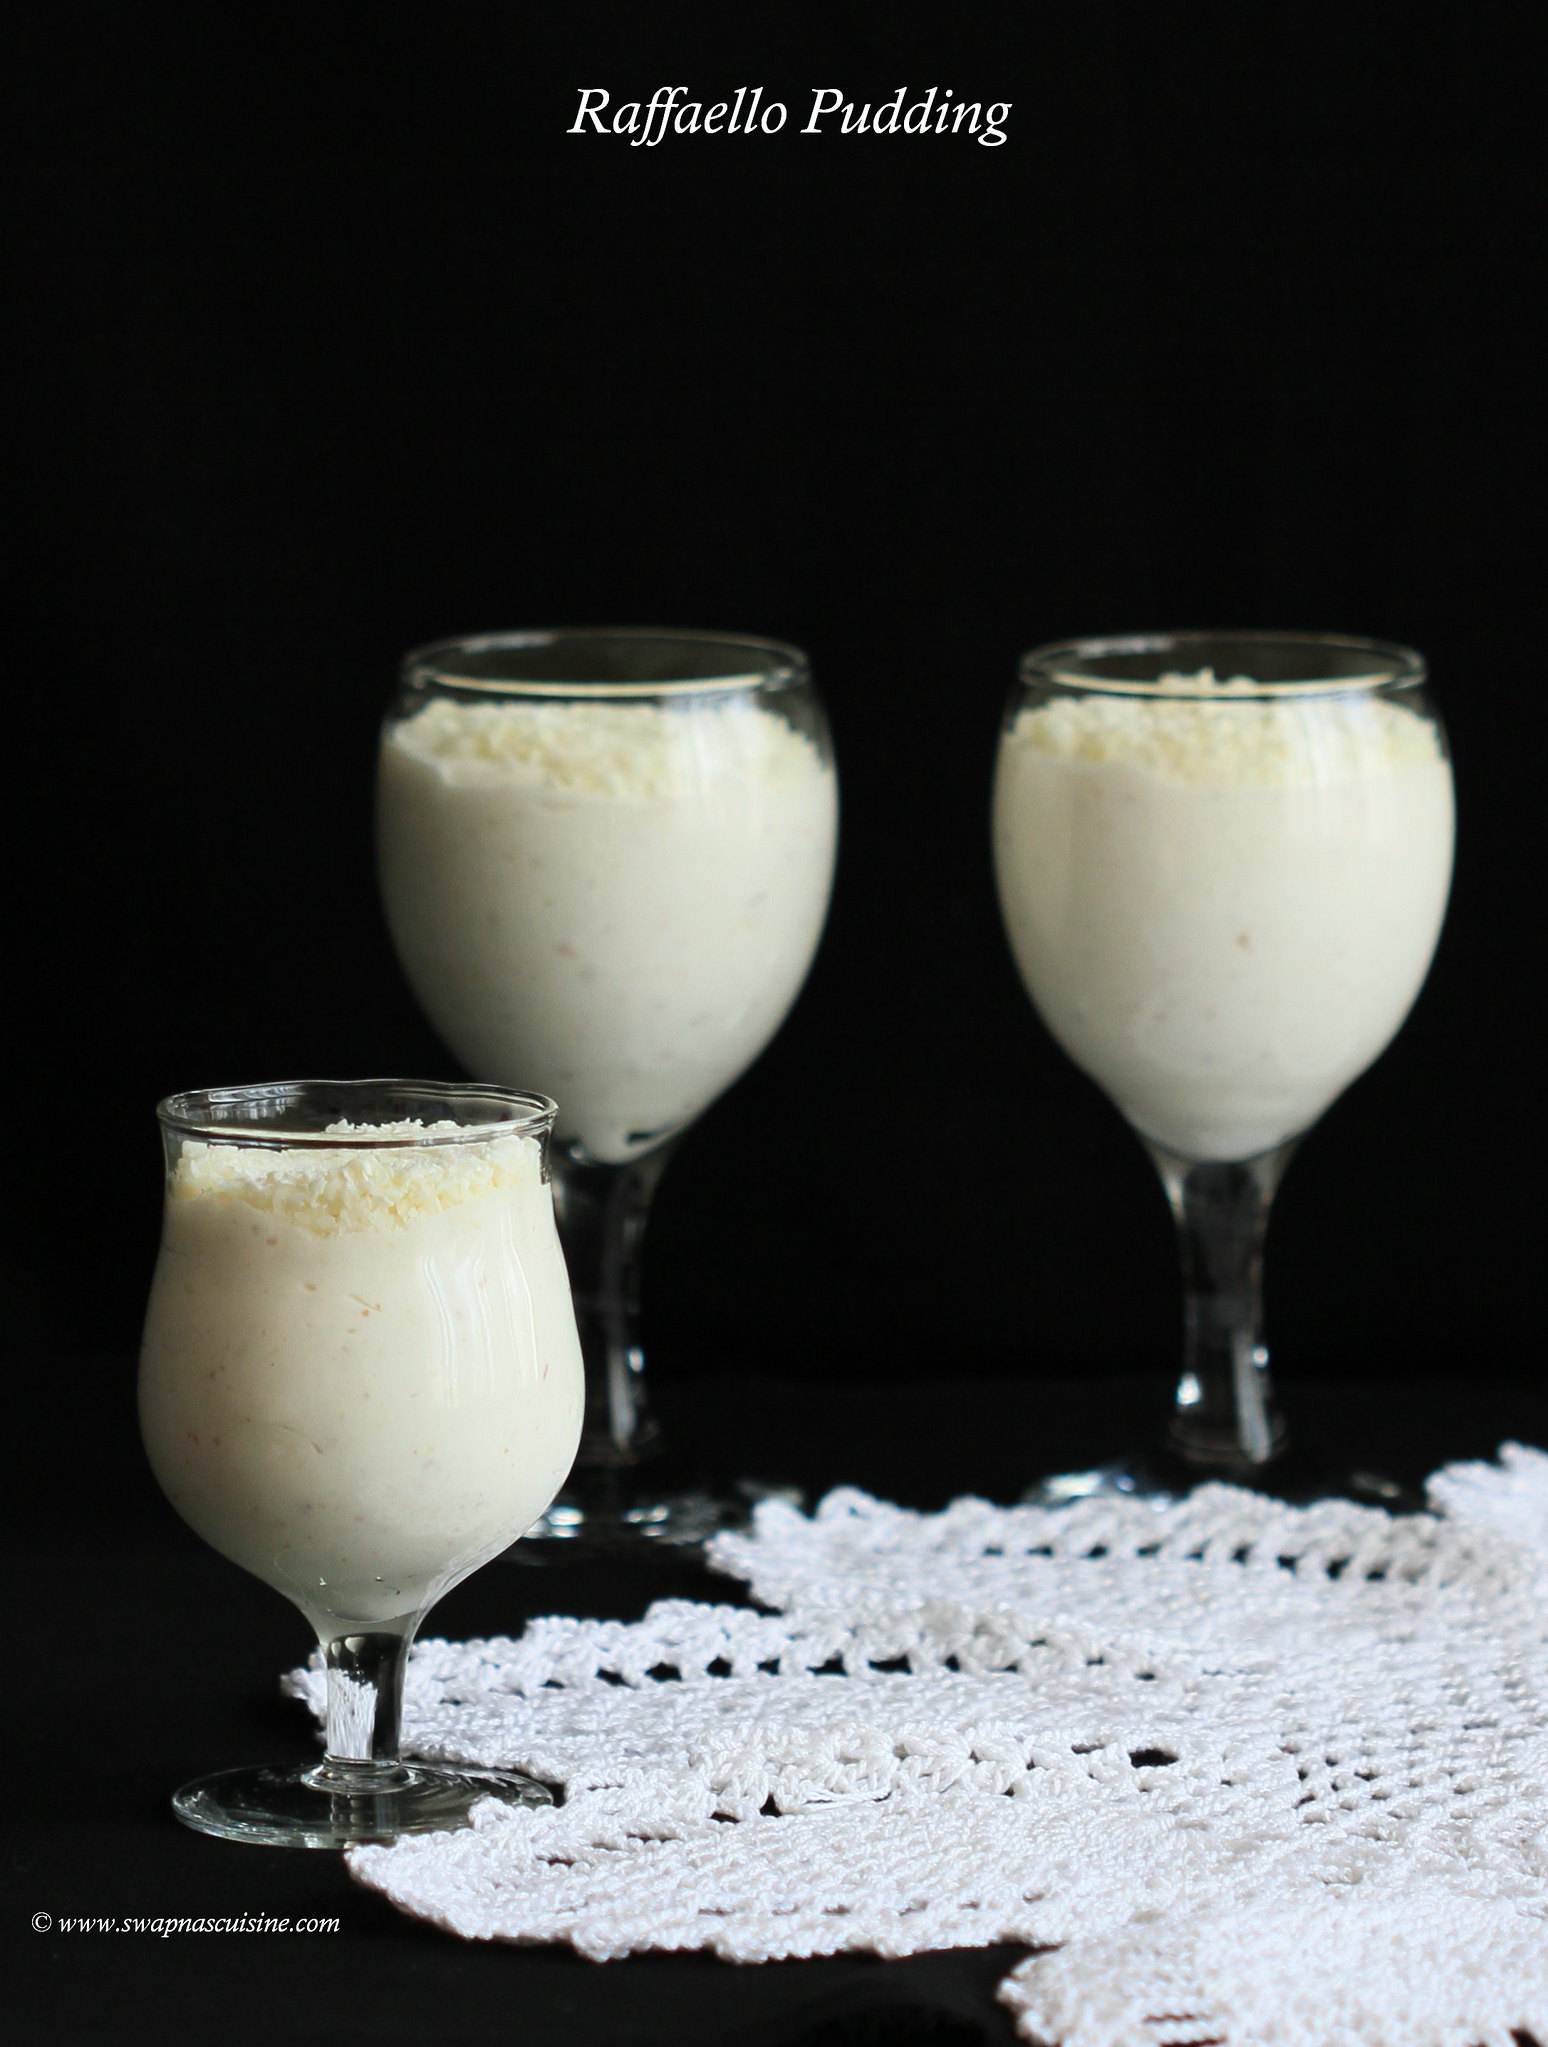
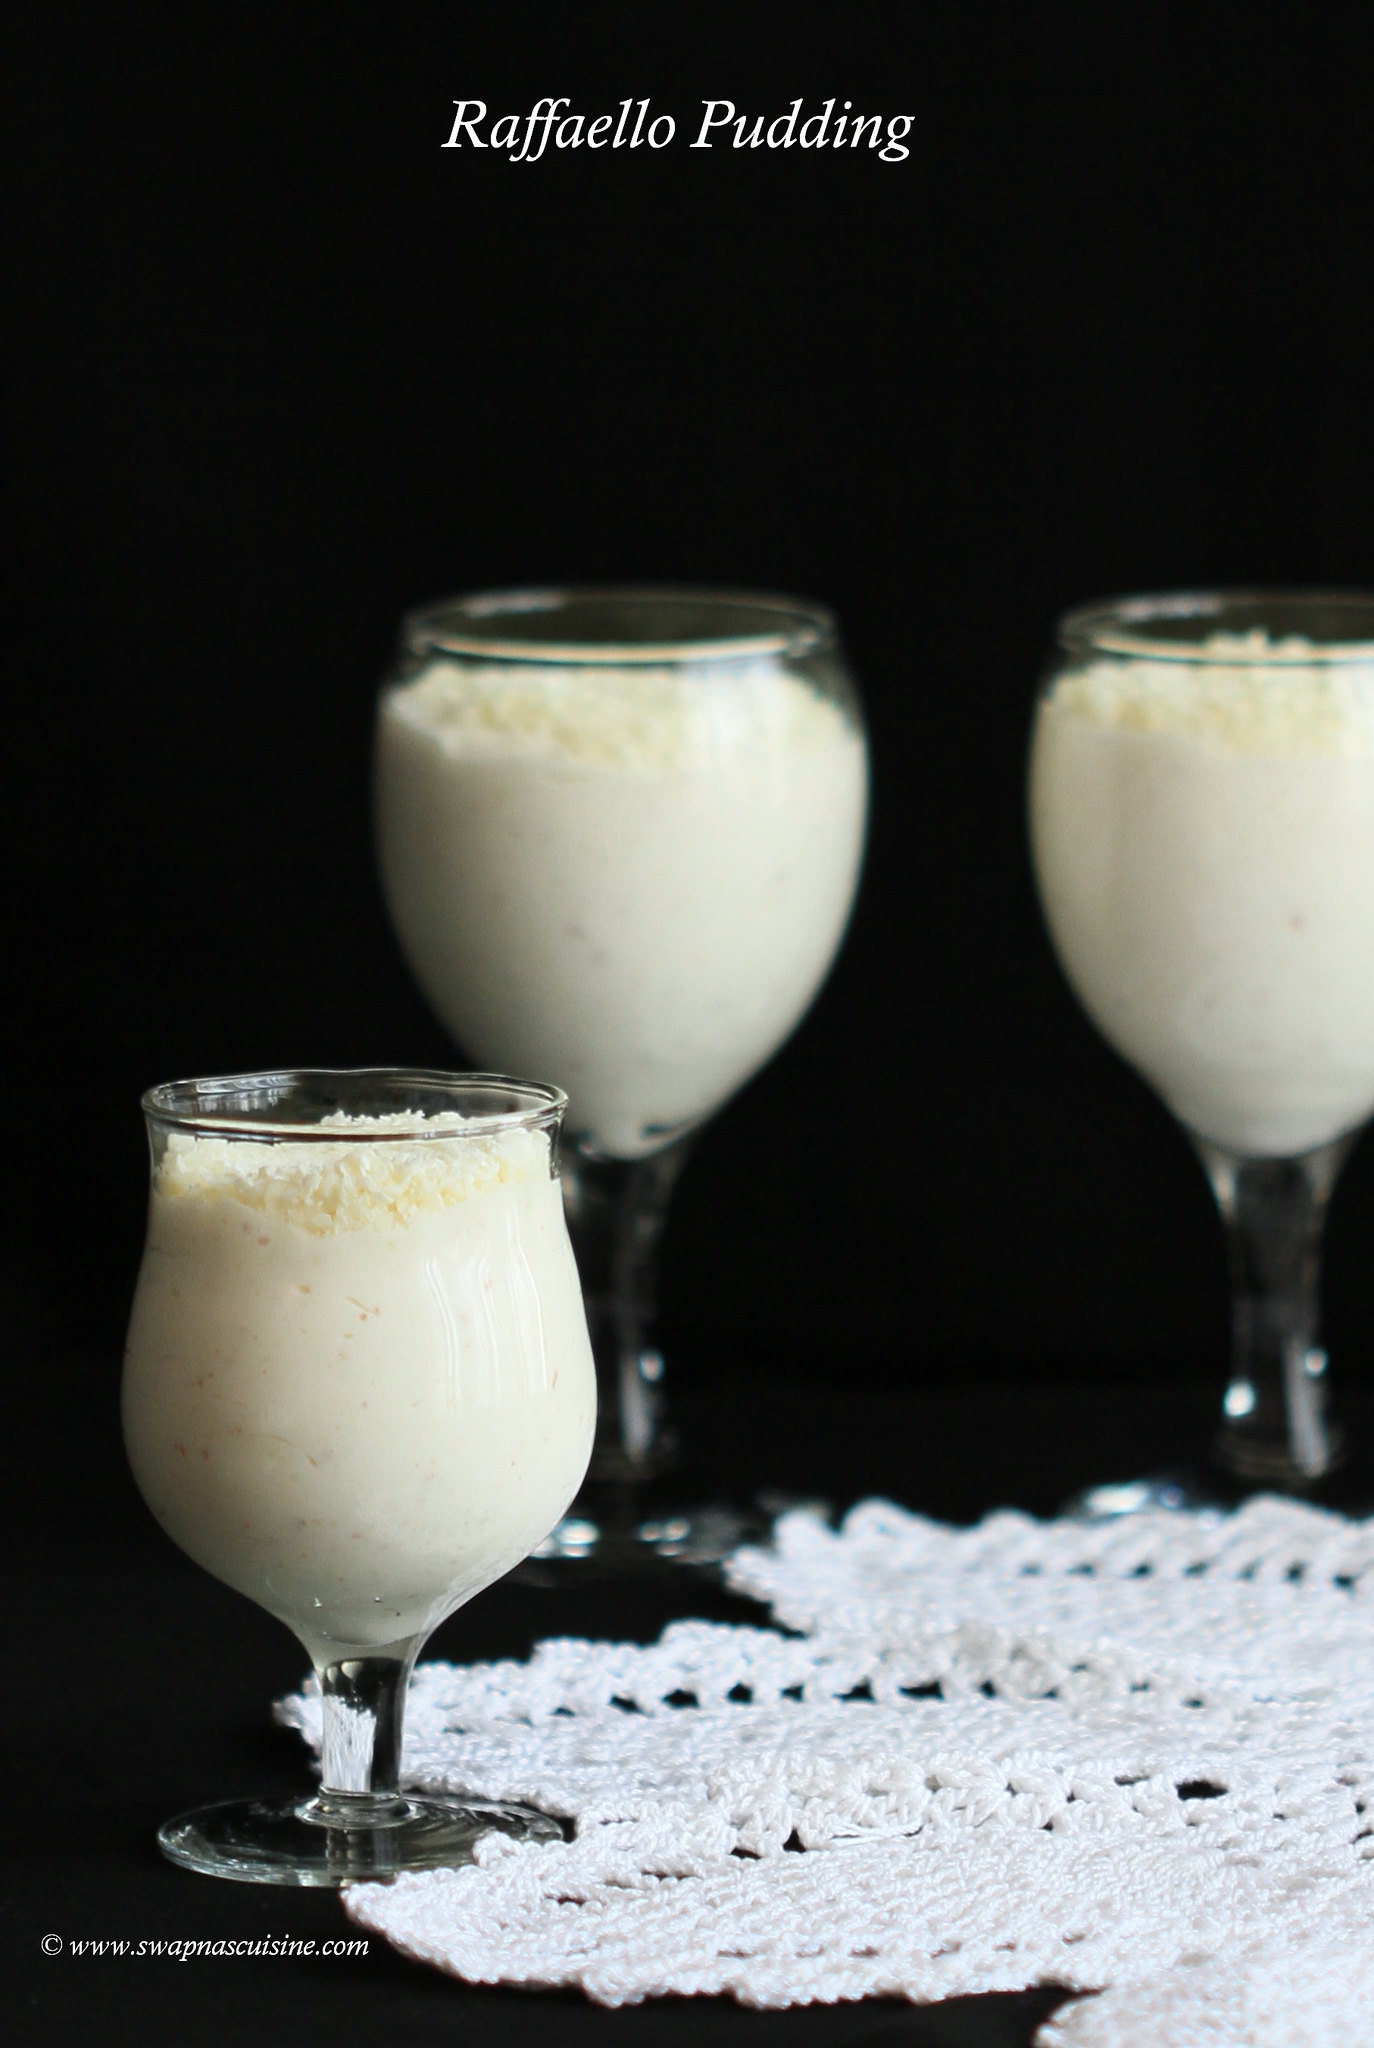
Raffaello Pudding


Raffaello Pudding is a wonderful combination of coconut, cream, condensed milk and white chocolate which resembles the taste of the Ferrero Rocher Raffaello Truffles. This is a very rich pudding with a beautiful texture and flavour. No cooking or baking is involved in the making of this pudding, you just need to whip everything and refrigerate to set. Make sure to use desiccated coconut, do not use fresh coconut to make this pudding. I only made half the quantity of the pudding and set in individual serving glasses. If you are setting the pudding as individual servings, as in the picture, you only need to add half table spoon of gelatine.


Raffaello Pudding
(Recipe from Lekshmi Nair)
(20-25 servings)
Ingredients:
Coconut Milk Powder – 200 gm
Fresh Cream – 400 ml (1 ¾ cups)
Whipping Cream – 250 ml (1 cup)
Condensed Milk – 1 tin
Desiccated Coconut – 1 cup
Gelatine – 1 tbsp. (use only half tbsp if setting in individual glasses)
Cold Water – ¼ cup
White Chocolate, grated – 1 ½ cups
Almonds / Badam – ½ cup, grated or finely chopped

Method:
  • Sprinkle gelatine over cold water and let stand for 5-10 minutes.
  • In a mixing bowl whip together coconut milk powder, condensed milk, whipping cream and fresh cream until soft peaks are formed.
  • Melt gelatine, either in microwave for 10 seconds or heat gently stirring well.
  • Pour the melted gelatine to the above pudding mix and whip well until everything is blended.
  • In a small bowl mix together desiccated coconut, grated almonds and 1 cup of grated white chocolate and combine well. Add this mix to the whipped pudding mixture and beat again until everything combined well.
  • Transfer the mix to a pudding dish or individual serving bowls. Decorate with remaining grated white chocolate and allow to set in fridge for 5-6 hours.
  • Serve chilled.


Read More » Print Friendly and PDF

Tuesday, 25 April 2017

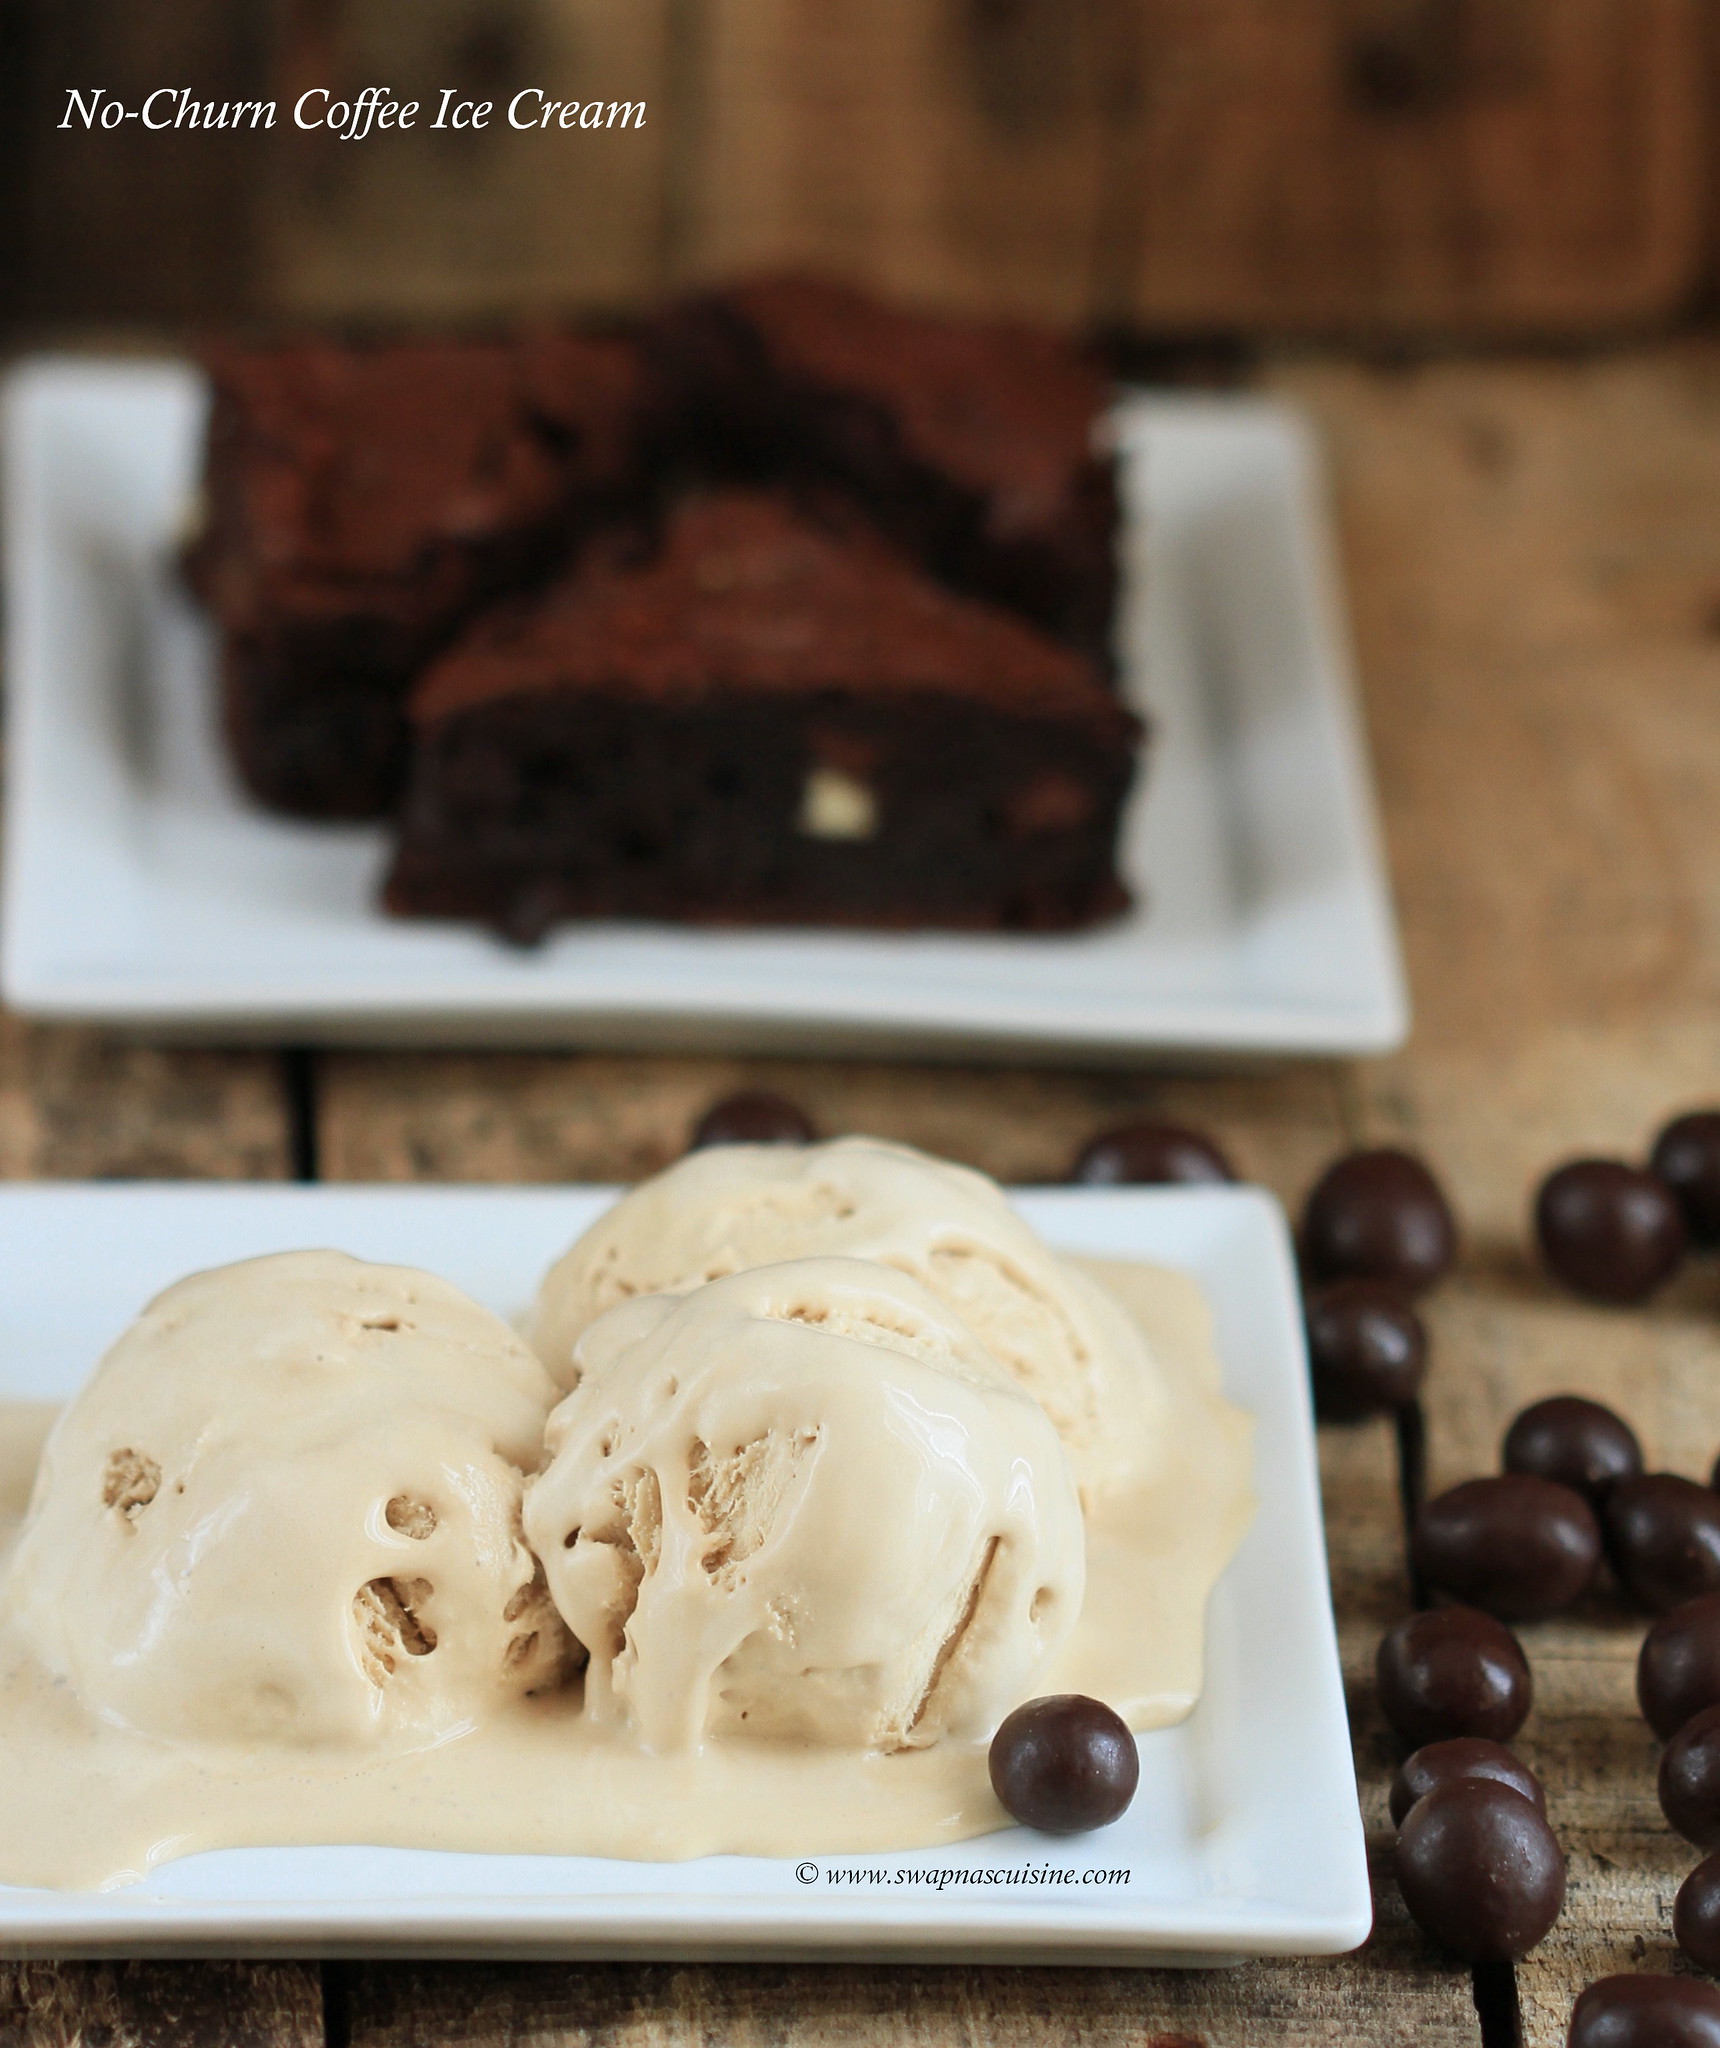
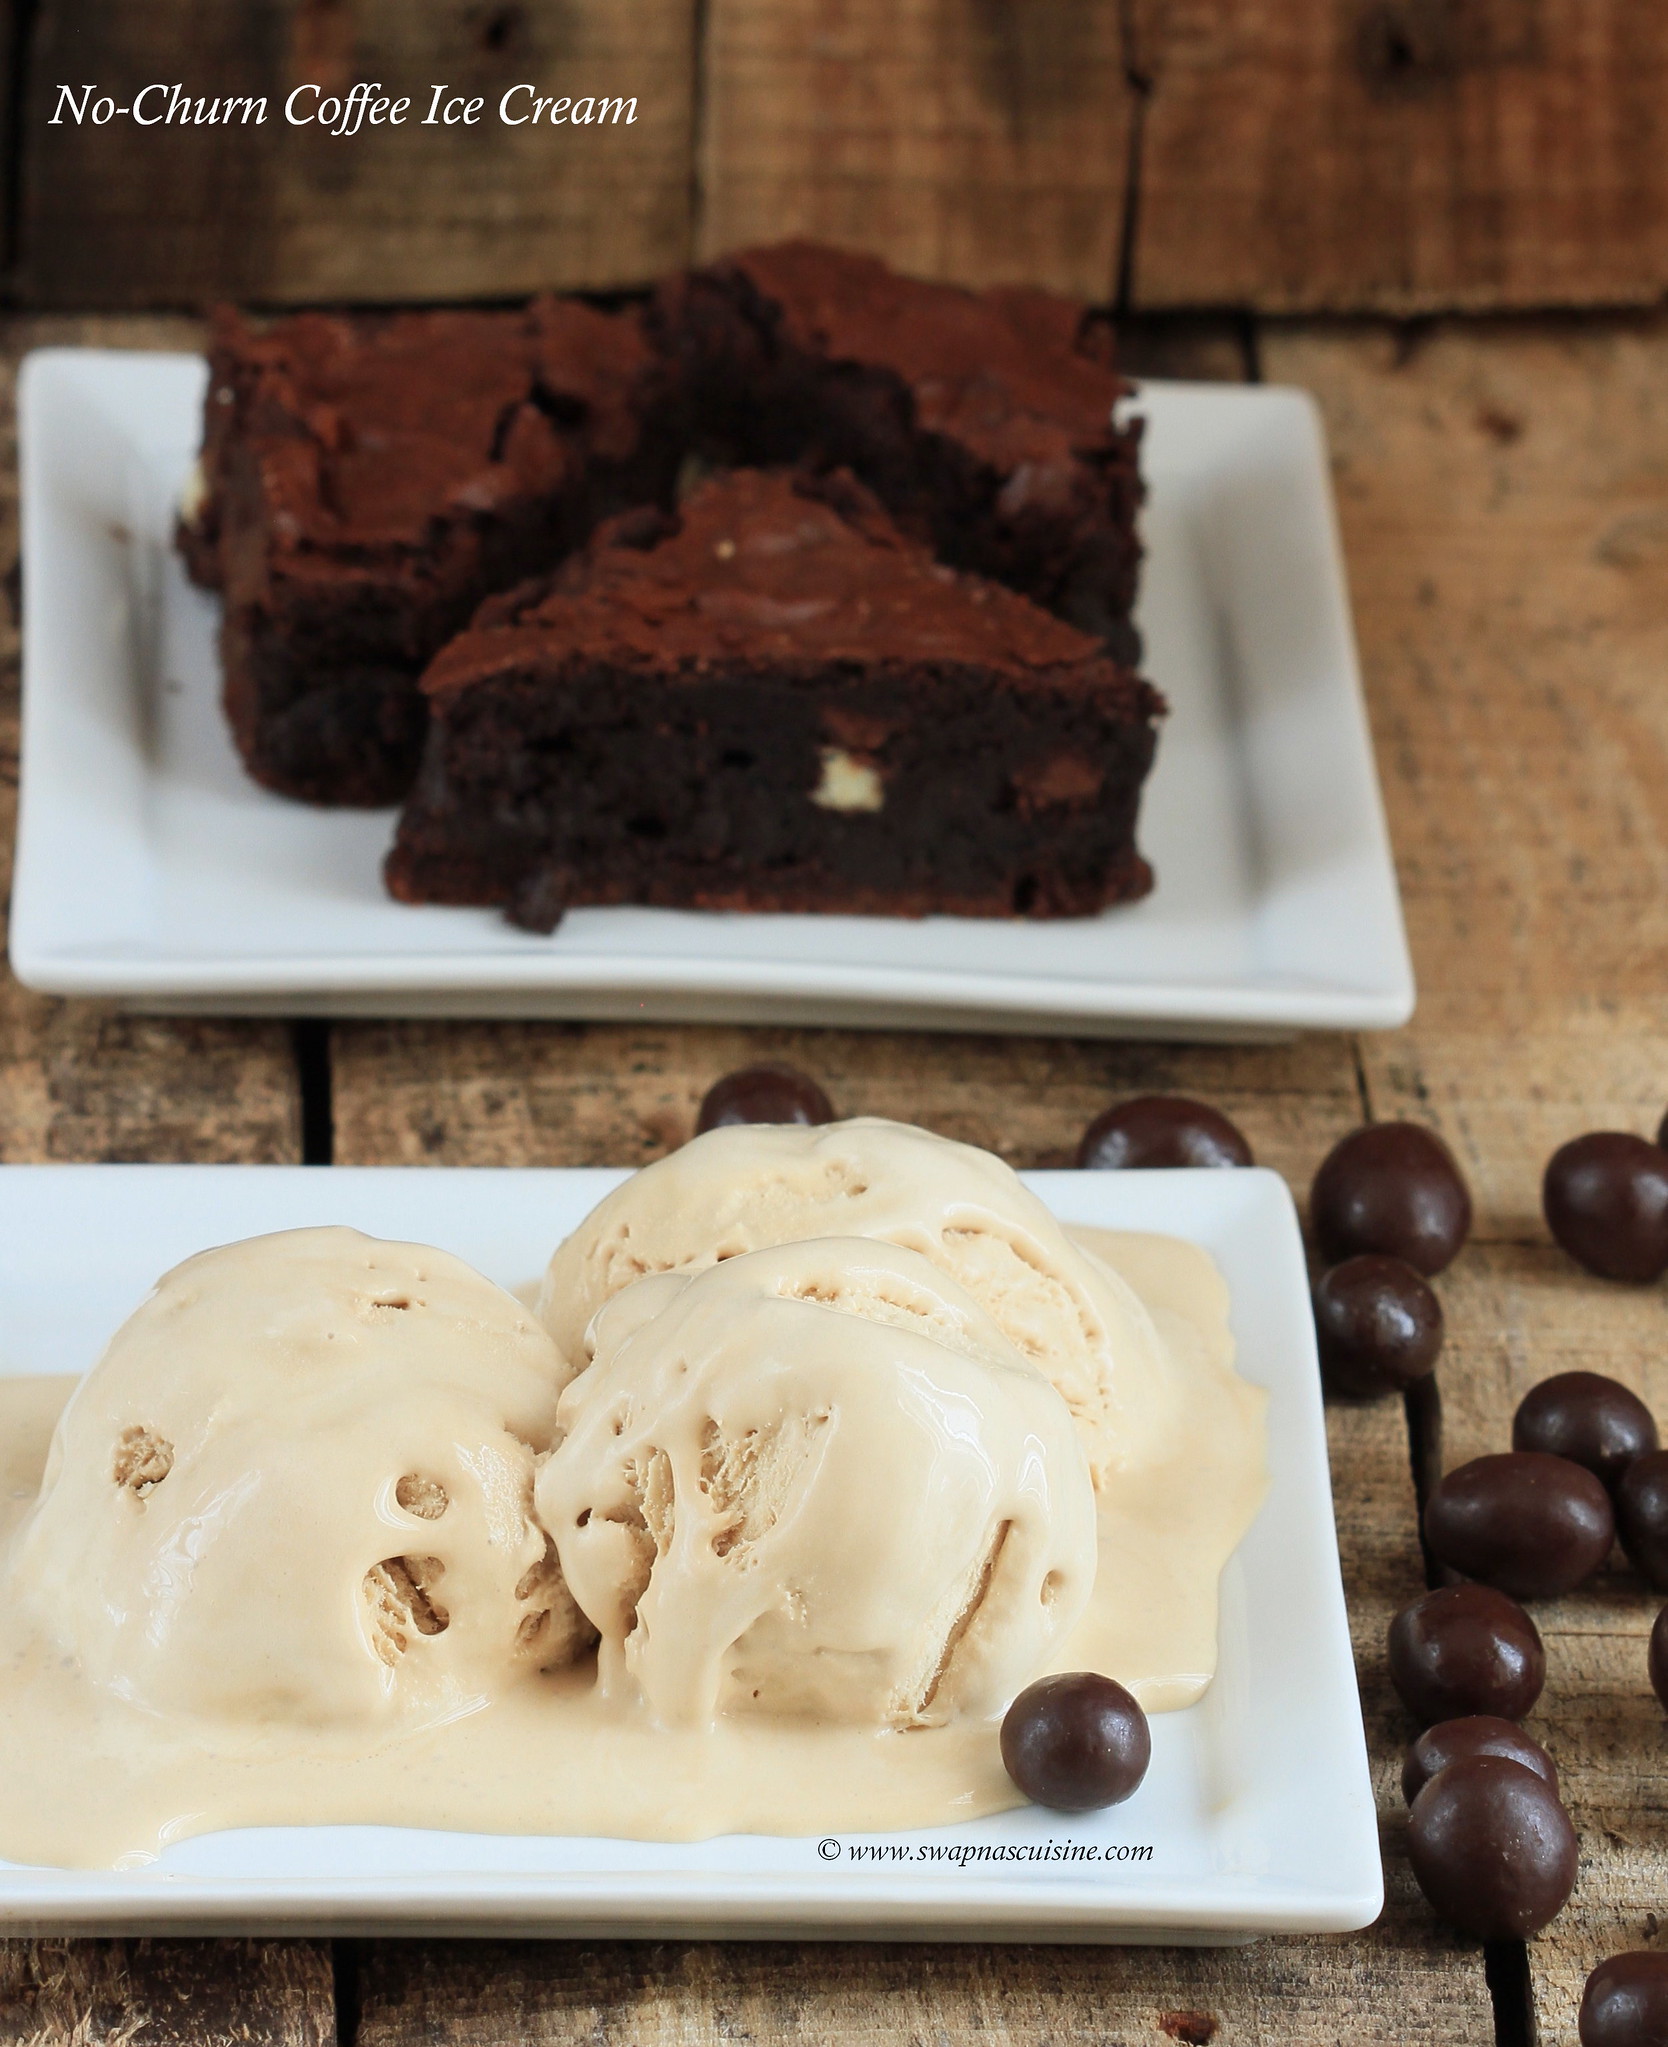
No-Churn Coffee Ice Cream

Mocha Ice Cream


Today’s post is a rich and creamy coffee ice cream. No cooking is involved to make this and is extremely easy to prepare without an ice cream maker. This goes really well with the Triple Chocolate Brownie I had posted some time back. If you are a coffee lover, I am sure you will love this!


Coffeel Ice Cream Recipe

No-Churn Coffee Ice Cream
(Recipe from here)
Ingredients:
Very cold heavy whipping cream - 2 cups
Sweetened condensed milk - 1 (14 oz) can
Instant coffee - 5 tsp + 2 ½ tsp warm water
Vanilla essence - 2 tsp
Method:

  • In a large bowl, whip heavy whipping cream until stiff peaks form.
  • Dissolve instant coffee granules in warm water and stir into heavy cream mixture along with sweetened condensed milk and vanilla extract.
  • Pour ice cream mixture into an airtight container and freeze for 5-6 hours or overnight.
Three Ingredient Ice Cream Recipe

Read More » Print Friendly and PDF

Monday, 13 February 2017

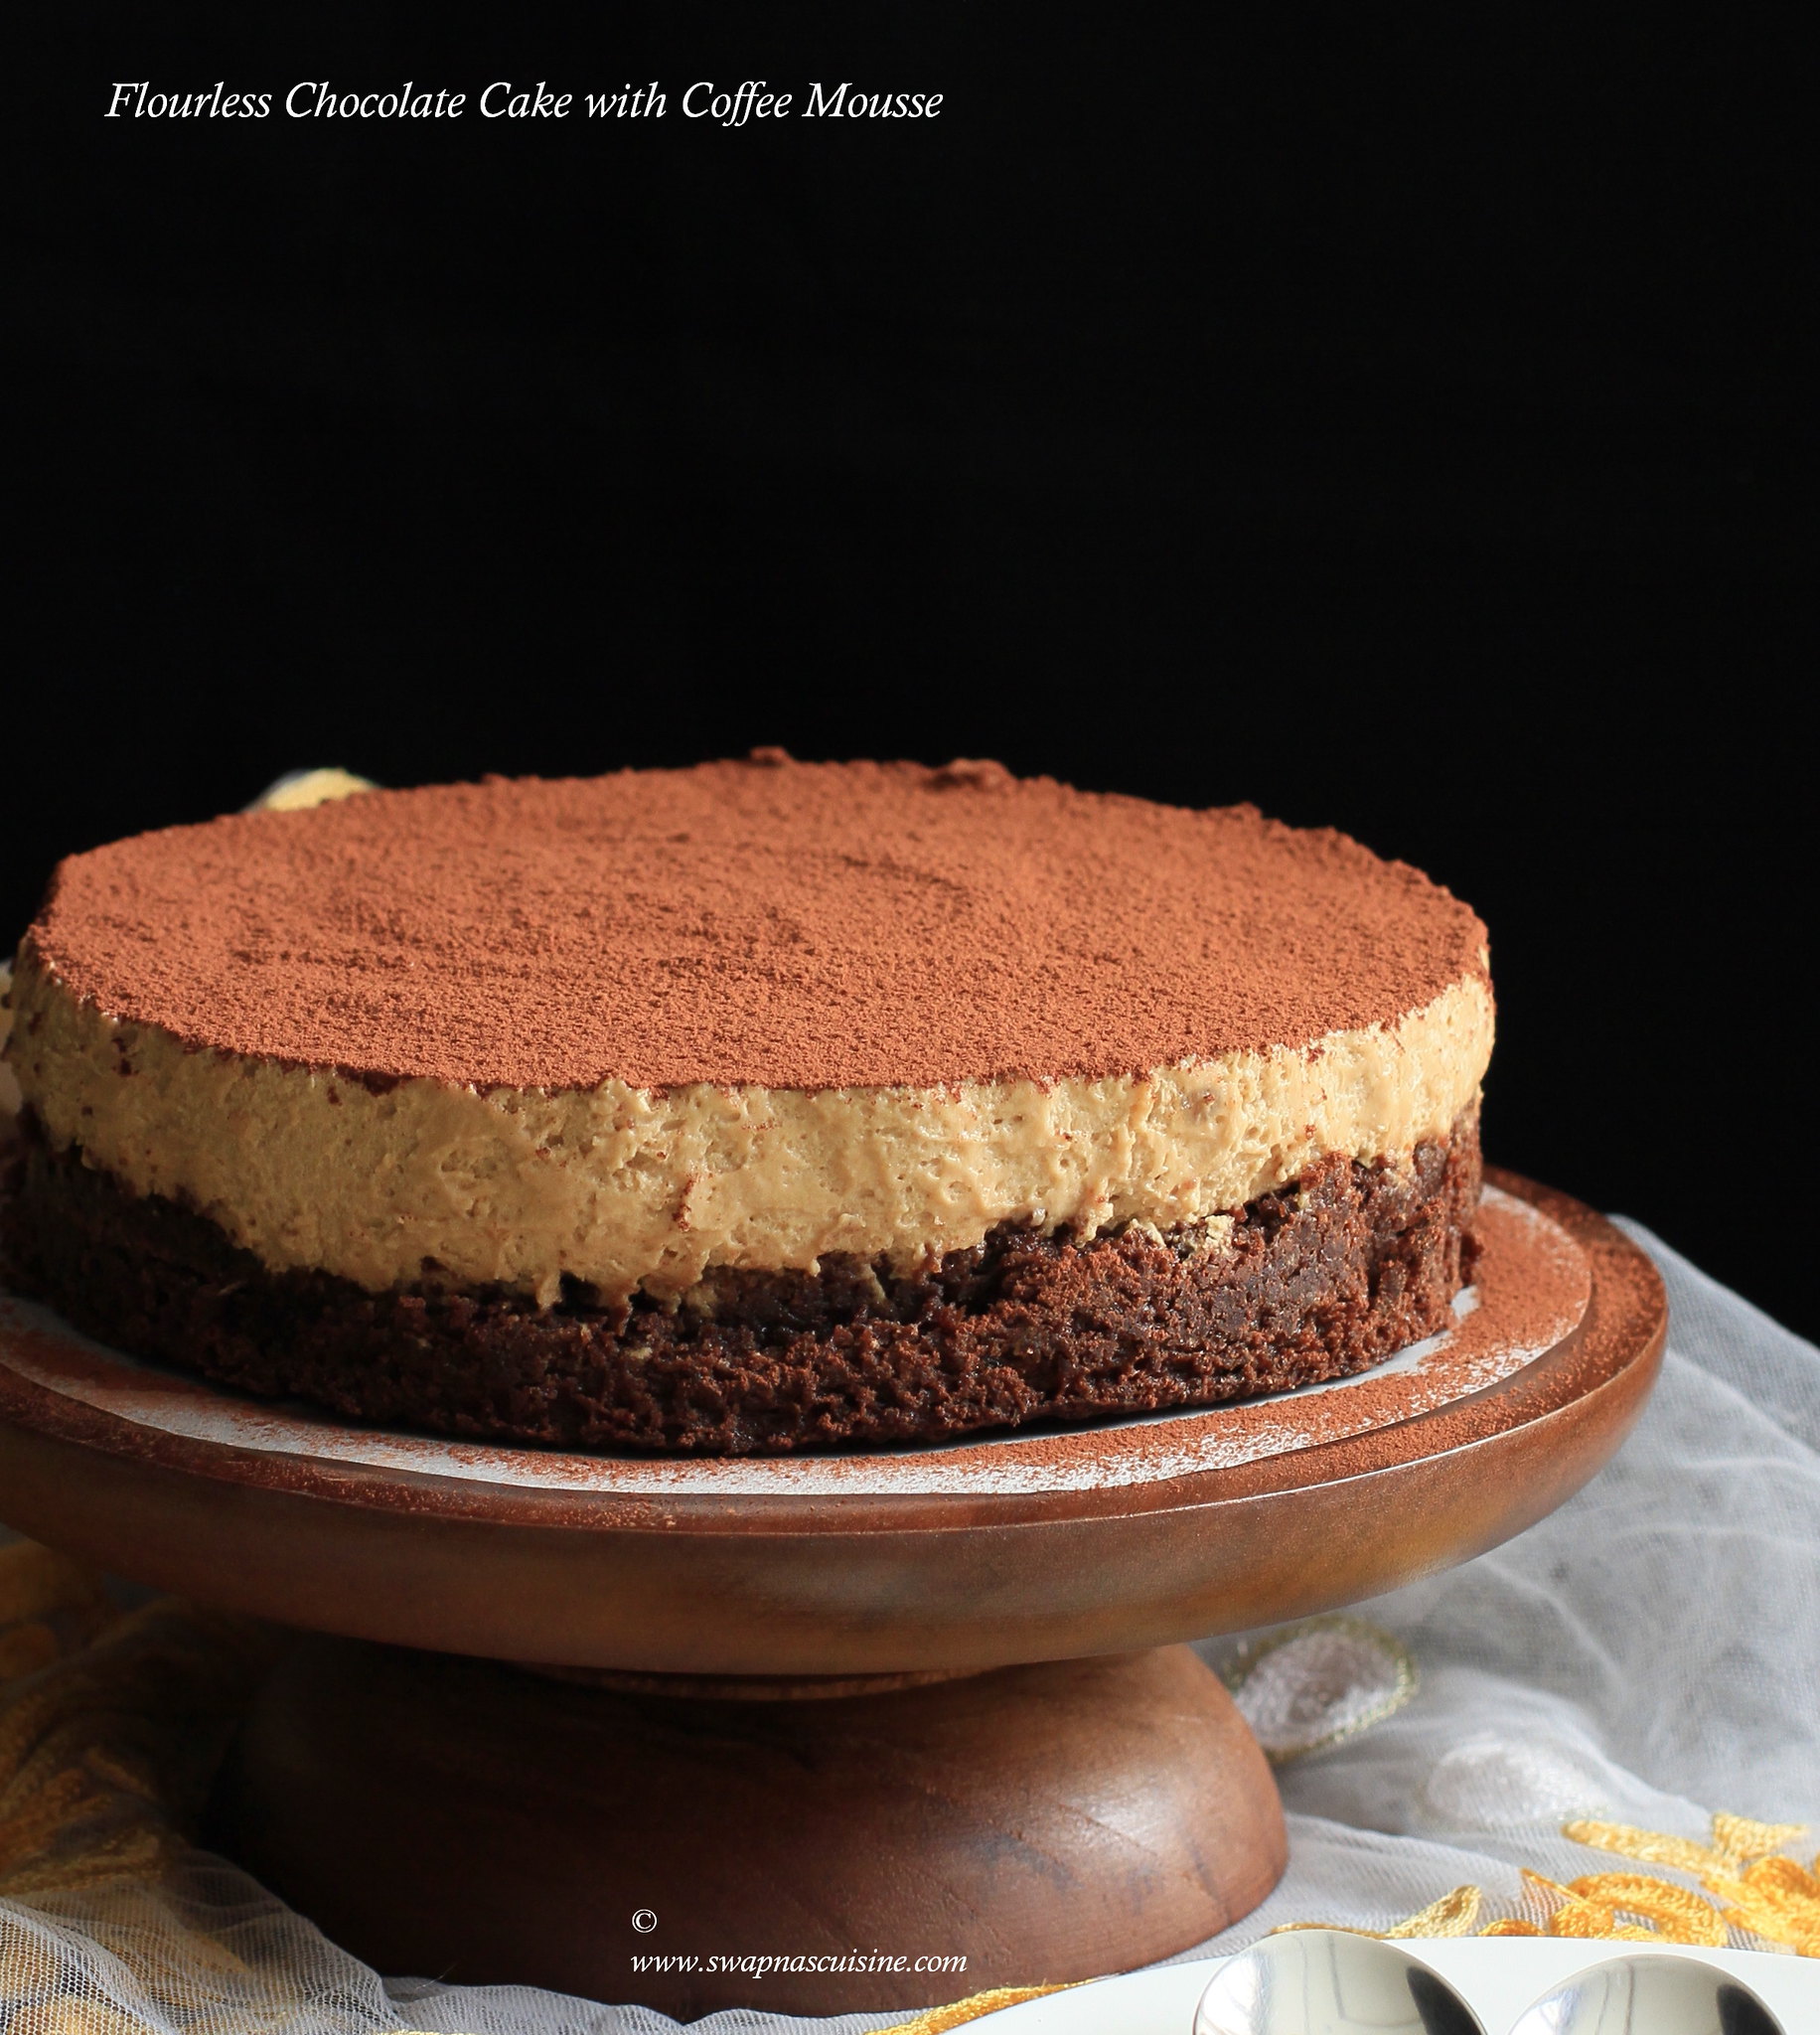
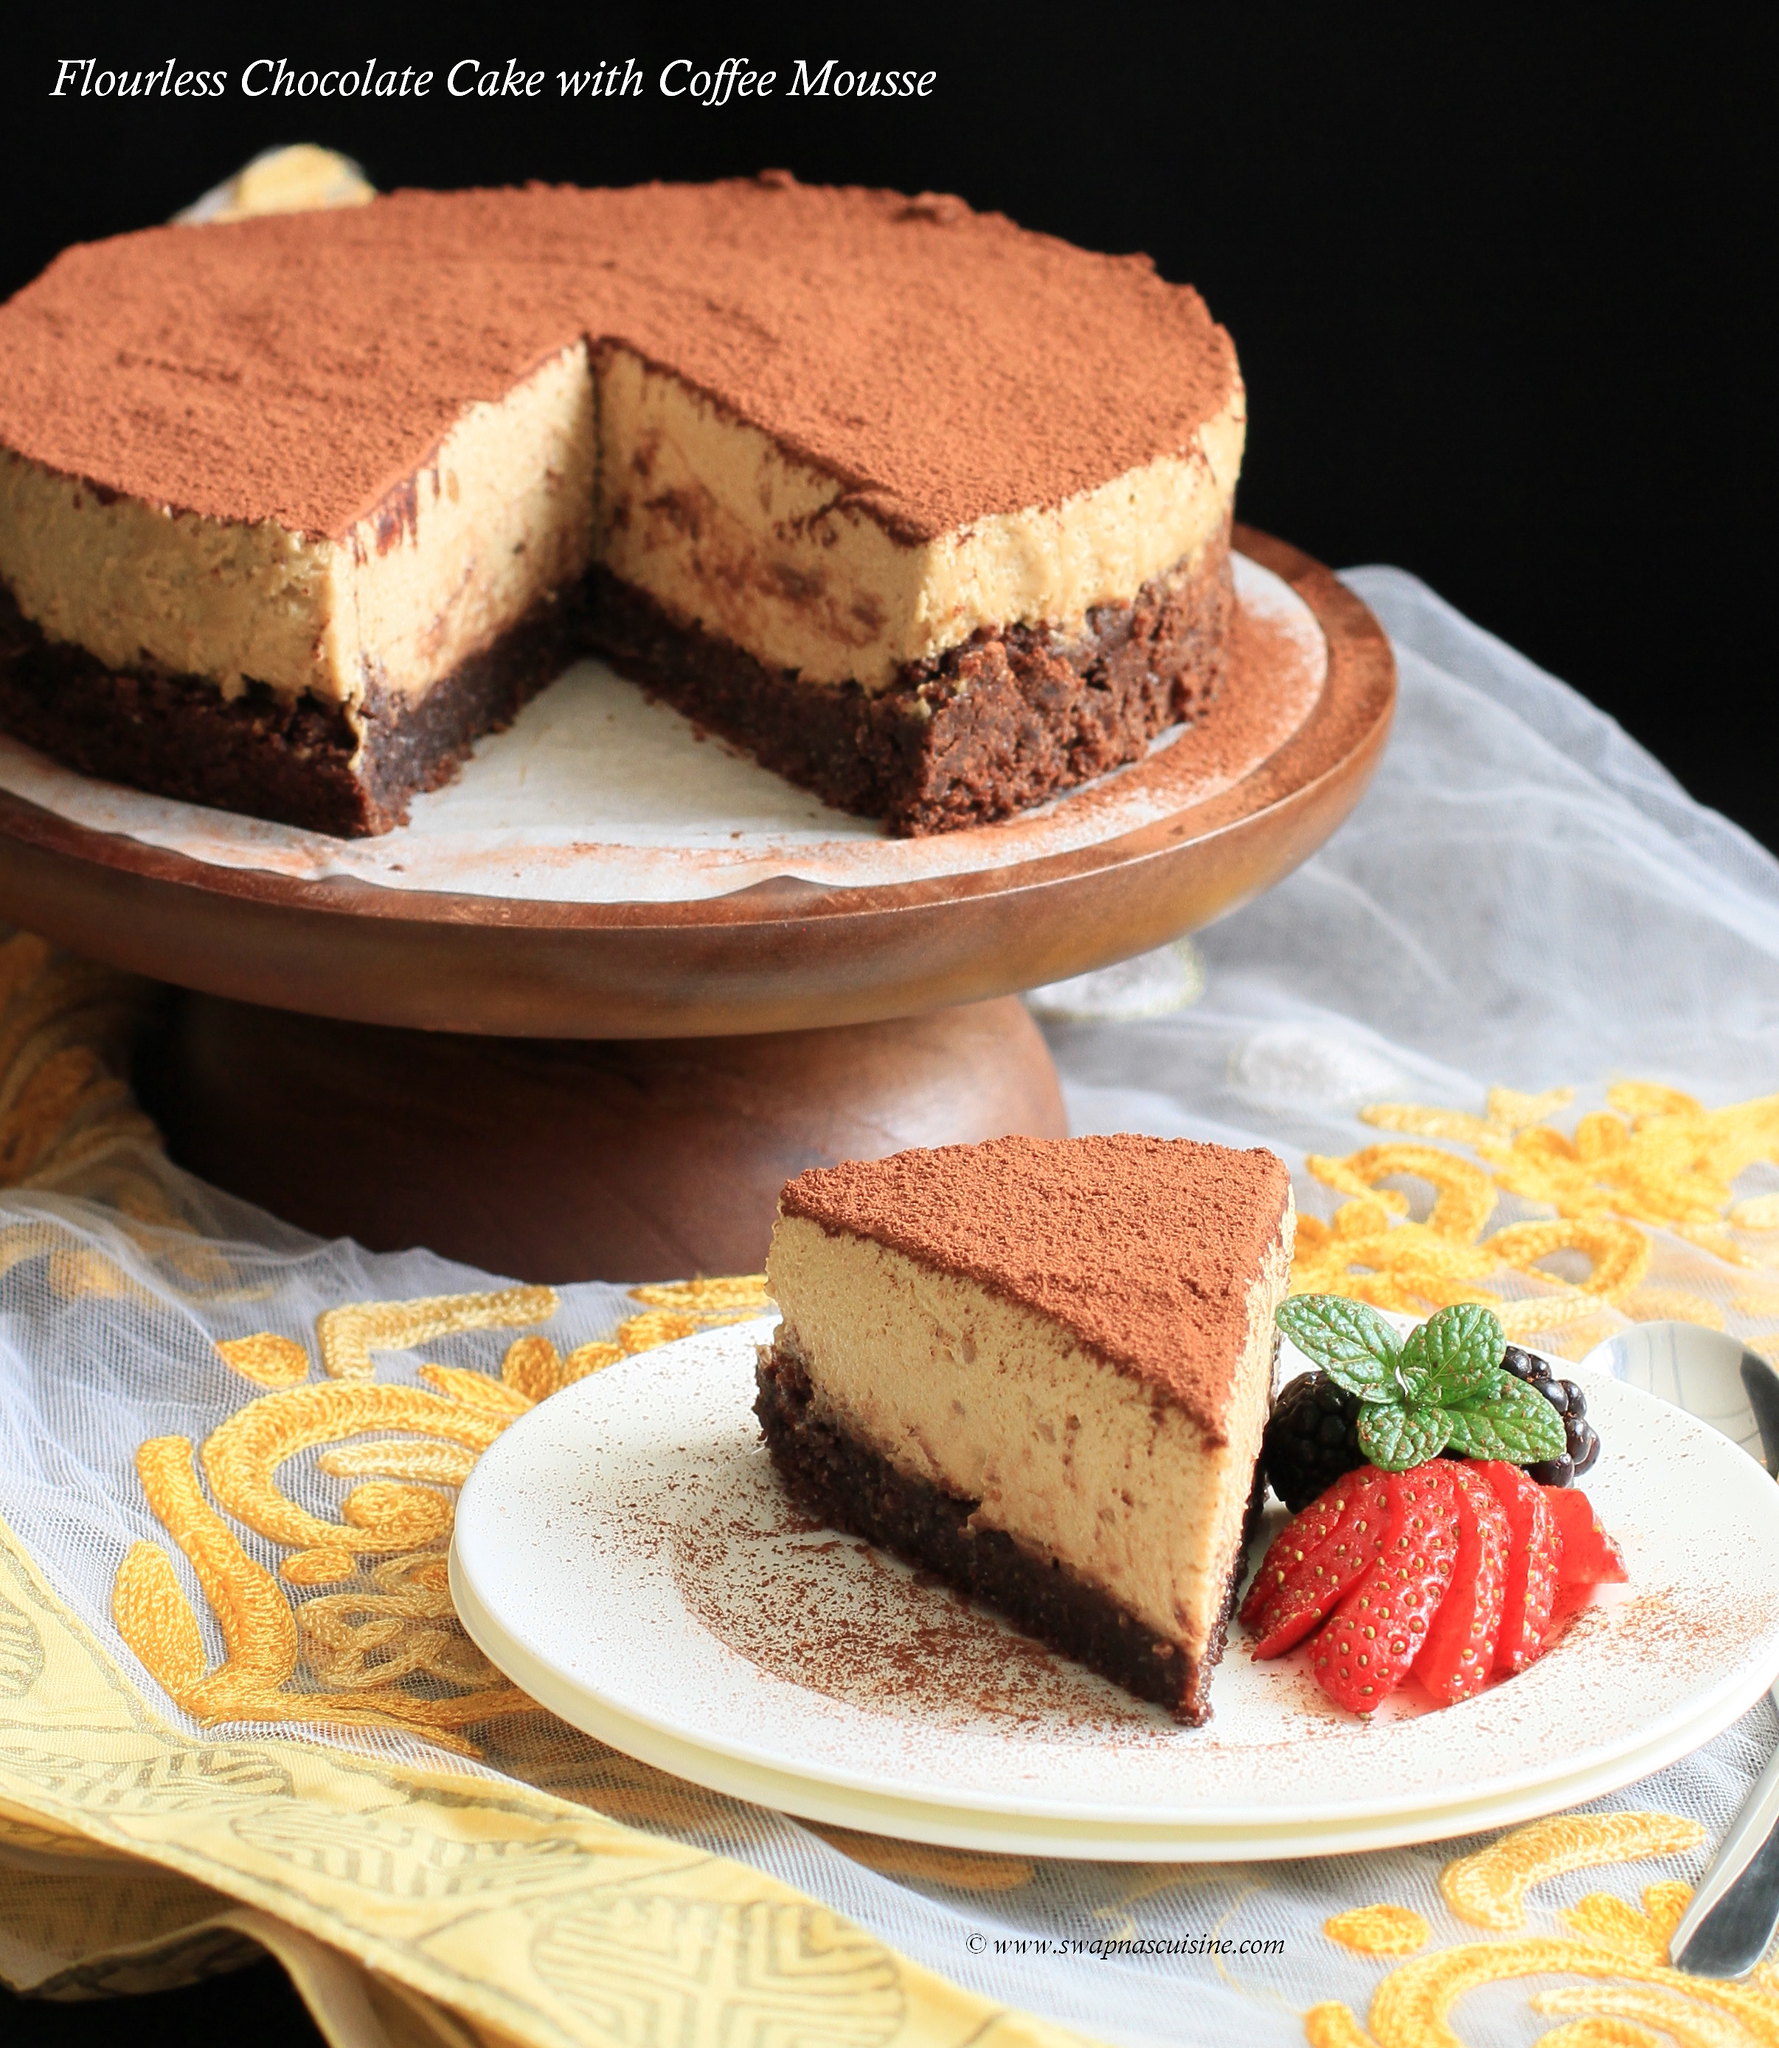
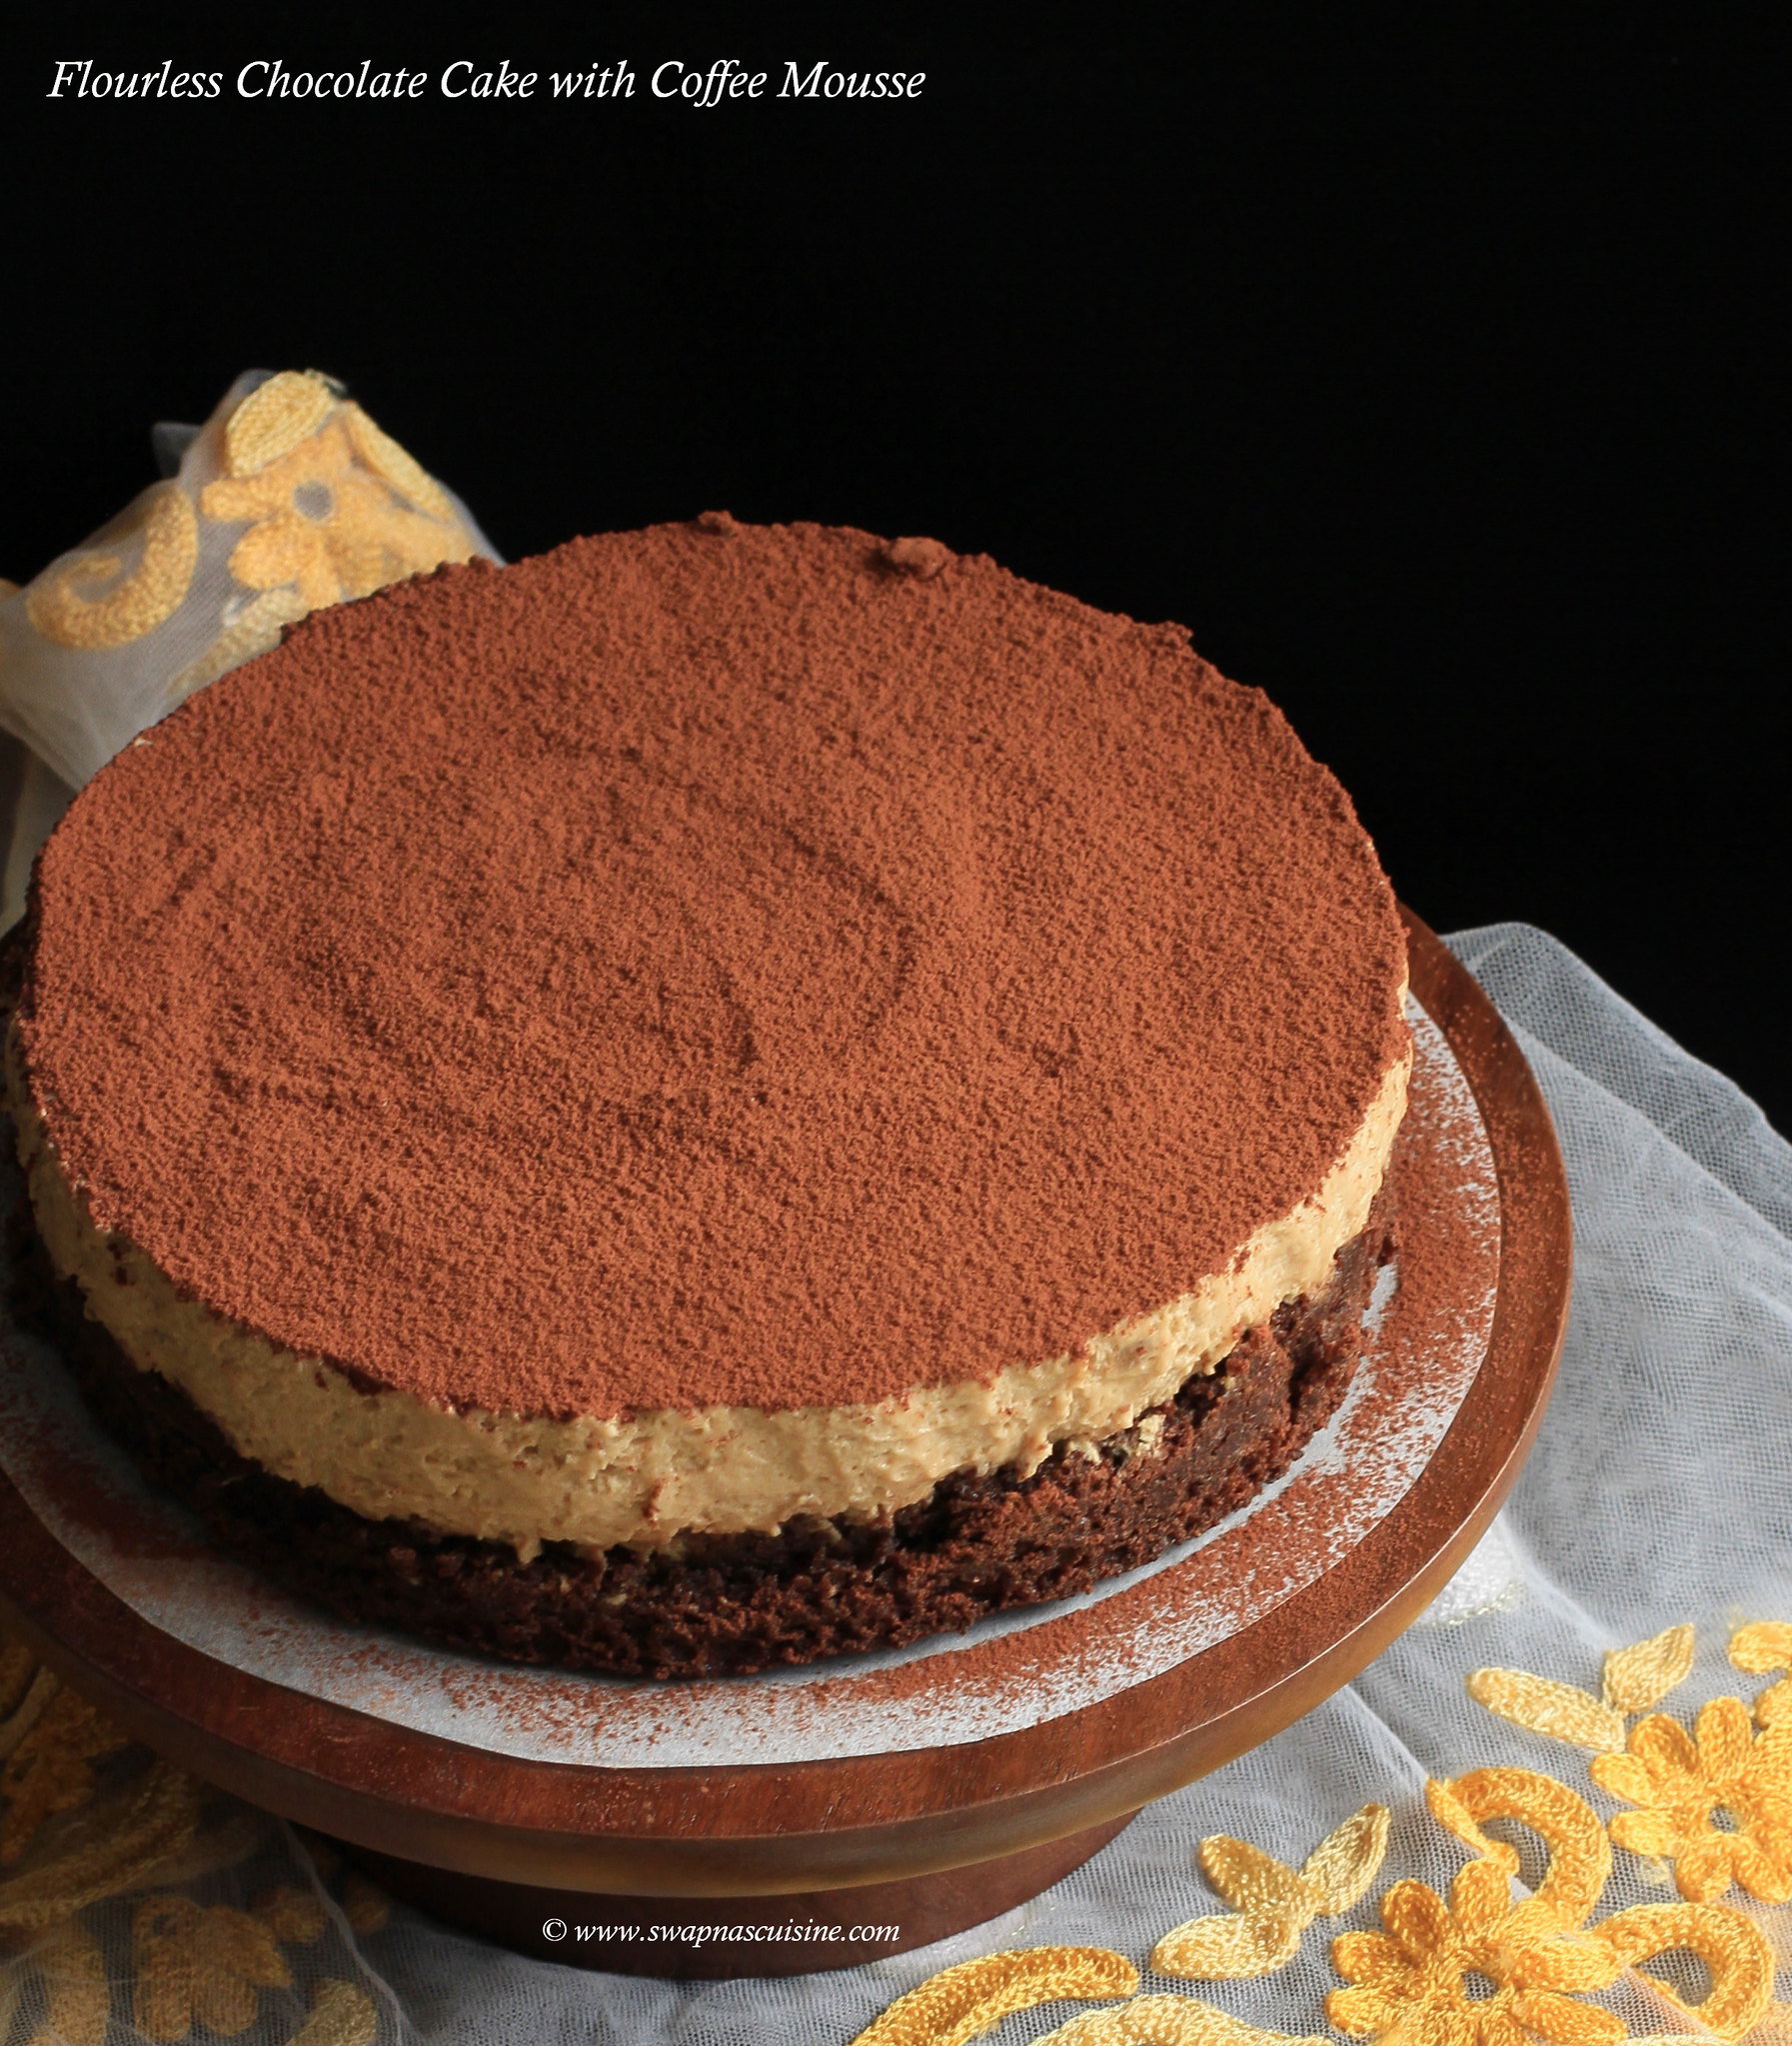
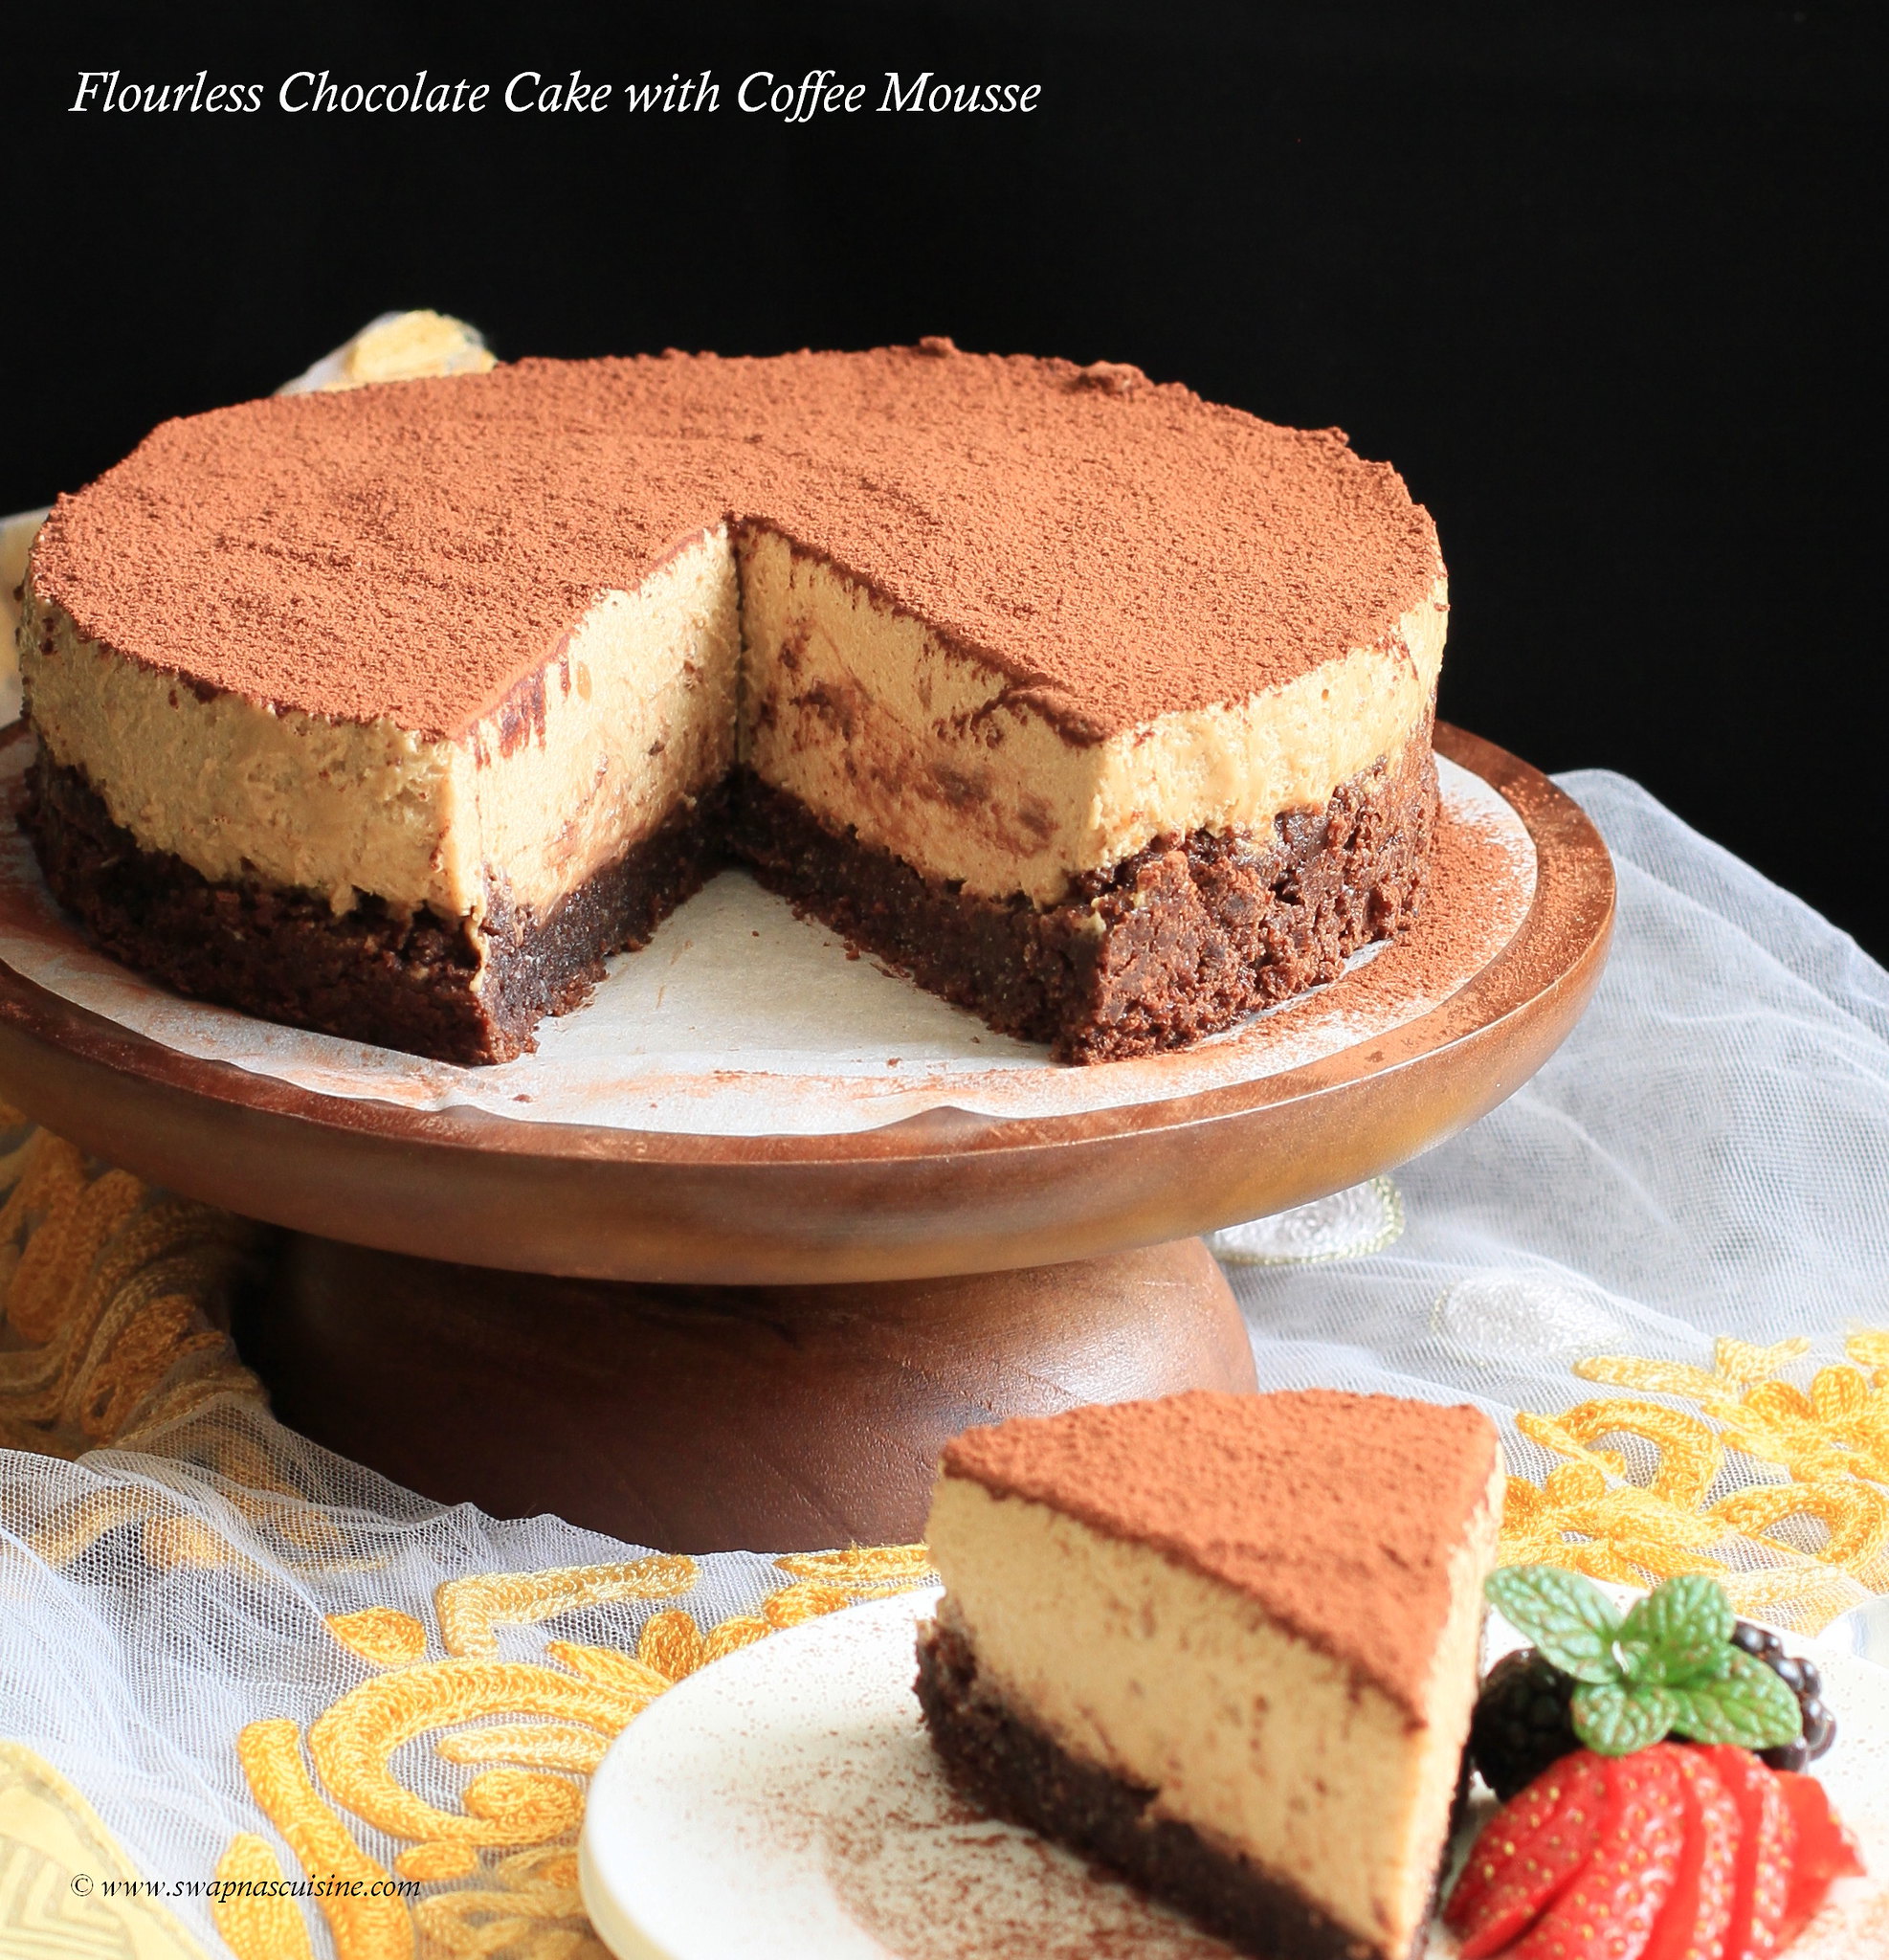
Flourless Chocolate Cake with Coffee Mousse

Flourless Chocolate Cake with Coffee Mousse recipe


Valentine’s Day is just around the corner, I thought my new post should be a chocolate dessert. Now a days short cooking videos are very popular in social media and people tend to share a lot of those videos. Although I love to watch such videos, I am not at all comfortable making video recipes :) :) …. Today’s recipe is one such shared recipe on Facebook. I immediately loved the recipe as it has my favourite chocolate and coffee in it. The chocolate cake is flourless and it is great for those who have gluten intolerance. The rich and fudgy chocolate base is topped with aromatic, soft and silky coffee mousse. It is absolutely heavenly and decadent dessert to make for your loved one!

Flourless Chocolate Cake Recipe


gluten intolerance desserts


Flourless Chocolate Cake with Coffee Mousse
(Recipe from here)
Makes about 8-10 servings
Ingredients:

Flourless Chocolate Cake
Butter - ½ cup (110g)
Semisweet chocolate - 150g (5 oz )
Eggs - 3, separated
Sugar - ½ (100g)
Unsweetened cocoa powder - 1 tbsp 
Salt - a pinch

Coffee Mousse
Egg yolks - 2
Sugar - ½ cup (100g)
Corn flour / corn starch - 1 ½ tbsp 
Warm milk - 2/3 cup (160ml)
Vanilla essence - ½ tsp 
Instant coffee - 1 tbsp 
Gelatine powder - ½  tbsp 
Cold water - 2 tbsp 
Whipping cream - 1 cup (240g), chilled

Method:

Flourless Chocolate Cake
  • Grease and line a 8-inch (20 cm) spring form pan (with a removable base) with parchment paper. Separate egg yolks from whites. Preheat oven to 180°C (350°F).
  • Melt chocolate and butter over a bain-marie (double boil) until smooth. Let it cool slightly. Add yolks one at a time and stir well. Stir in cocoa powder and salt. 
  • Whip egg whites until foamy using a mixer. Gradually add sugar and whip until stiff peaks form.  Gently fold the whipped whites into chocolate mixture.
  • Pour batter into prepared pan and bake for 25 minutes. Let it cool completely in the pan over a cooling rack.
Prepare the coffee mousse:
  • Stir egg yolks with sugar until creamy and pale yellow coloured. Stir in corn starch. Gradually whisk in the warm milk until completely combined.
  • Place the yolks mixture into a small saucepan and cook over low heat while stirring until boils and thickens.
  • Remove from heat and stir in vanilla essence and instant coffee. Let it cool.
  • Dissolve gelatine in 2 tbsp cold water and let it swell for about 5 to 10 minutes. Place over low heat just until the gelatine dissolves and then pour it over coffee mixture.
  • Whip the cold whipping cream until stiff peaks form. Gradually incorporate into coffee mixture.
  • Spread the coffee mousse over the chocolate cake in the pan, using an offset spatula.
  • Cover and refrigerate for about 4 hrs or overnight to set before serving.
  • Run a warm knife around the edges of the cake to remove the sides of the pan.
  • Dust the top of the cake with cocoa powder.
  • Using a warm knife cut the cake into slices and serve.
Layered desserts
Read More » Print Friendly and PDF
Related Posts Plugin for WordPress, Blogger...