Showing posts with label Italian. Show all posts

Monday, 15 October 2018

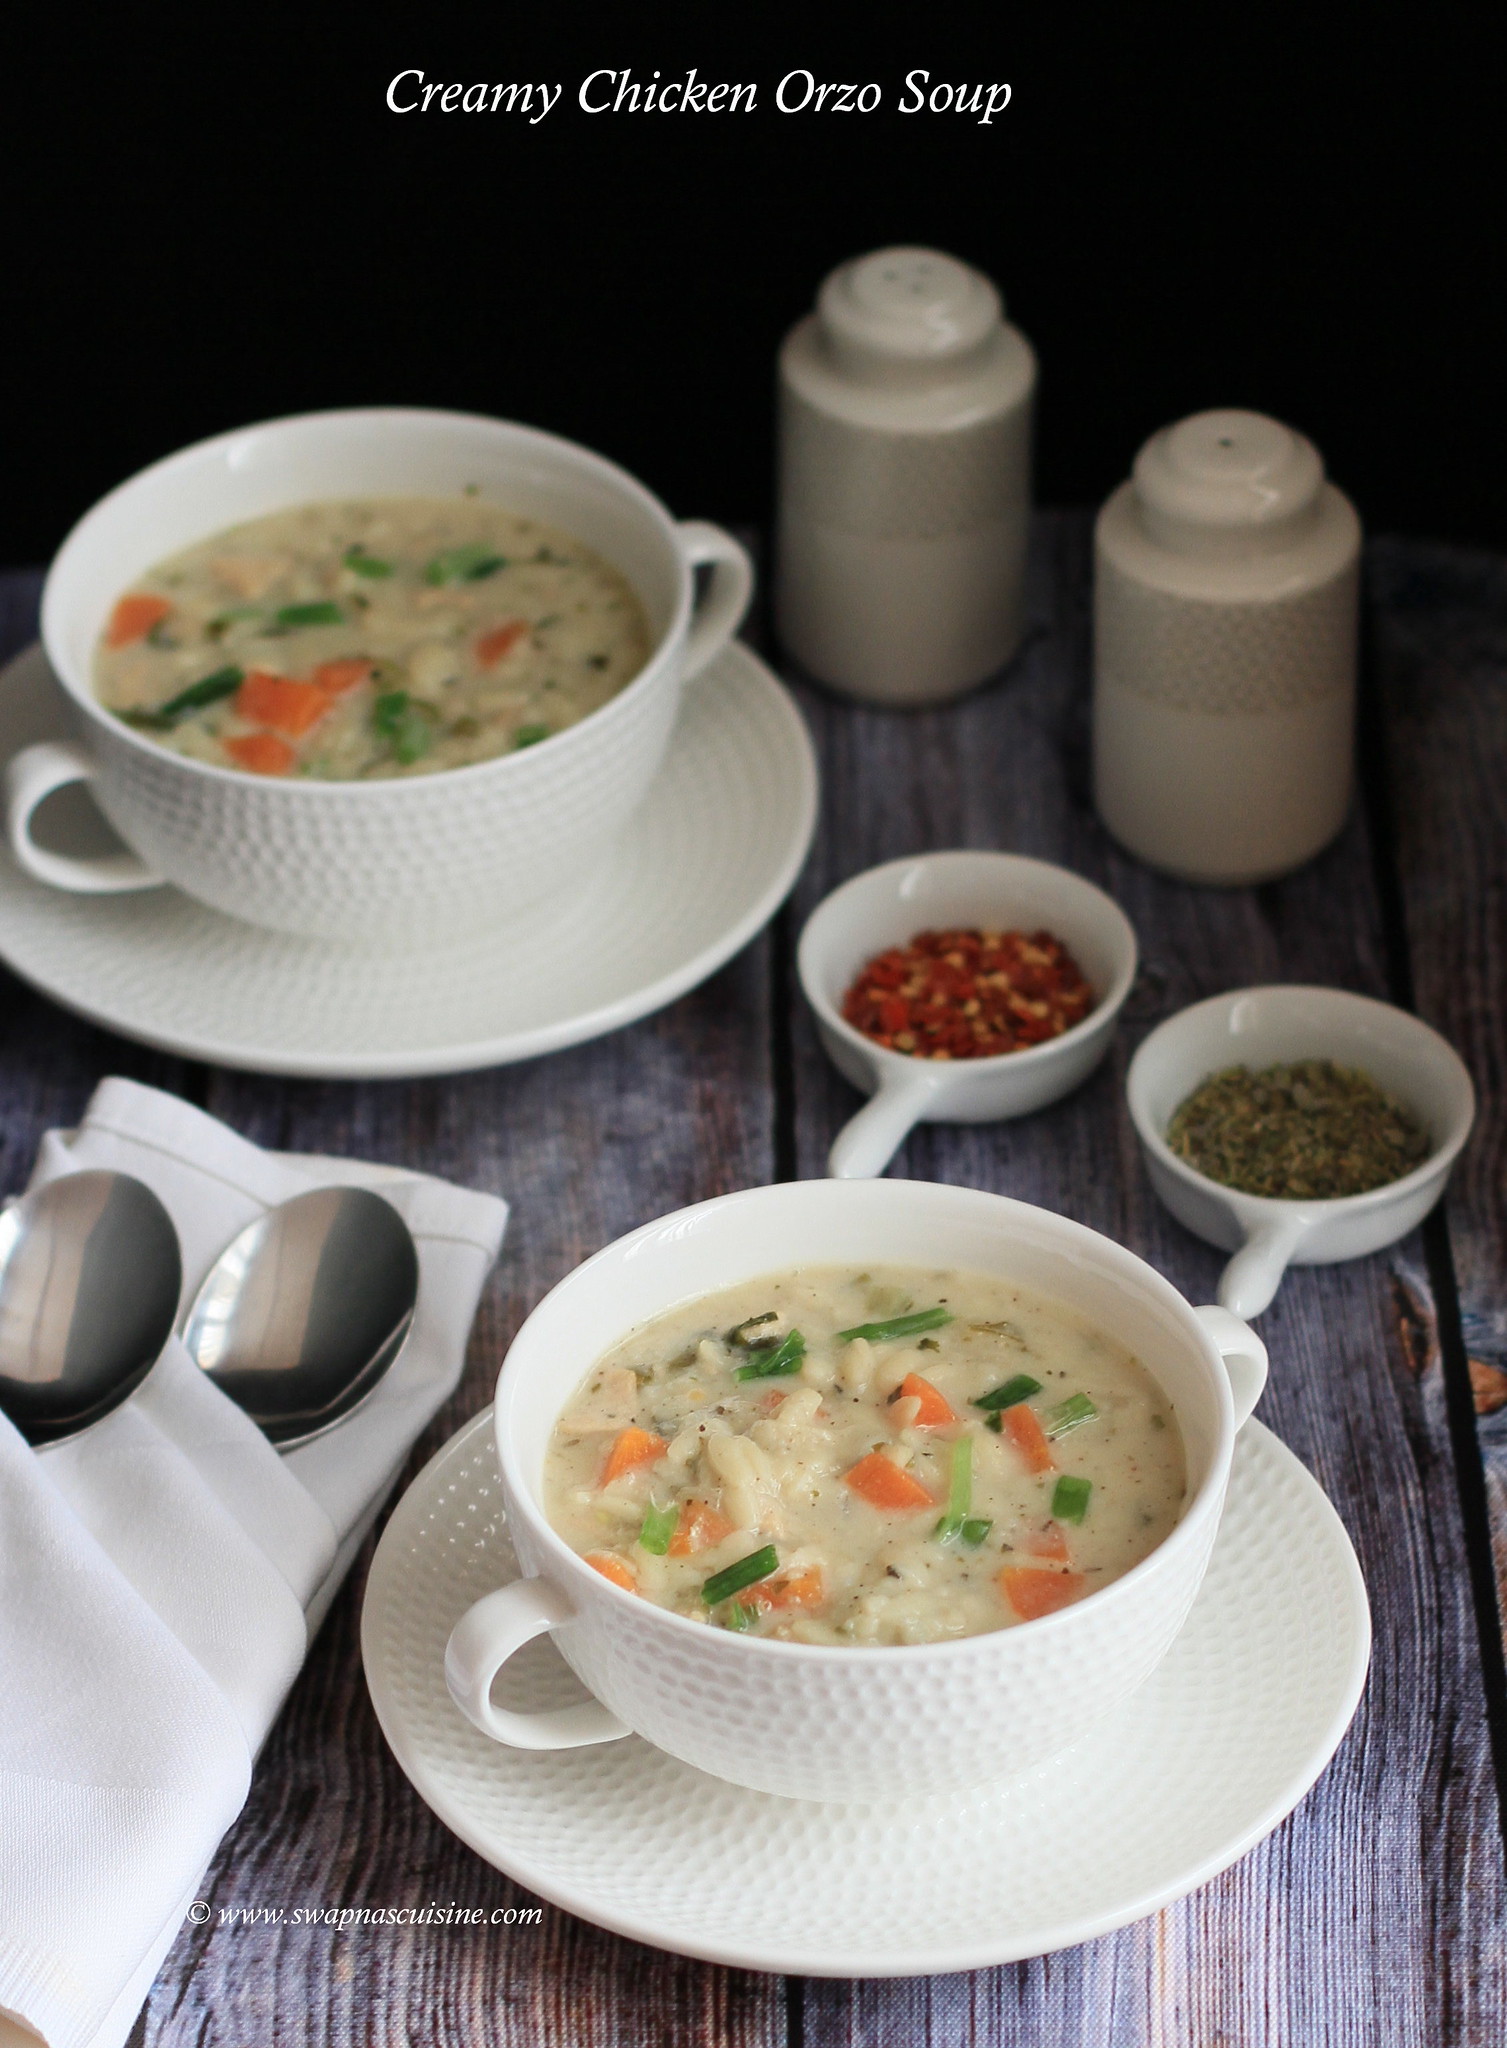
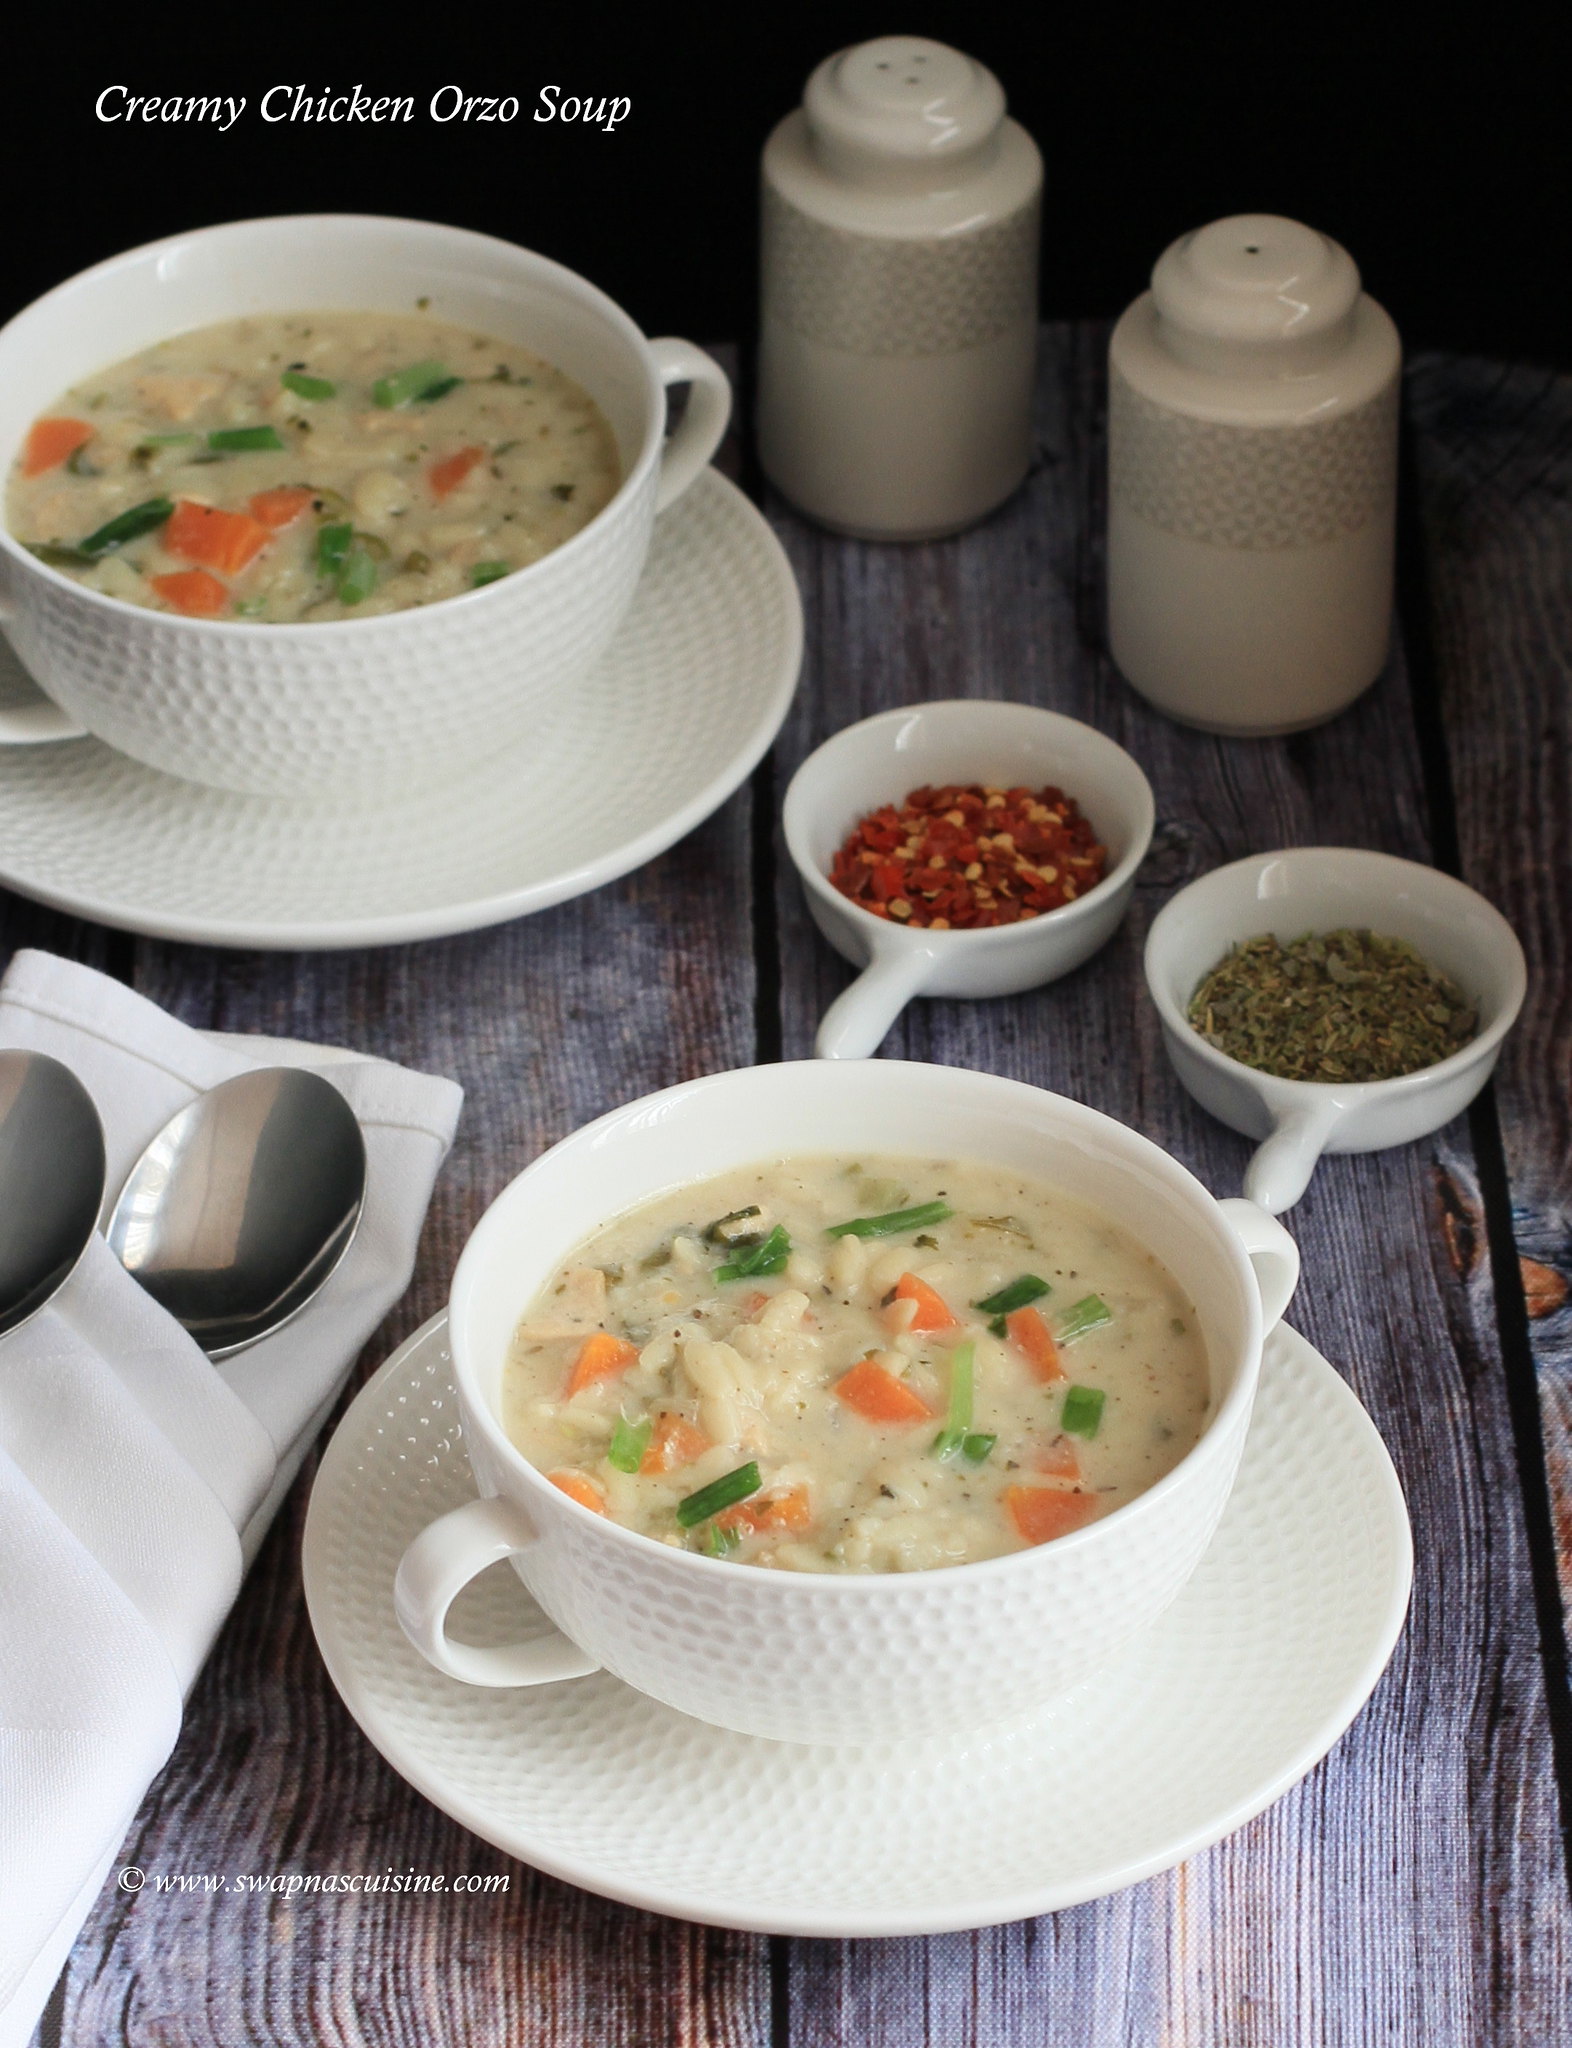
Creamy Chicken Orzo Soup


Italian chicken soup recipe

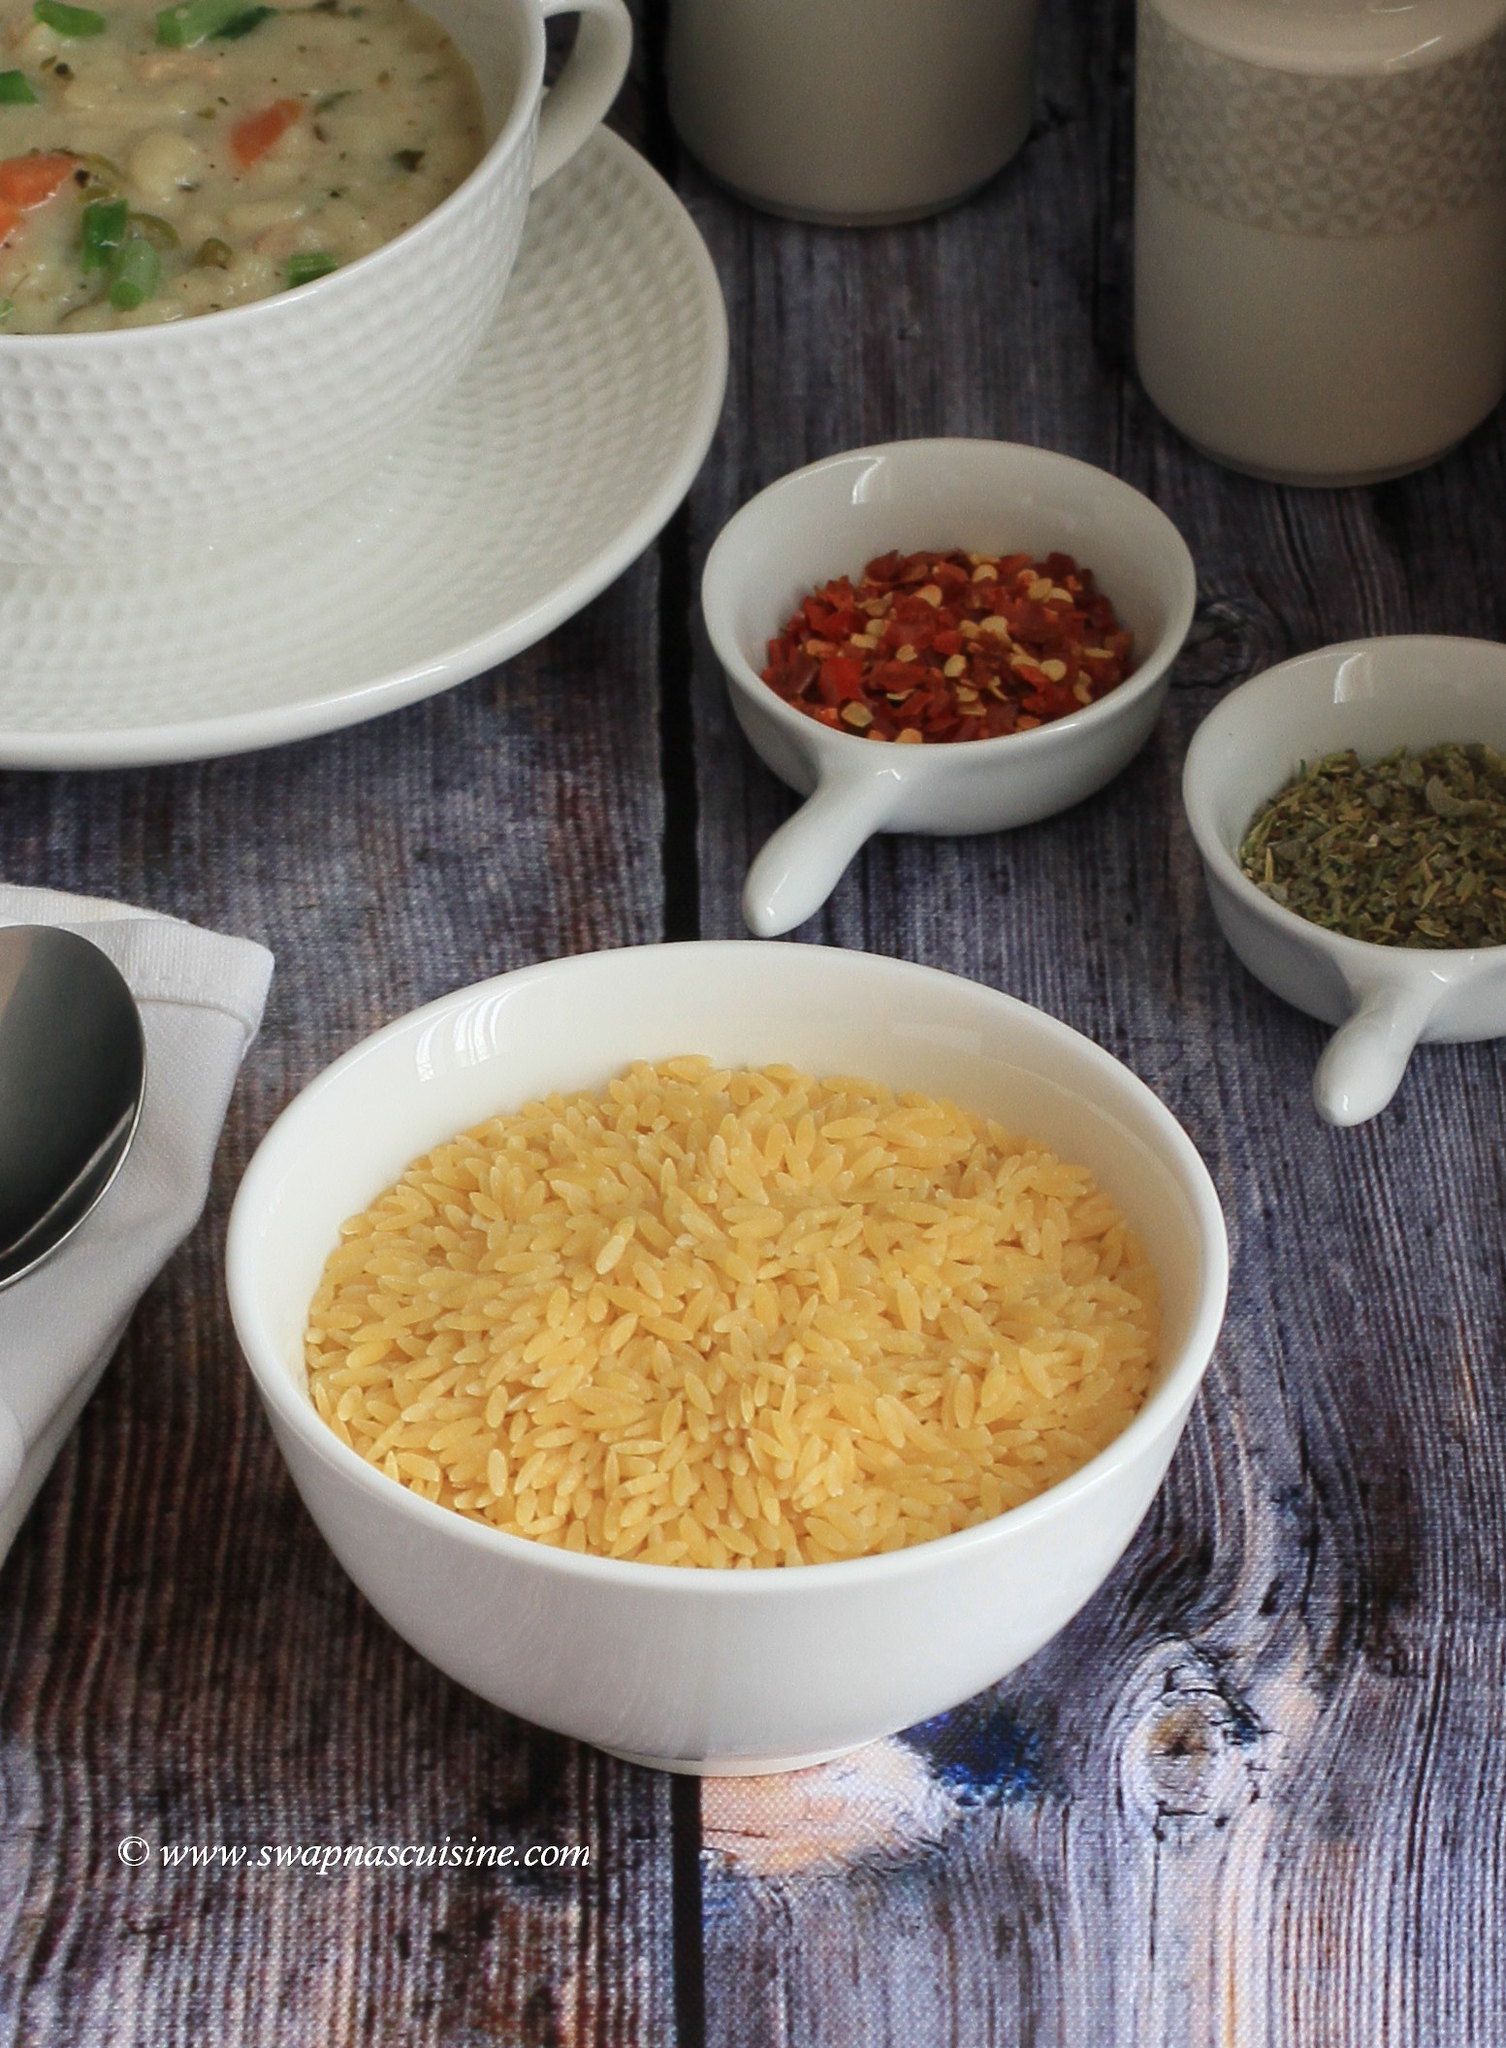
Orzo, is a type of short-cut pasta, shaped like a large grain of rice. You can make some delicious salads and soups with orzo. One of our recent favourites is this Creamy Chicken Orzo Soup. It comes together pretty quickly and is very filling too. I only made half the amount of the recipe and it was perfect for all three of us. You can even add mushrooms or celery to this. If orzo is not available you can use mini macaroni or any other type of short cut pasta.

Chicken soup recipe,


Creamy Chicken Orzo Soup Recipe
Serves 5-6
(Recipe from here)
Ingredients:
Olive oil -2 tbsp
Boneless Chicken breast - 450 gm
Garlic - 1 clove minced
Onion - 1/2 cup, diced
Carrots - 1/2 cup, diced
Dried Sage - 1/4 tsp
Dried Parsley - 1 tsp
Dried Oregano - 1/2 tsp
Salt - 1/2 tsp
Pepper powder - 1/2 tsp or to taste
Chicken broth – 4 cups
Water - 2 cups
Orzo - 1 cup
Heavy cream – 1 cup
Green onions - 1/4 cup, diced

Method:

  • In a large pan heat olive oil over medium heat. Add chicken breast and season with salt and pepper, to taste. Cook until no longer pink in the middle, about 6-8 minutes per side. Remove from heat and shred.
  • In the same pan, add garlic, onions, and carrots and cook for about 5 minutes until aromatic.
  • Add in sage, parsley, oregano, salt, and pepper and cook until onions are translucent, another 3-5 minutes.
  • Pour in chicken broth and water and bring to a boil.
  • Add in orzo and cook on a low boil for about 10 -15 minutes or until orzo is tender.
  • Lower heat and add chicken back in, and heavy cream. Let simmer 5 minutes until bubbly and thickened.
  • Top with green onions and serve warm.
How to make Creamy Chicken Orzo Soup


Read More » Print Friendly and PDF

Friday, 30 March 2018

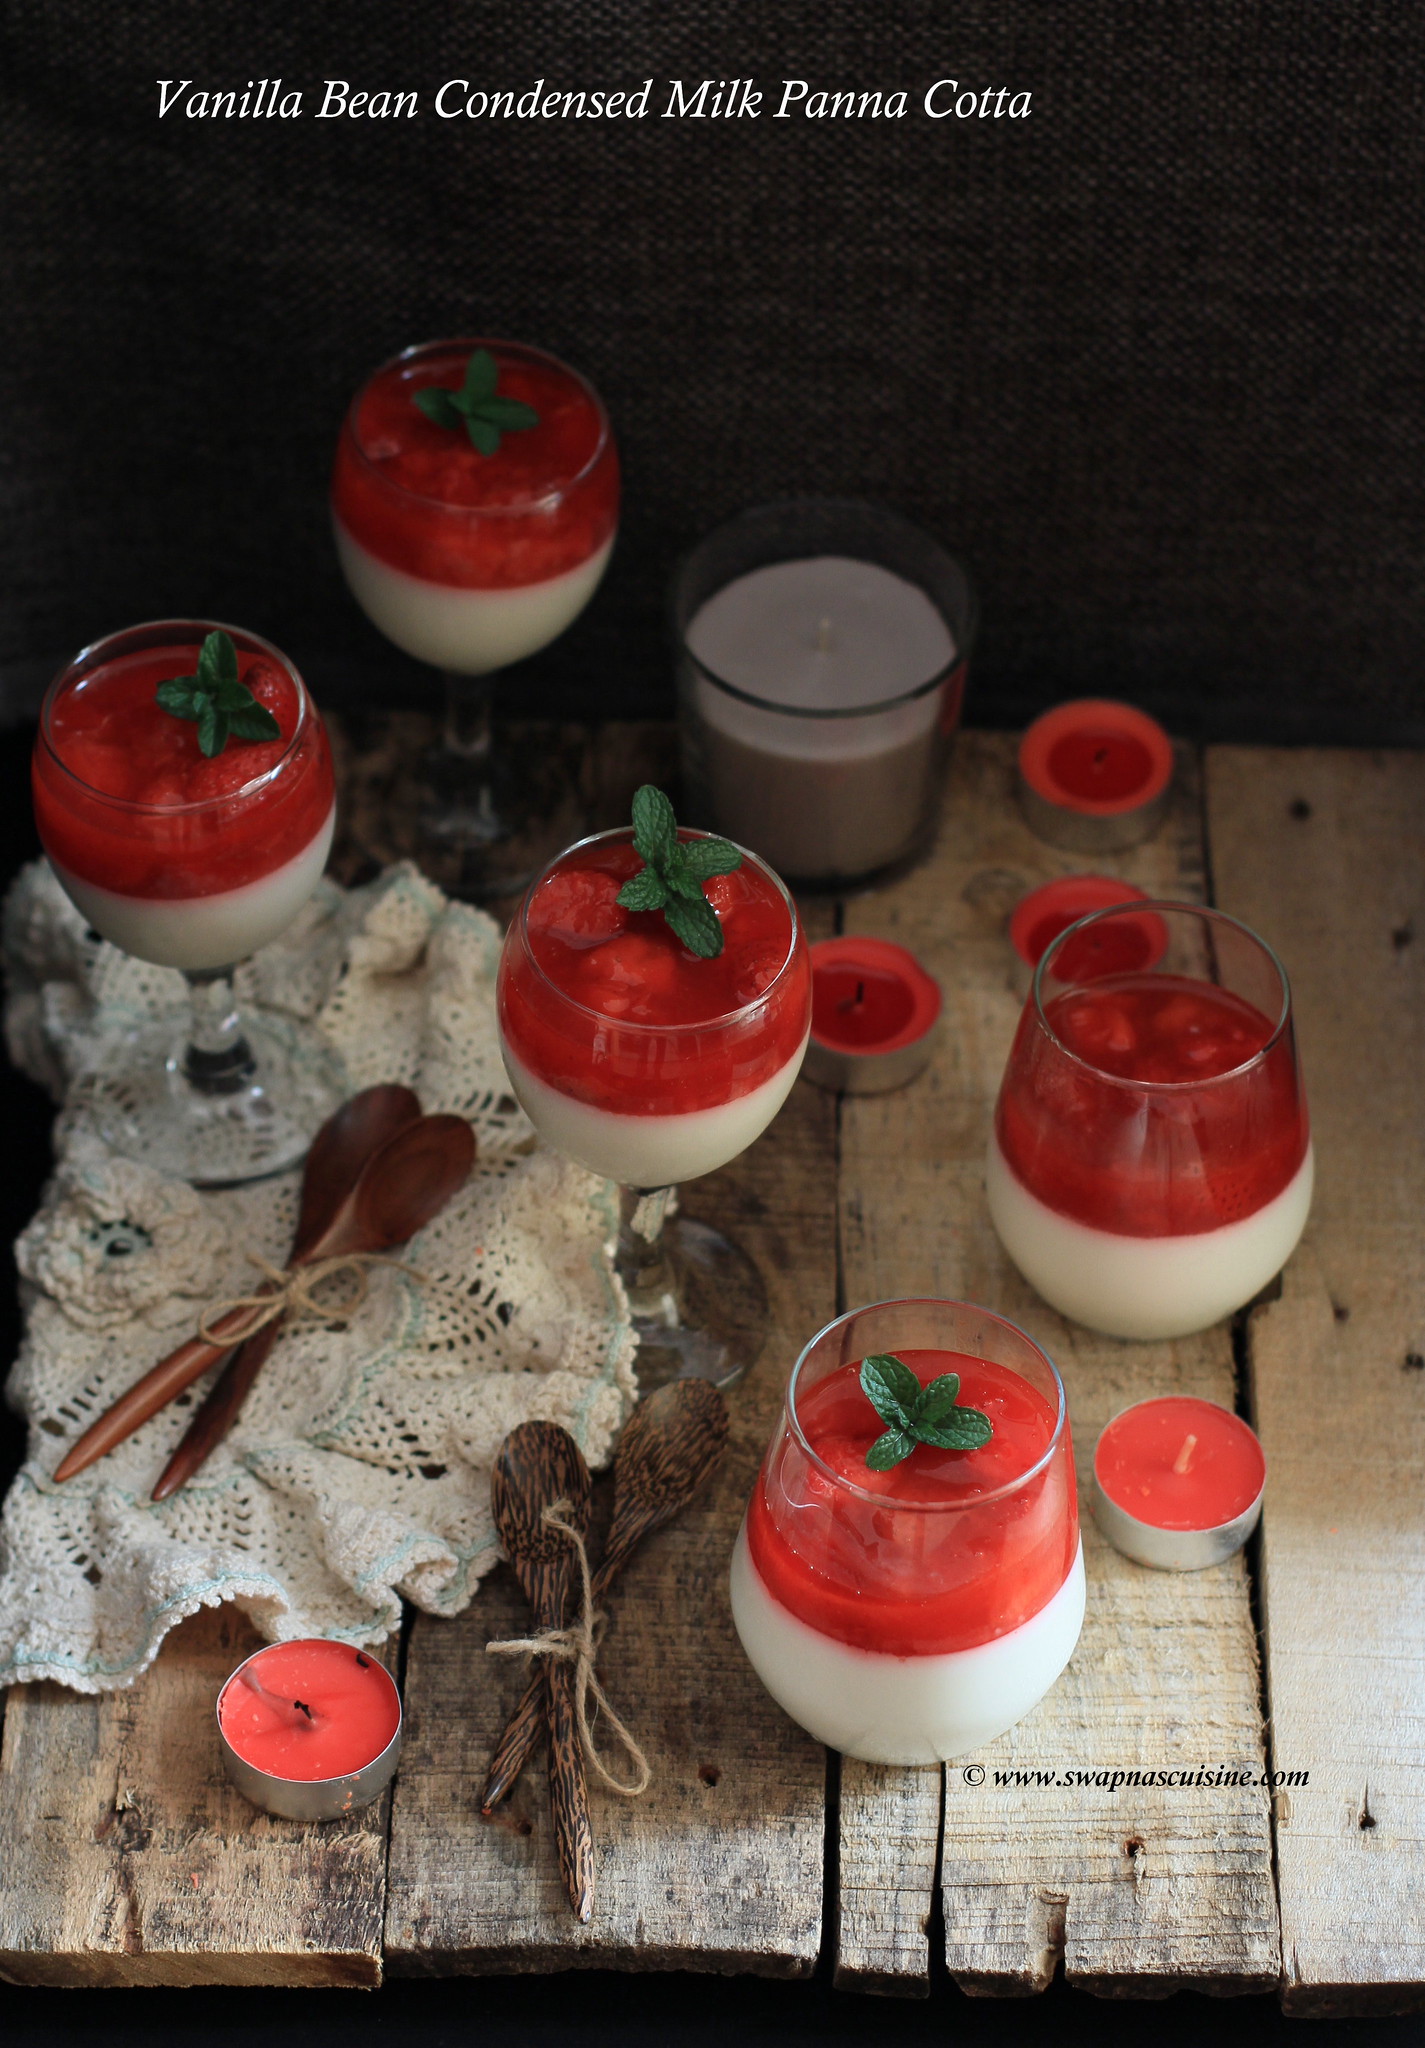
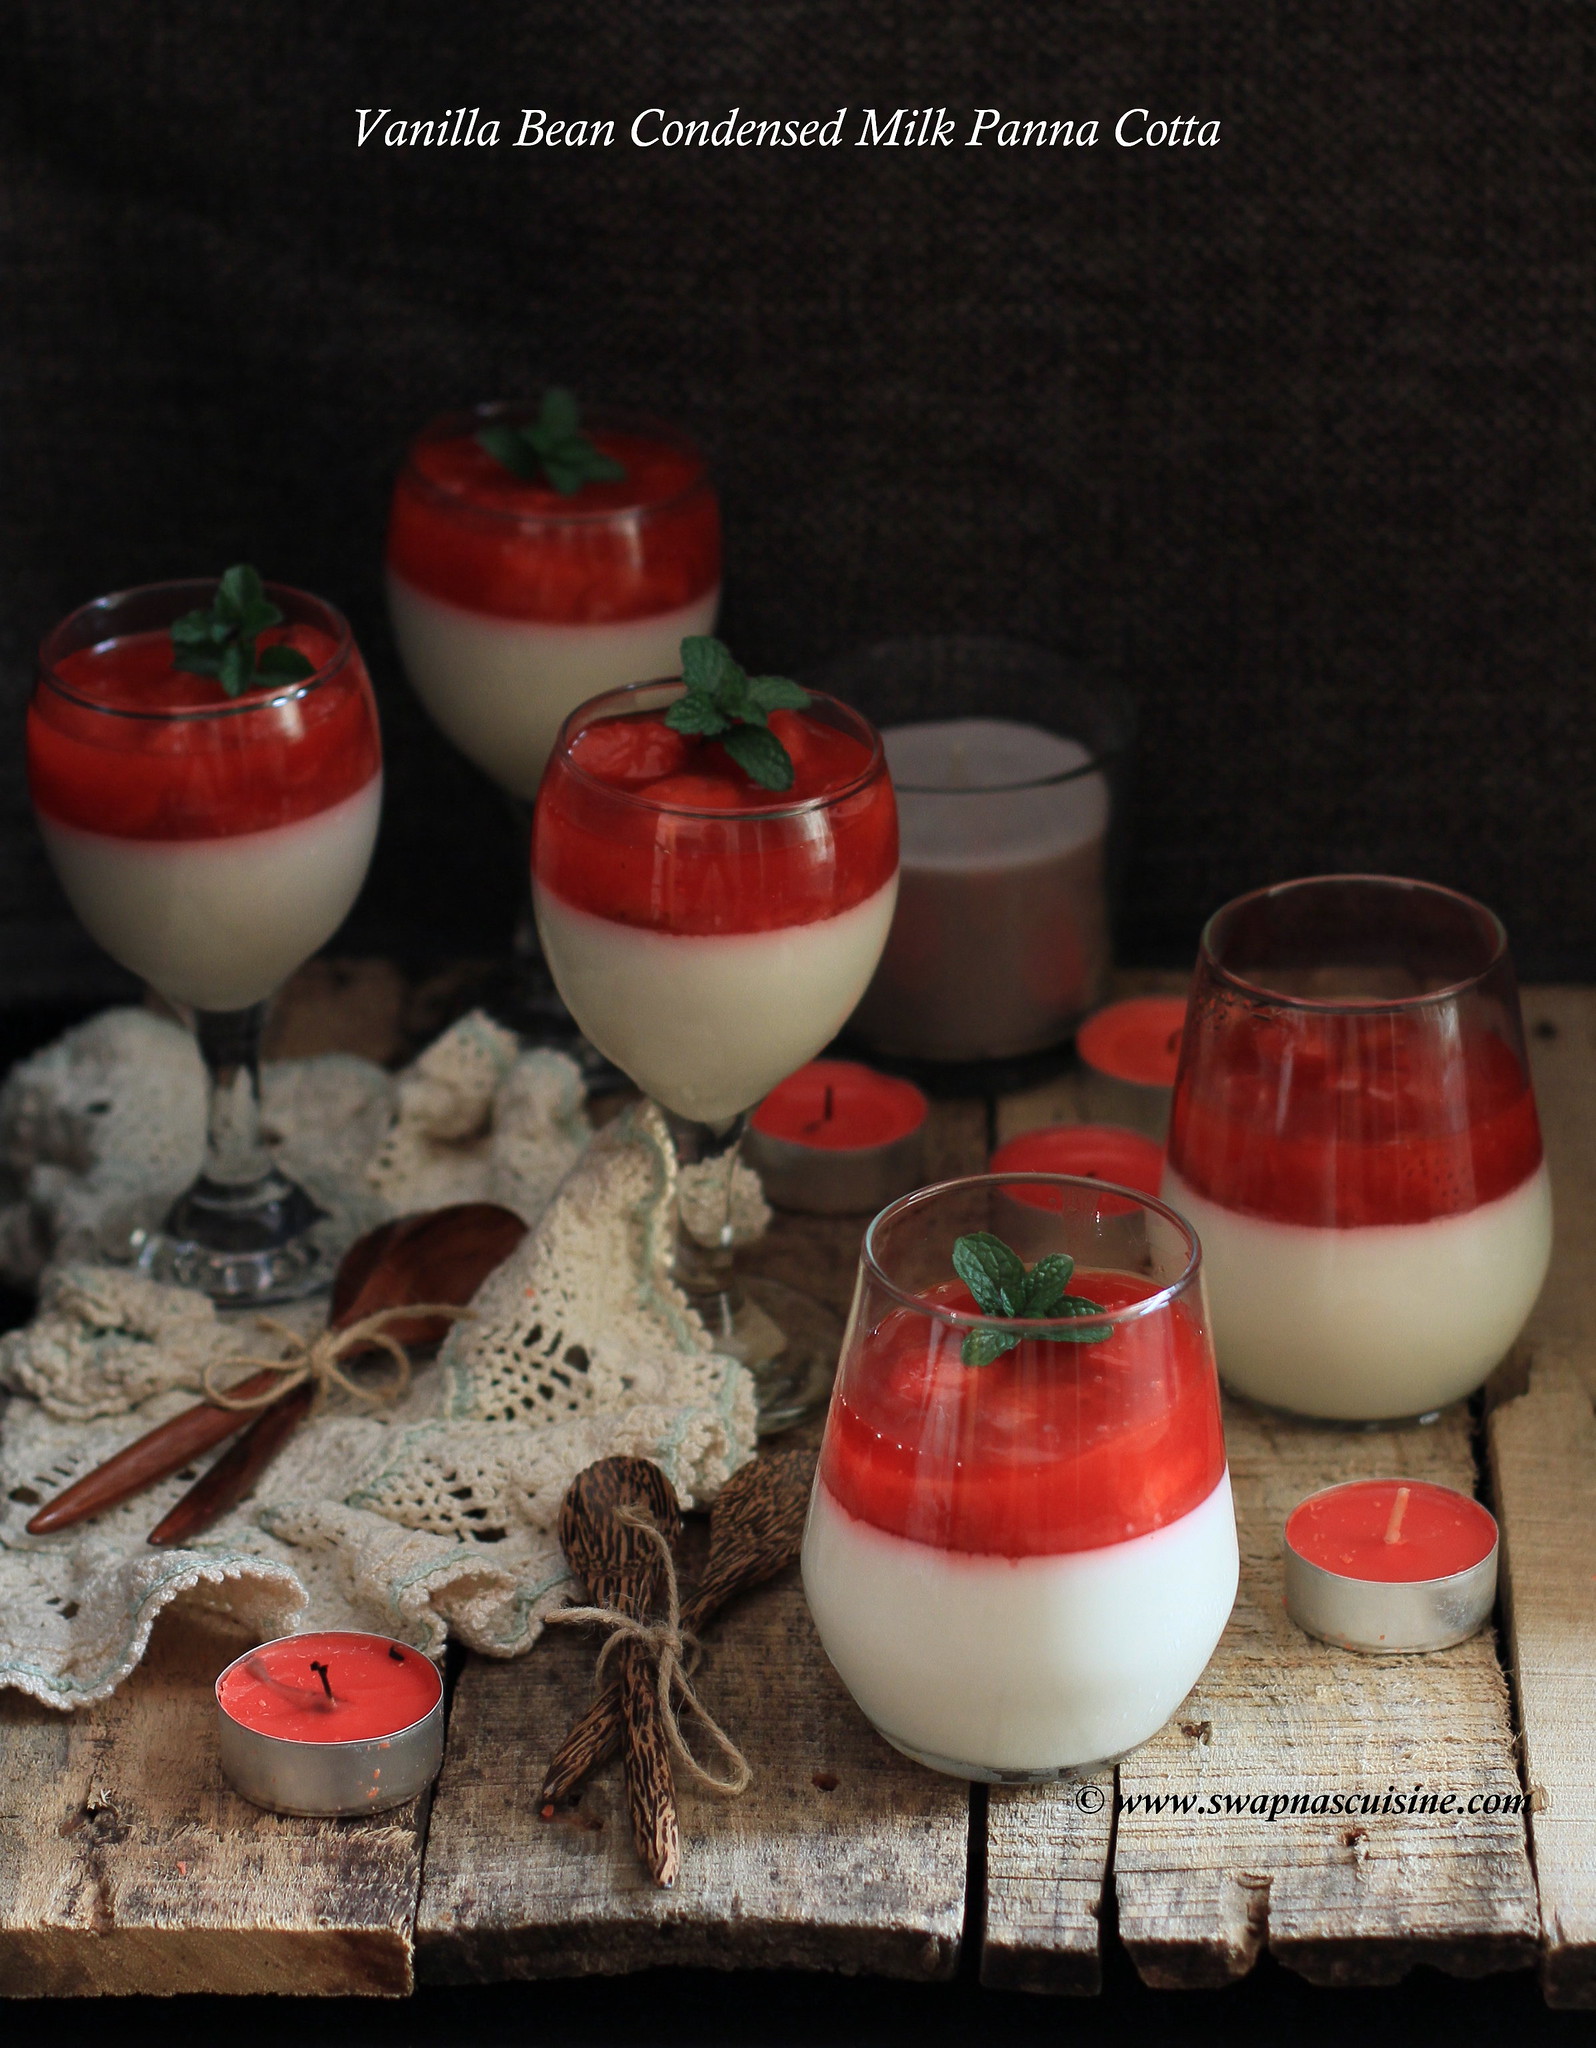
Vanilla Bean Condensed Milk Panna Cotta

May the spirit of the Lord fill your home this Easter and all the rest of your days.
Have a Blessed and Happy Easter!

Vanilla Bean Condensed Milk Panna Cotta Recipe

Hope all are ready for Easter celebrations.... Here is a really delicious and creamy, low fat panna cotta recipe for you to impress your loved ones…. 

Vanilla Bean Condensed Milk Panna Cotta
(Recipe from here)
Ingredients:
Low fat whipping cream – 500 ml
Low fat Condensed milk – 200 gm tube (half a tin)
Skimmed Milk – 200 ml
Vanilla Bean Paste – 1 tsp
Gelatine – 3 tsp

Method:
  • Place low fat cream, milk, condensed milk and vanilla in a medium saucepan; bring to a boil over medium heat, stirring constantly.
  • Remove from heat & whisk in gelatine until smooth and gelatine has dissolved.
  • Pour into six 1/3 cup glasses, cover and chill for 4 hours or overnight.
  • Spoon strawberry topping on top of the panna cotta, serve decorated with fresh strawberries and mint leaves.
strawberry panna cotta

Strawberry Topping
Ingredients:
Fresh or frozen strawberries – 250gms
Sugar – 1/2 cup
Cornflour - 1 1/2 tbsp
Pinch of salt
Almond extract - 1/8 tsp
Juice of ½ lime
Method:
  • In a large saucepan toss together the strawberries, sugar, cornflour, lime juice and salt. Allow it to sit for about 30 minutes to allow the sugar to draw out the juice.
  • Cook over moderate heat, stirring constantly, until thickened and boiling. Simmer 1 minute. The mixture should just barely drop from a spoon. Remove from heat and stir in almond essence. Cool and spoon over cold panna cotta. 
Condensed milk panna cotta recipe

Read More » Print Friendly and PDF

Monday, 12 February 2018

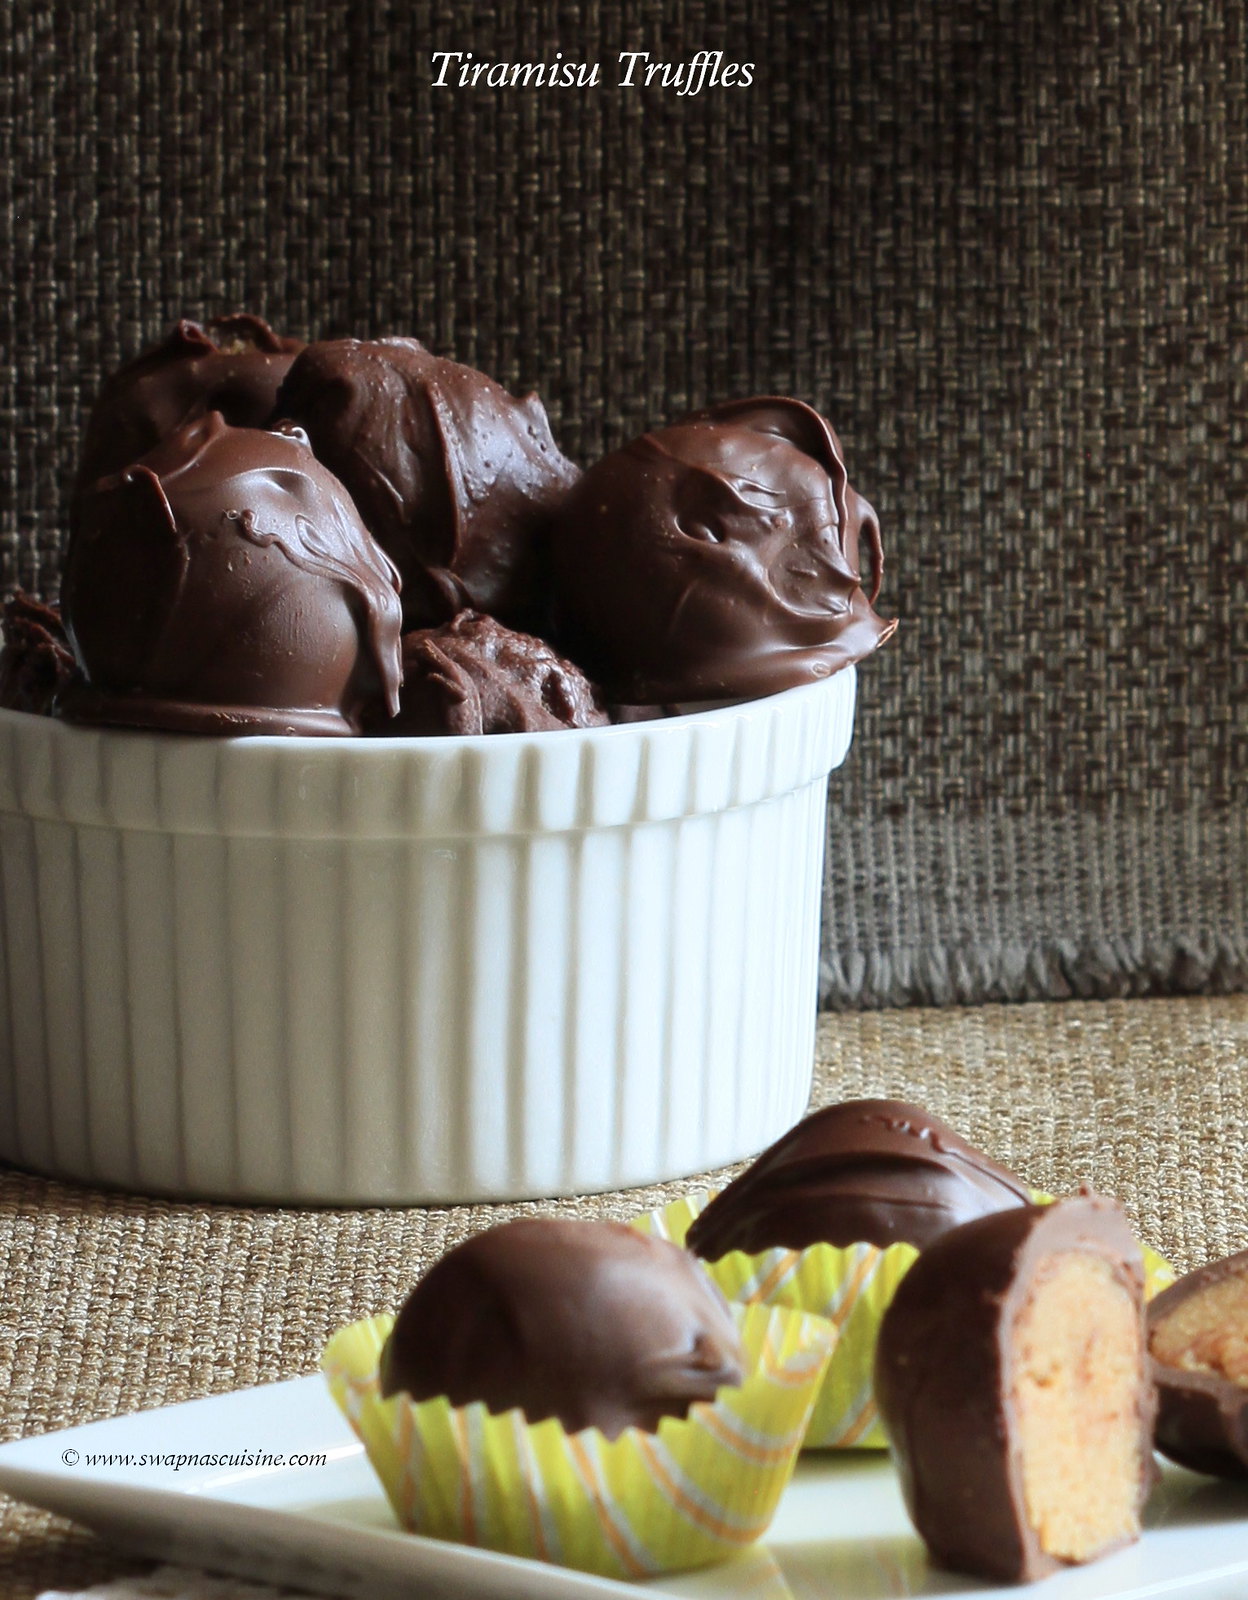
No-Bake Tiramisu Truffles


Valentine ’s Day Desserts


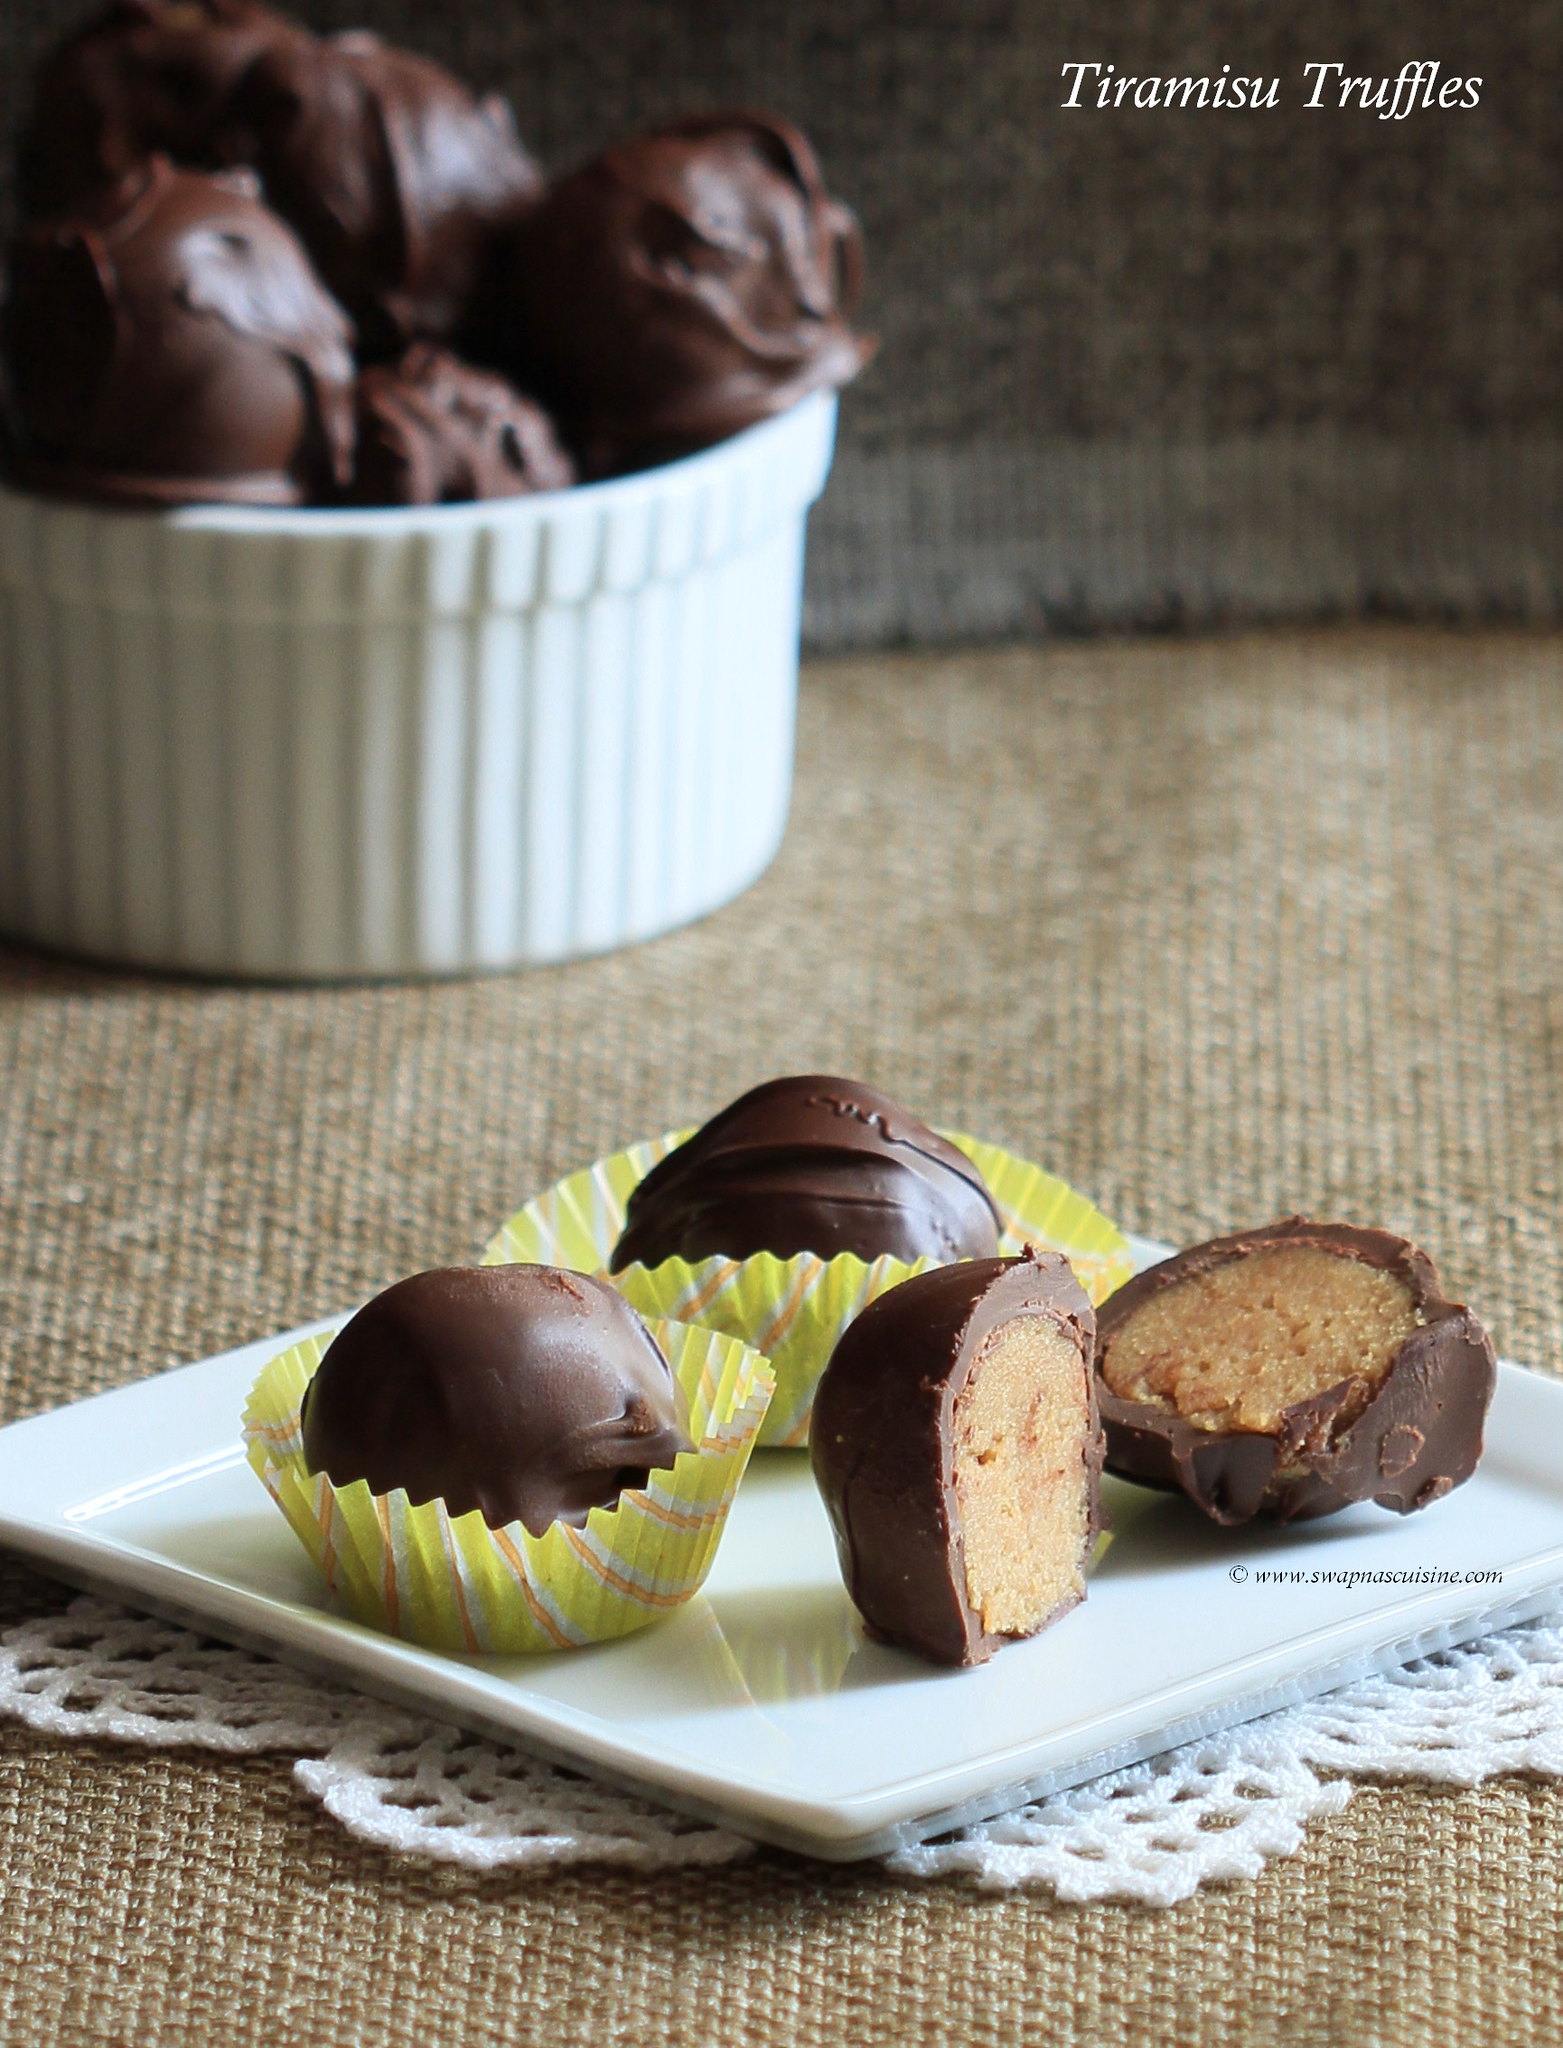
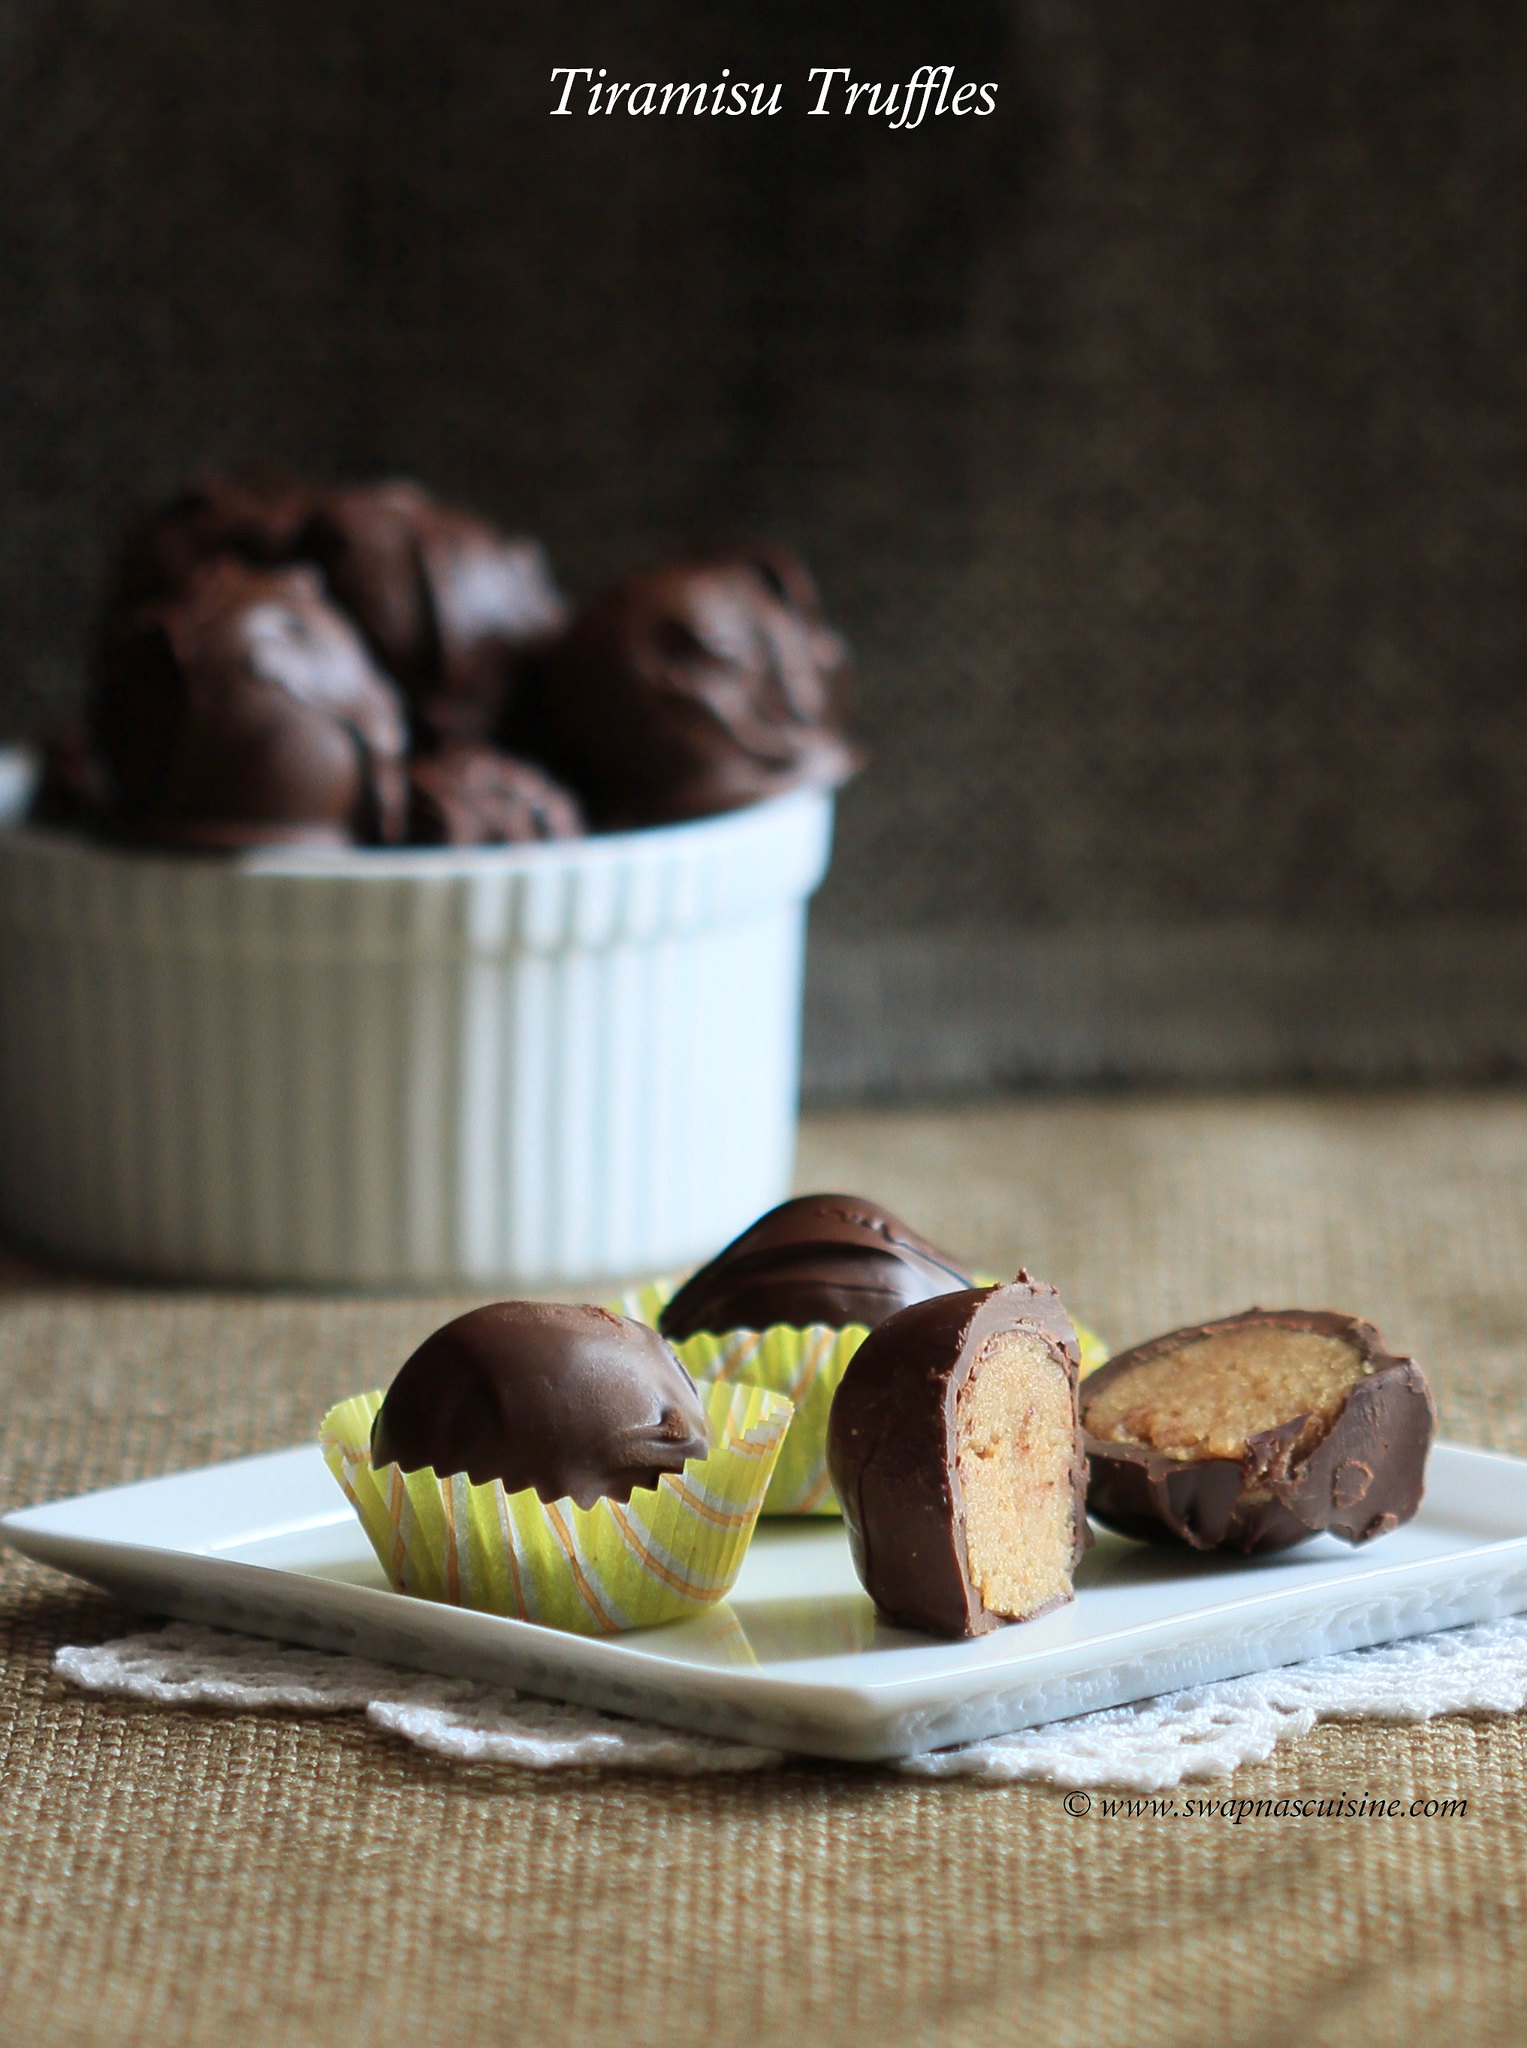
Valentine ’s Day is just around the corner, so here is a quick recipe for you to try out! Tiramisu truffles are a wonderful blend of Italian biscuits, coffee and chocolate all in one delicious bite. These truffles taste best when served the next day after making it, which allows the Savoiardi (ladyfinger biscuits) to absorb all the flavours and really bring out the true taste of tiramisu.

How to make truffles at home

No-Bake Tiramisu Truffles
(Adapted from here)

Ingredients
24 Savoiardi  / Ladyfinger Biscuits (12 oz or 1 packet)
2 tbsp Sugar
2/3 cup mascarpone cheese, room temperature
1 tbsp instant coffee powder
2-3 tbsp Rum / coffee liquor
2 cups (12 ounces) semi-sweet chocolate
1 tsp instant coffee powder (optional)

Method: 
  • In a food processor, blend Savoiardi (ladyfinger biscuits) until you have fine crumbs. Set aside 2 tablespoons to sprinkle on the truffles later.
  • Add the sugar and 1 tbsp coffee powder and whisk until combined.
  • In to this add the mascarpone cheese and mix until fully incorporated.
  • Add the rum or coffee liquor one tablespoon at a time. You need to get a the dough similar to a soft cookie dough. Transfer the mixture to a container and place in the fridge for 45 minutes to an hour.
  • Line a baking sheet with wax paper or parchment paper. Remove the mixture from the fridge (it should be firmer now). Start to shape the mixture into 36 (1-inch) balls and place them on the prepared baking sheet. Freeze for 10 minutes.
  • Melt the chocolate over a double boiler and stir in the coffee powder (The chocolate should be completely smooth and velvety).
  • Dip a cold tiramisu truffle into the melted chocolate and transfer it back to the baking sheet.
  • Sprinkle the truffle with the crushed lady fingers you set aside earlier. Repeat for the remaining truffles.
  • Place the baking sheet in the fridge for a 5 to 10 minutes for the chocolate to harden. Store tiramisu truffles in an airtight container in the fridge.
  • You can bring them to room temperature before serving if preferred.


No-Bake Tiramisu Truffles Recipe


Read More » Print Friendly and PDF

Tuesday, 2 February 2016

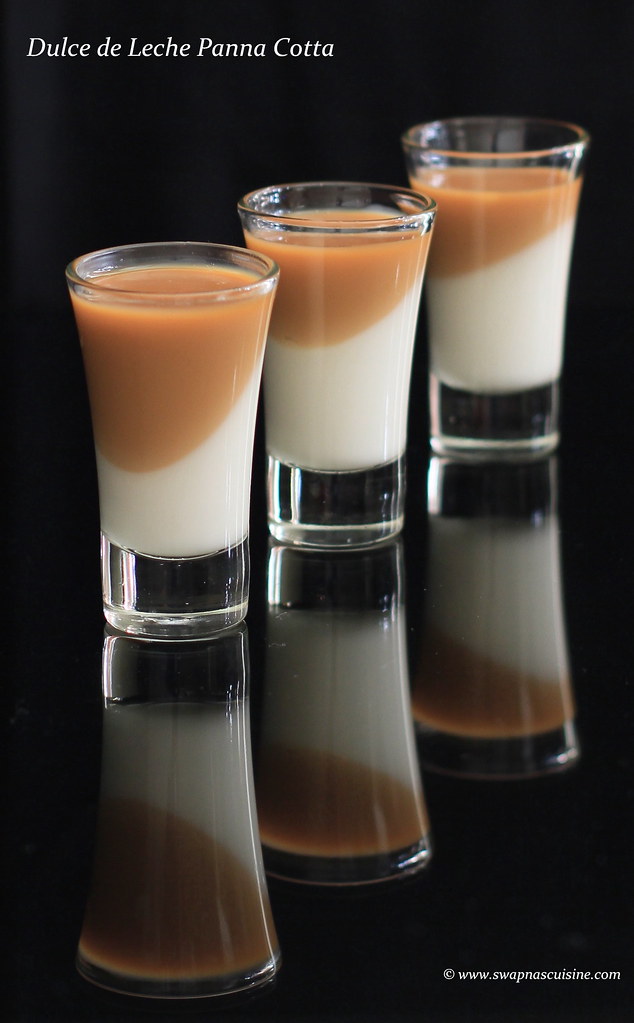
Dulce de Leche Panna Cotta Recipe

Dulce de Leche Panna Cotta

I have tried and posted many dessert recipes using Dulce De Leche and if you happen to be a regular reader, by now, you must have come to know of my love for Dulce deLeche desserts :) . Since it is the romantic month of February and Valentine’s Day is around the corner, I thought I will post a dessert recipe that is really easy to make for Valentine's day or for any other function. I have used store-bought Dulce de Leche, but you can easily prepare it at home by boiling a can of sweetened condensed milk. I have already posted the detailed recipe of how to prepare DDL at home here. Do try this recipe and present this Panna Cotta in individual serving glasses for stunning visual appeal! 
Do check out for other Valentine's Day special Recipes....
Read More » Print Friendly and PDF

Monday, 21 September 2015

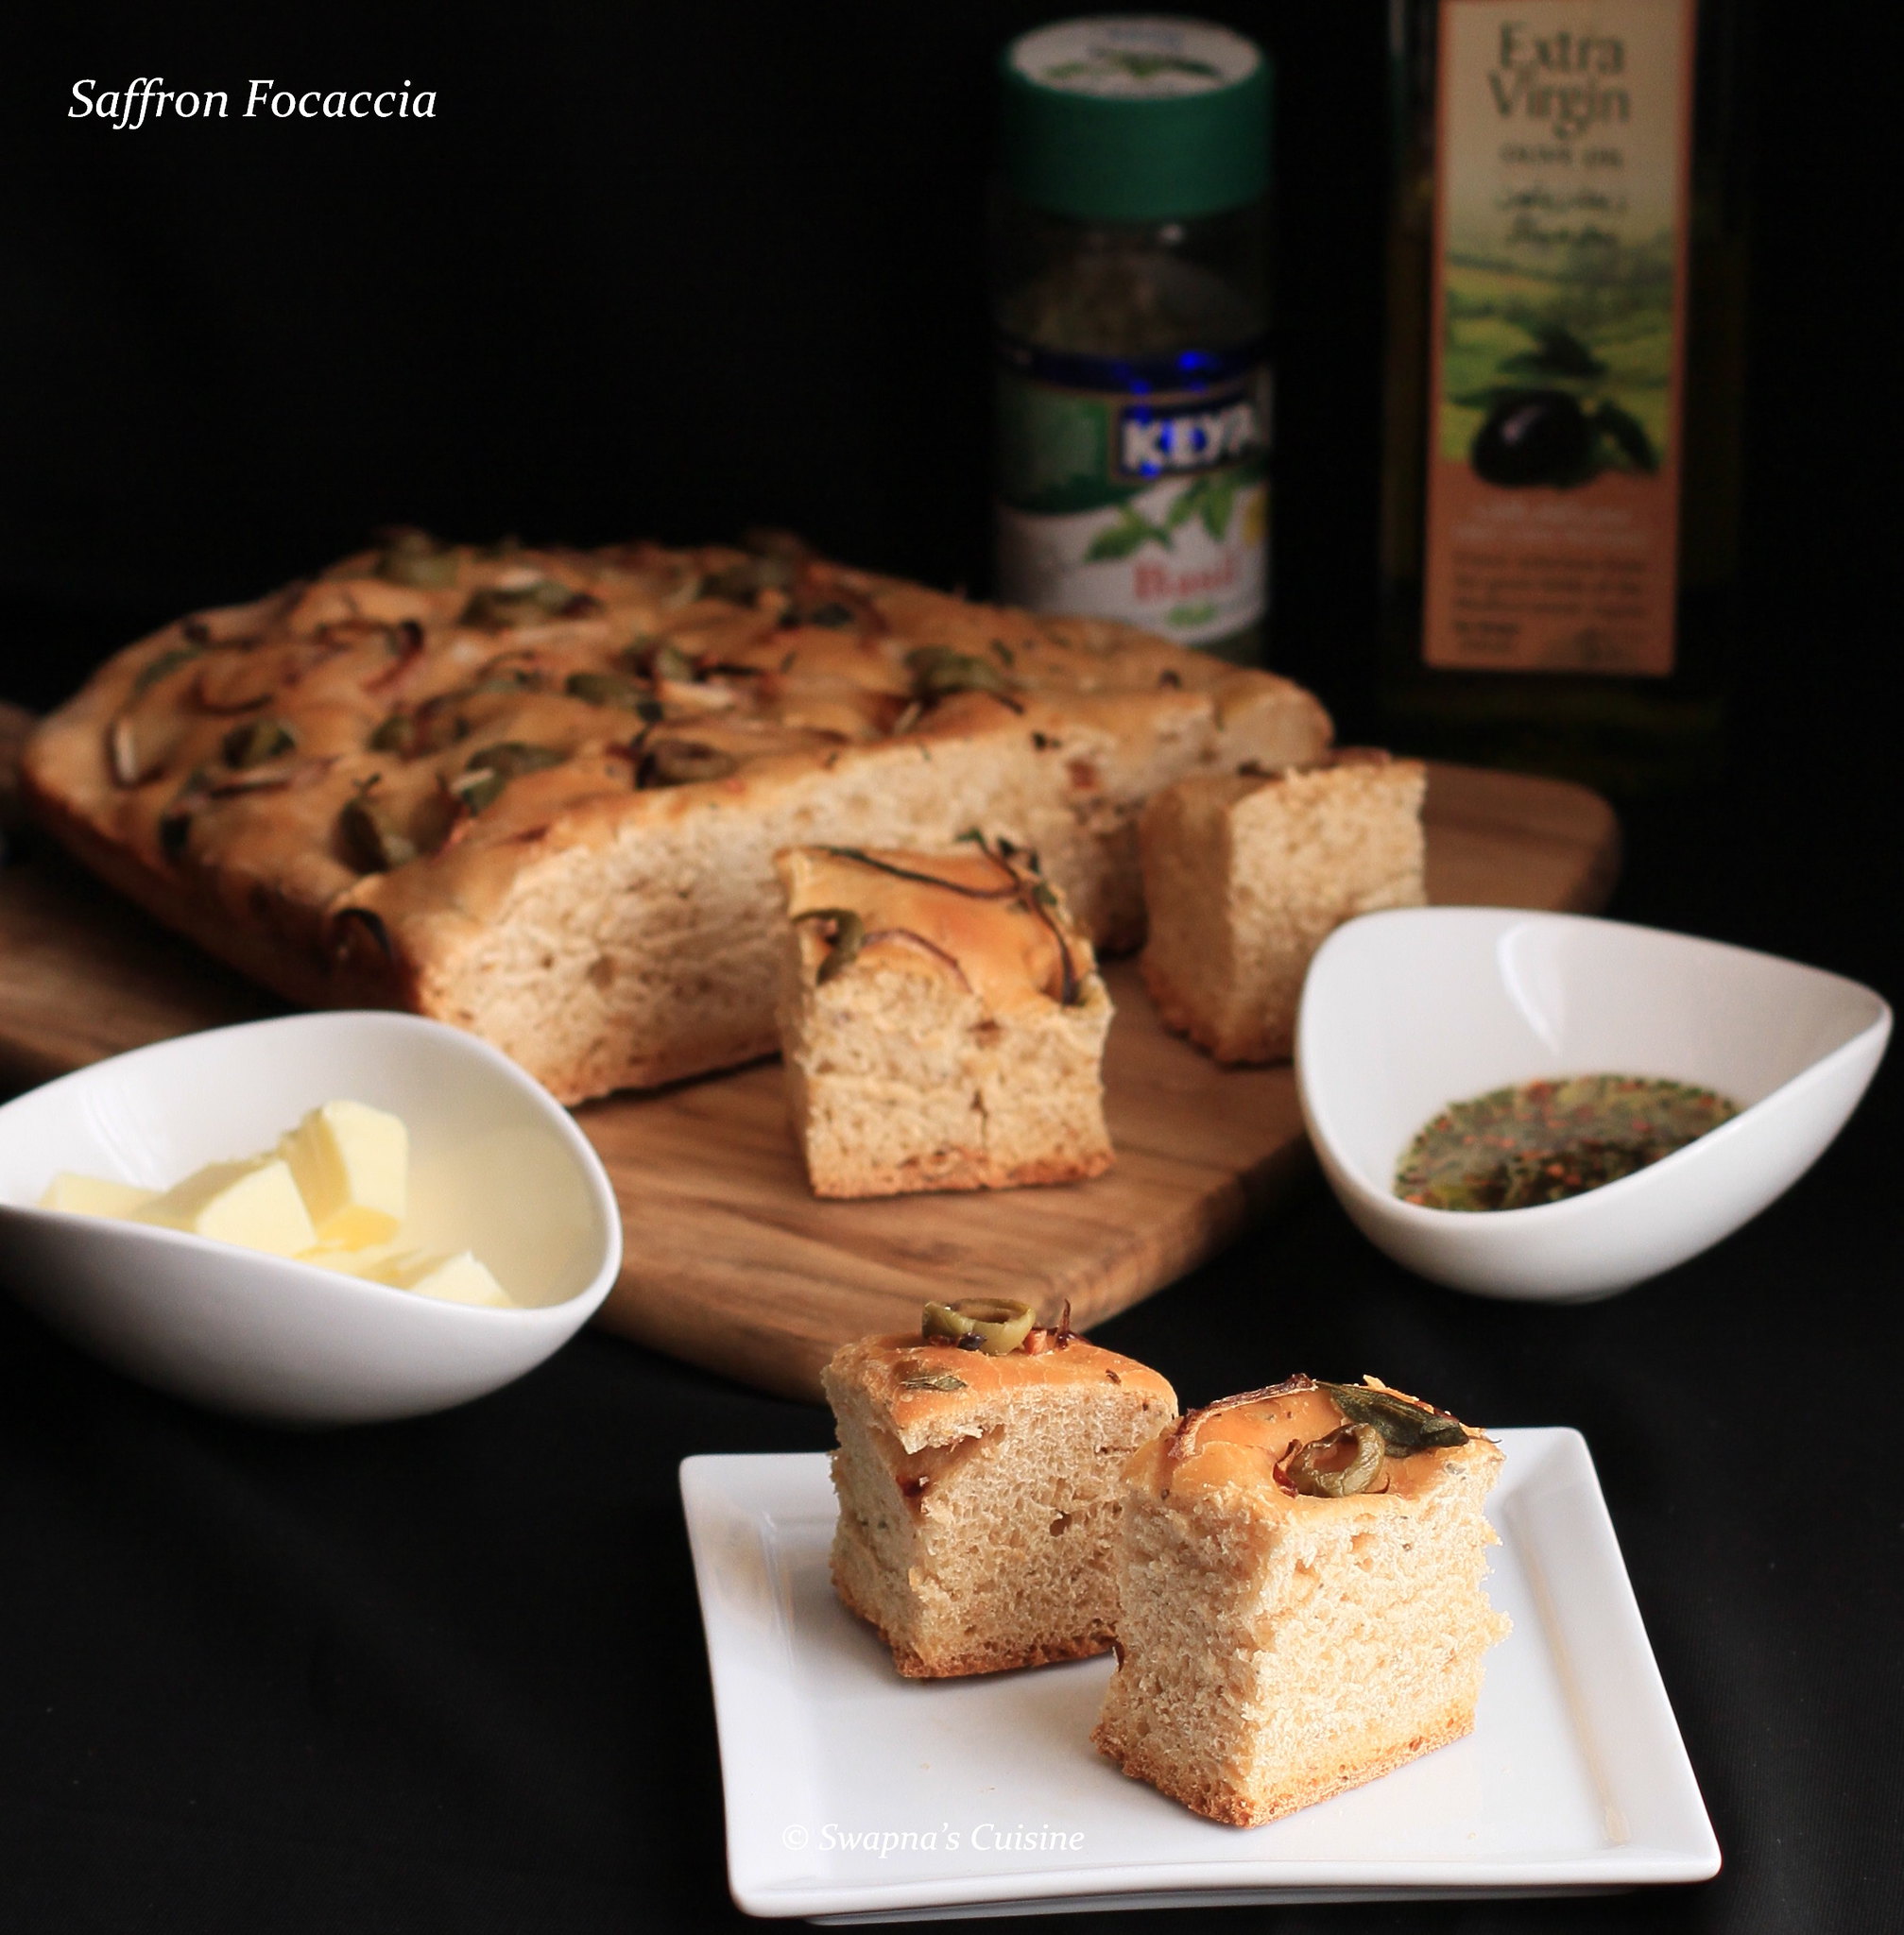
Saffron Focaccia

Saffron Focaccia Recipe

Focaccia is a traditional flat Italian bread that can be flavoured with olive oil and salt and often topped with herbs, onions, or other items. It is usually served as a light snack with seasoned olive oil, olives and feta cheese, or with soup or salad and can also be made into sandwiches. 
The Saffron infused Focaccia has a dazzling yellow color, is light in texture and distinctive in flavour. The olive oil drizzled over the top makes the bread moist and generally keeps it well for longer. 
Read More » Print Friendly and PDF

Sunday, 6 September 2015

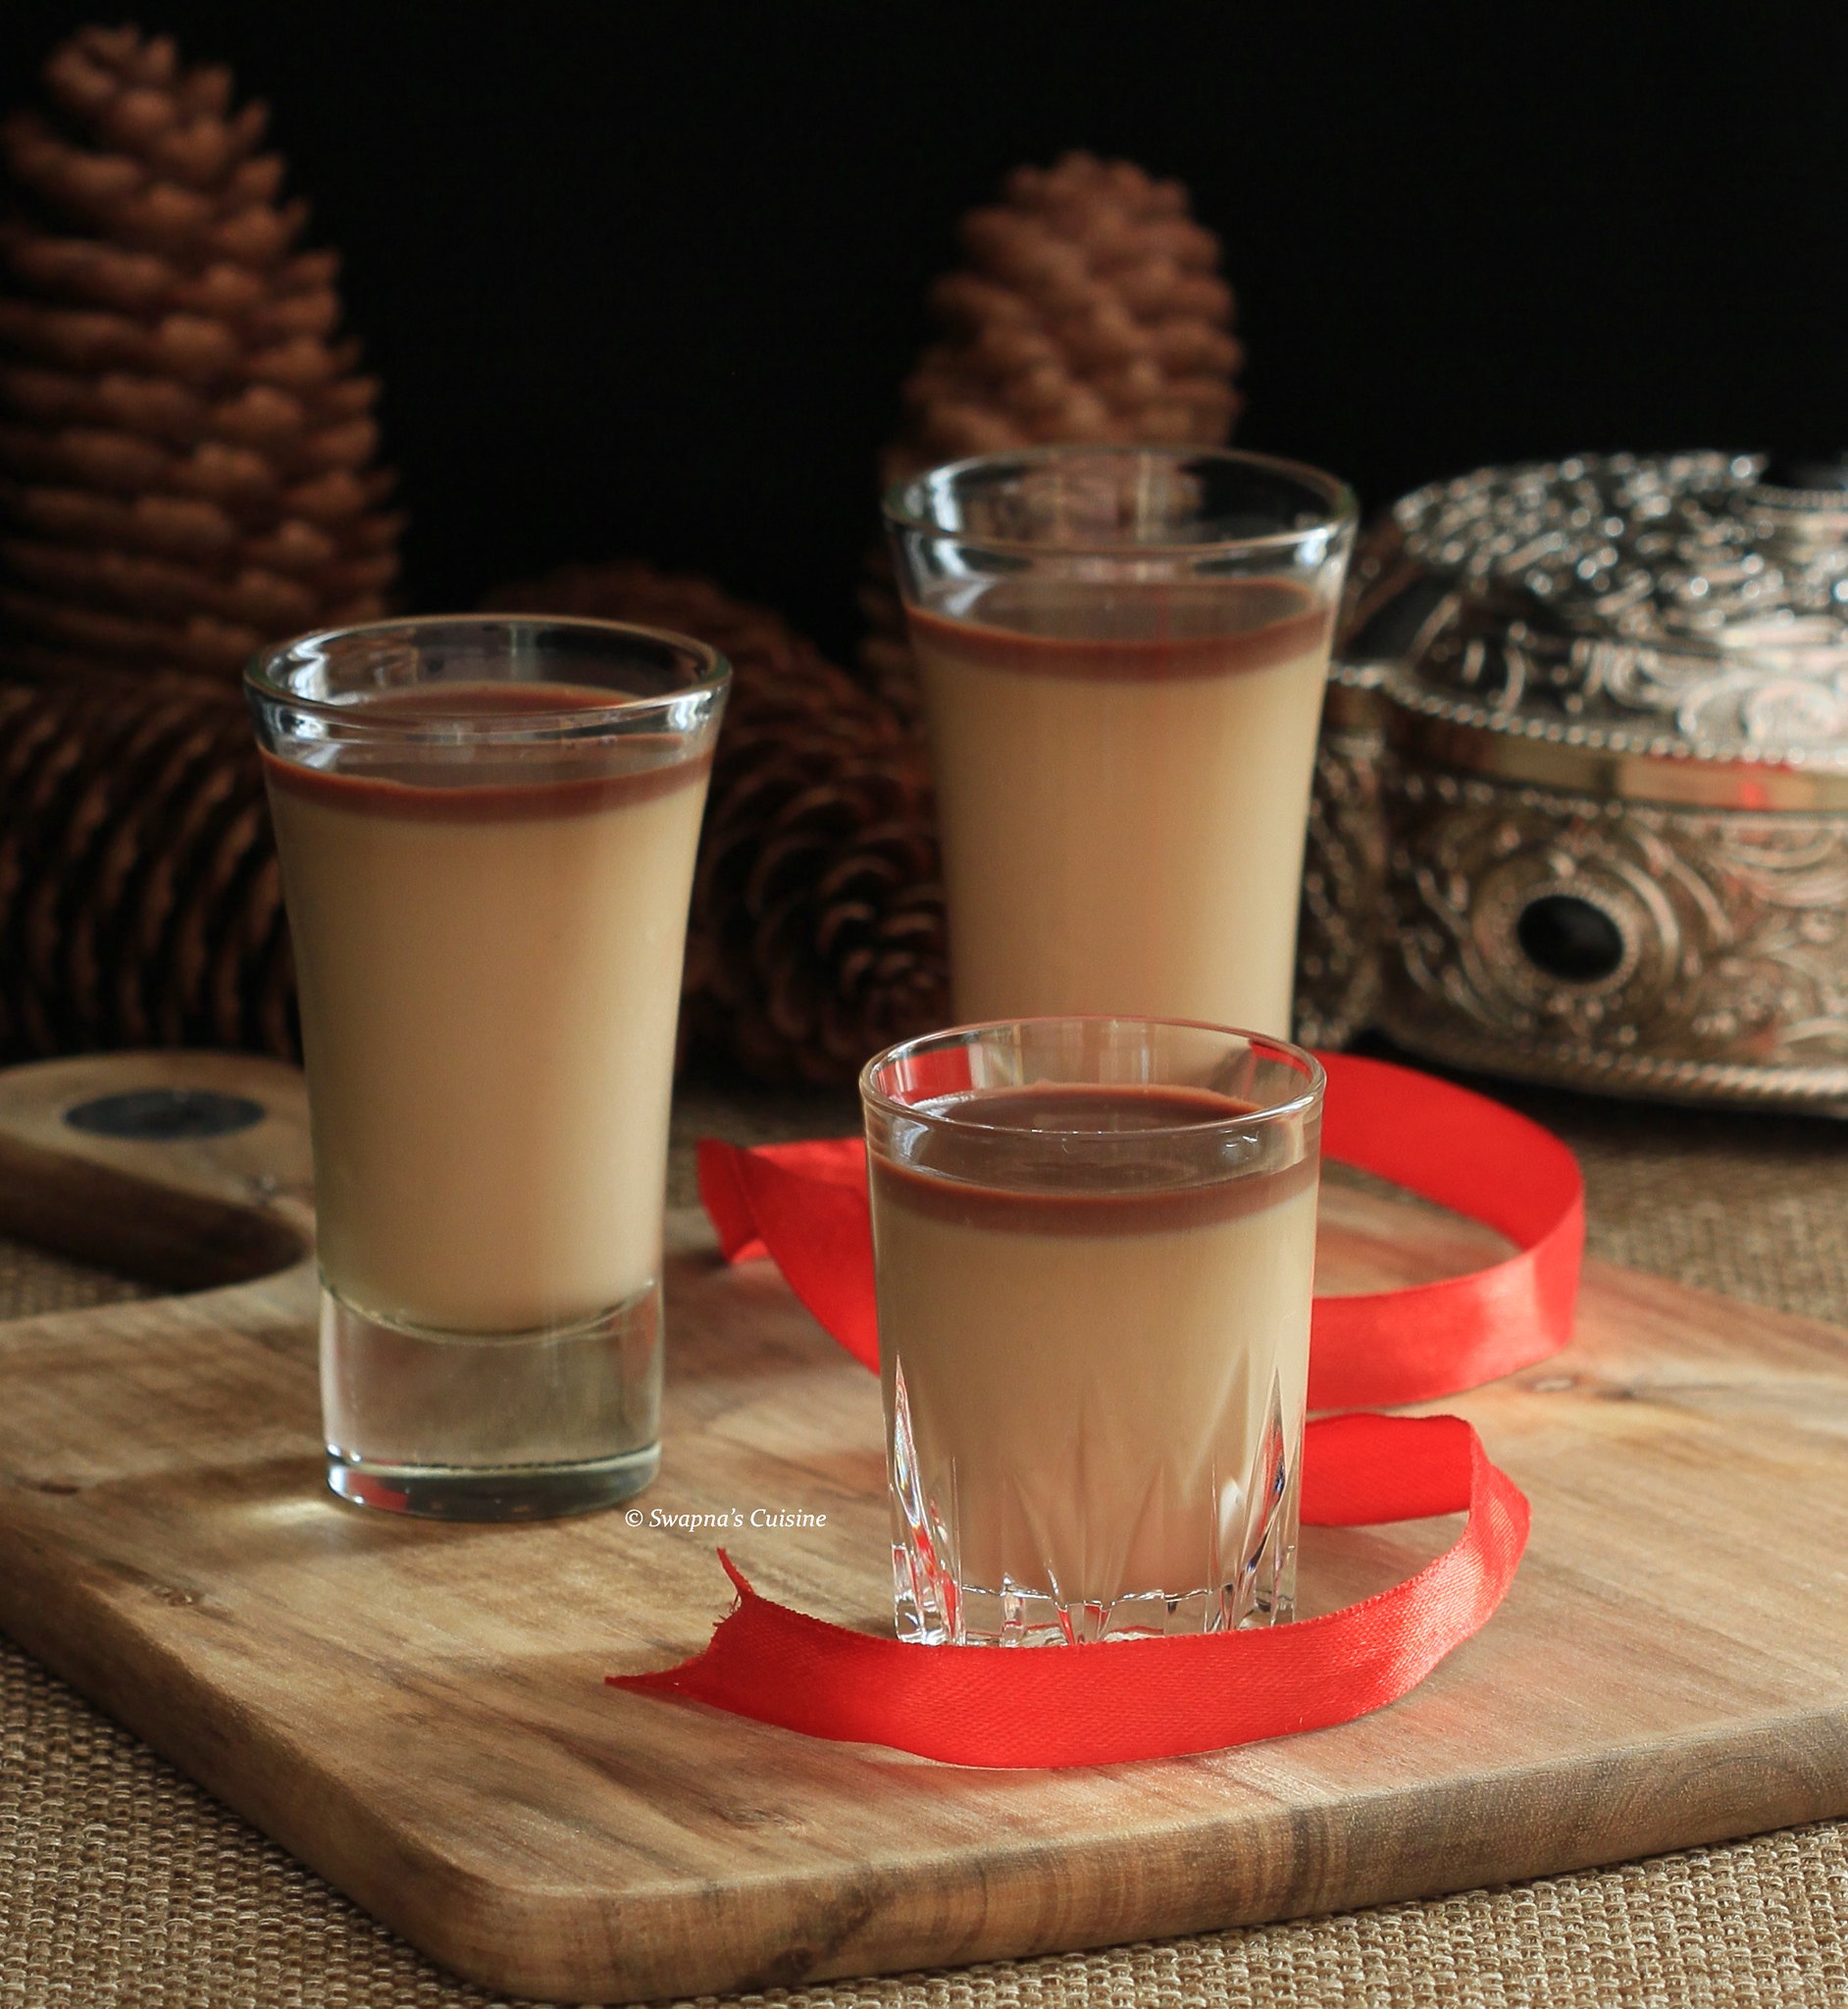
Espresso Panna Cotta

Recipe for Coffee Panna Cotta

It’s been a long time since I updated this little space of mine. Helping my son with his studies, few cake orders, summer vacation and laziness are some of the reasons for the absence of regular posts here.  Hope to be more regular from now on :) ....

Espresso Panna Cotta was in my draft folder for more than six months. This smooth and silky Espresso panna cotta topped with dark chocolate ganache is very addictive and is a current favourite in our home.
Read More » Print Friendly and PDF

Thursday, 1 January 2015

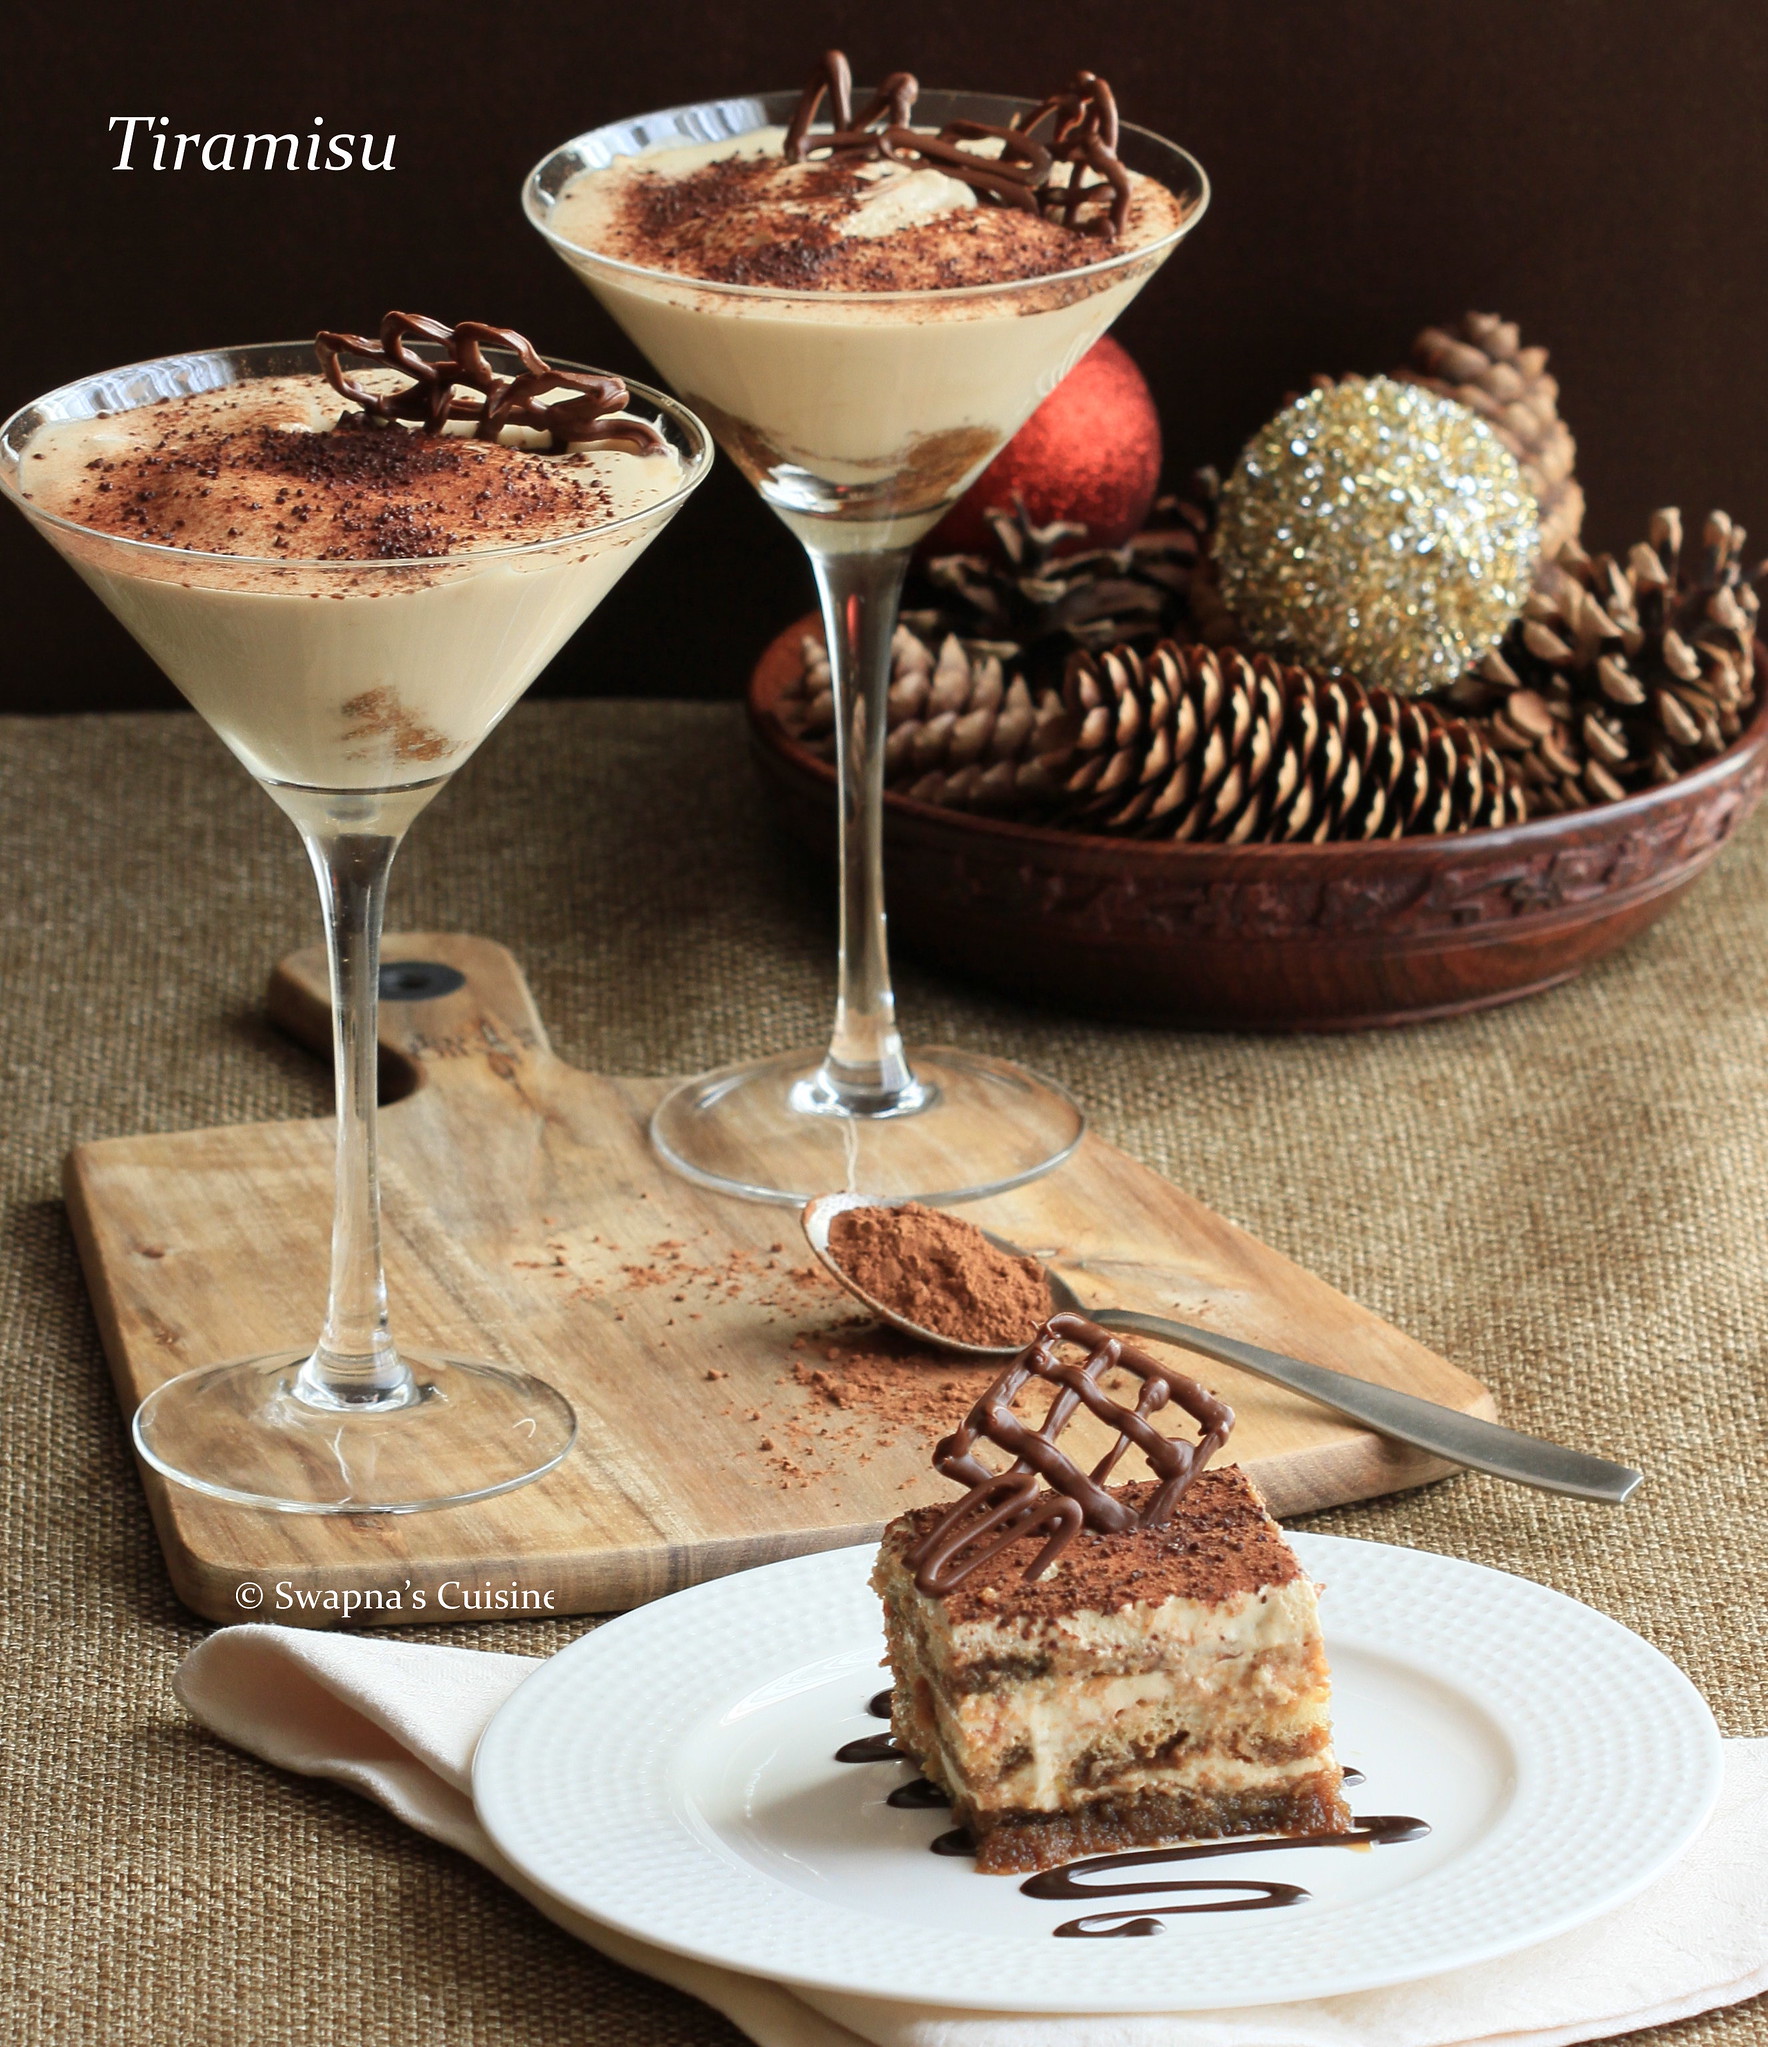
Tiramisu ~ Heaven on a Dessert Plate!

Tiramisu

I always wanted to make Tiramisu, but here in Kuwait we rarely get Mascarpone cheese and it is inevitably always highly priced. When I found the recipe for homemade mascarpone cheese on Vera’s blog I really wanted to make the mascarpone and Tiramisu at home, and so began the search for the perfect Tiramisu recipe. And in February when the Daring Bakers Challenge hosted by Deeba and Aparna was announced, I saw the entire blog sphere was filled with Tiramisu recipes. I knew I could trust Deeba’s recipe blindly as I had already tried several of her other recipes earlier and they were all really good. So when my brother visited last week I made Tiramisu for him and we all really liked it. So here is the Tiramisu recipe I tried from Deeba’s place.
Read More » Print Friendly and PDF

Tuesday, 18 March 2014

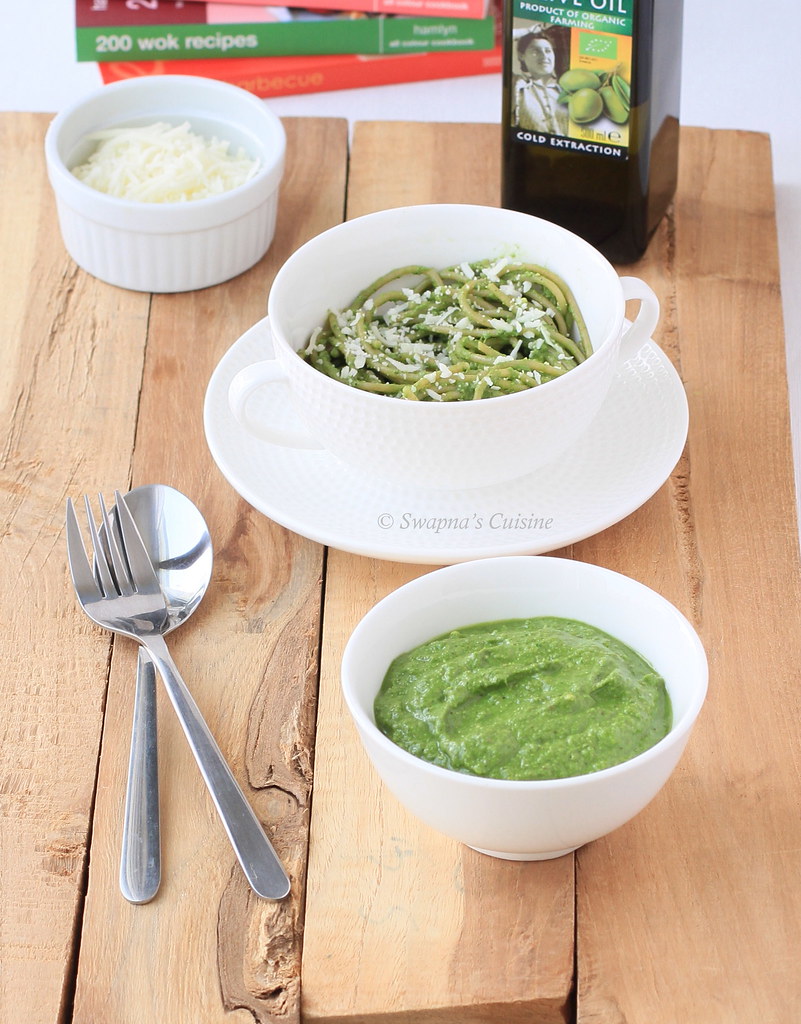
Spinach Basil Pesto Sauce Recipe

Basil Pesto Sauce Recipe

Pesto sauce is handy when you want to make a quick meal. It is good as a spread on plain or toasted bread, you can make this as a filling for bread rolls, you can marinate chicken or fish with pesto sauce and grill them and also the famous pesto pasta, it is even good with chapathi or basmati rice too! This pesto is really tasty with a blend of spinach, basil, lemon juice, lemon zest, garlic and cheese.... The original recipe asks for pine nuts but you can substitute with almonds.... It is perfect for freezing in an ice cube tray and you can add to a pasta dish for a quick and easy meal.....
Read More » Print Friendly and PDF

Friday, 21 February 2014

Coffee Chocolate Mascarpone Layered Cake

Chocolate Mascarpone Layered Cake

It was my hubby’s birthday a couple of days ago and unlike every year this time he was pretty sure of the cake he wanted! He had seen the picture of this cake on my FB feed and asked me to make it… I knew I didn’t have to worry about how the cake would turn out as I trust Deeba’s recipes blindly and from experience I know her recipes always turn out perfect :)…. Like we expected this is a beautifully flavored, 6 layers of delicious cake which you will definitely like if you are a coffee lover! I followed the recipe as is, but added a little rum in the filling and frosting. Also I reduced the gelatin in the filling to 1 tsp as I used heavy whipping cream… Only trouble I had was the frosting… mine turned out a little loose and it was difficult for me to frost it on to the cake so I added a little gelatin to the frosting to make it thick… The procedure is a little lengthy and elaborate  but if you split the work and start making a day or two  ahead, it will be an easy job…. But worth the effort for a beautiful 6 layered Coffee Chocolate Mascarpone Cake!
Read More » Print Friendly and PDF

Friday, 2 December 2011

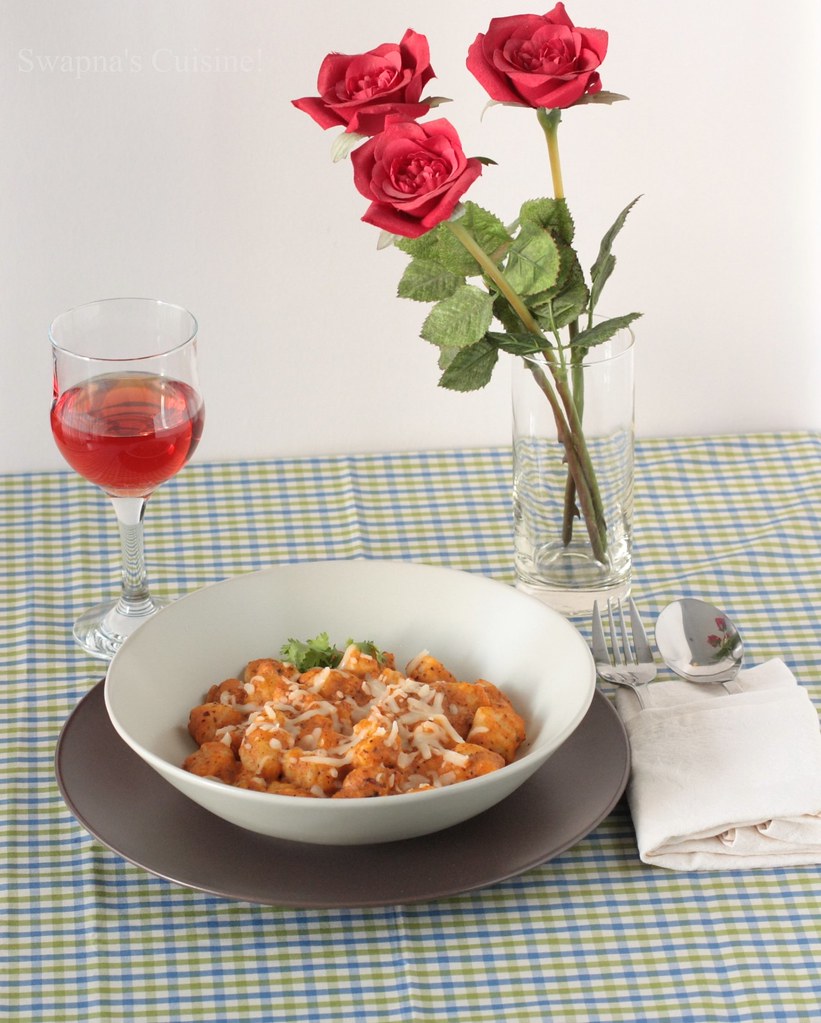
Homemade Potato Gnocchi with Tomato Cream Sauce & Fresh Mozzarella


I first tried Gnocchi during our recent visit to Italy and fell in love with it … after coming back I searched for the recipe and tried a couple …. but nothing came close to the taste we enjoyed in Rome & Venice… finally I found this recipe in Lucy’s Hungry Carvings which tastes exactly like what we ate in Italy! In the last 4 months I have tried this recipe several times and every time I got soft pillow like gnocchi… Uncooked Potato Gnocchi’s can be make ahead of time and frozen…
Read More » Print Friendly and PDF

Sunday, 23 October 2011

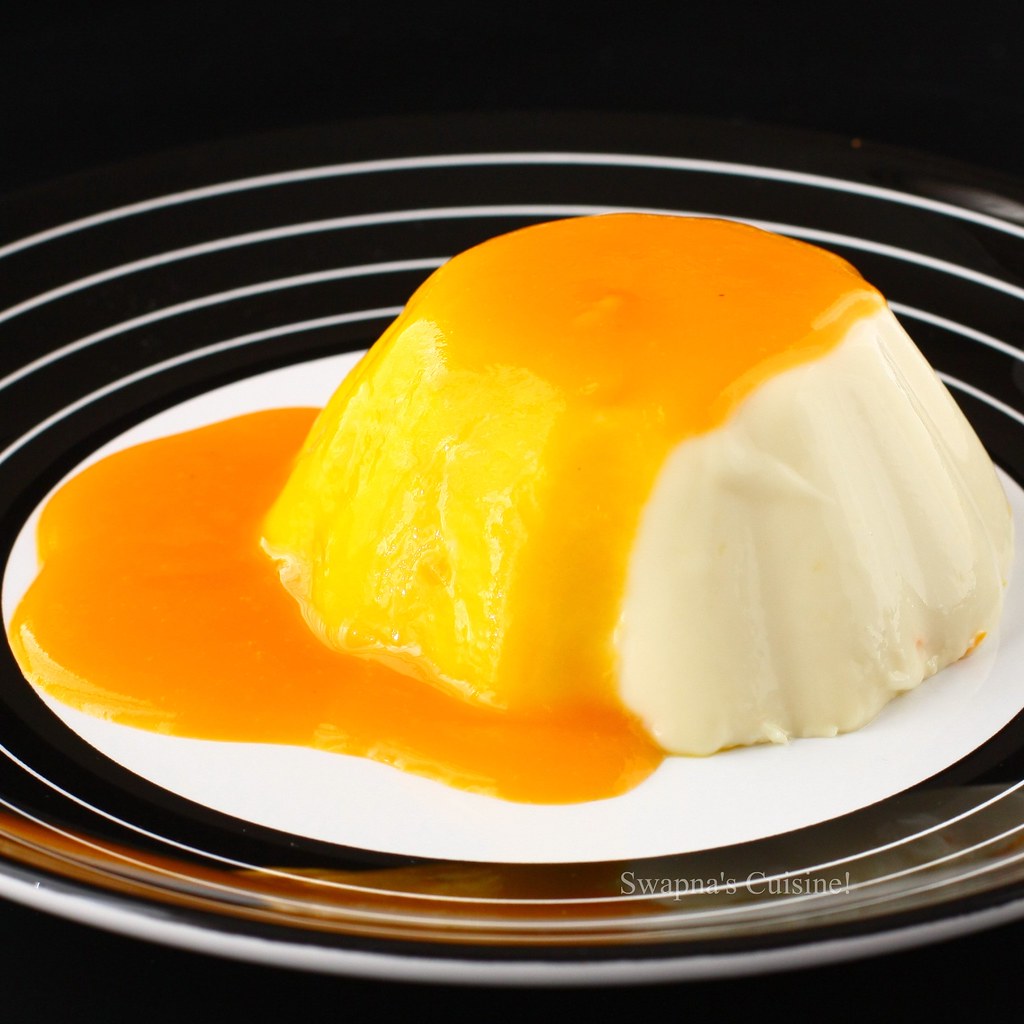
Orange Buttermilk Panna Cotta with Mango Sauce


Panna Cotta, a creamy and delicious Italian dessert which can be whipped up very easily and served with fruit coulis / sauce of your choice..... A dessert you will get addicted to and with which you can wow your guests....... Recently when we had guests for dinner I made this Orange Buttermilk Panna Cotta adapted from Jungle Frog ...... original recipe was with lemon instead of orange and I just served this with some thick alphonso mango pulp...... We all loved the orange flavor......
Read More » Print Friendly and PDF

Sunday, 16 October 2011

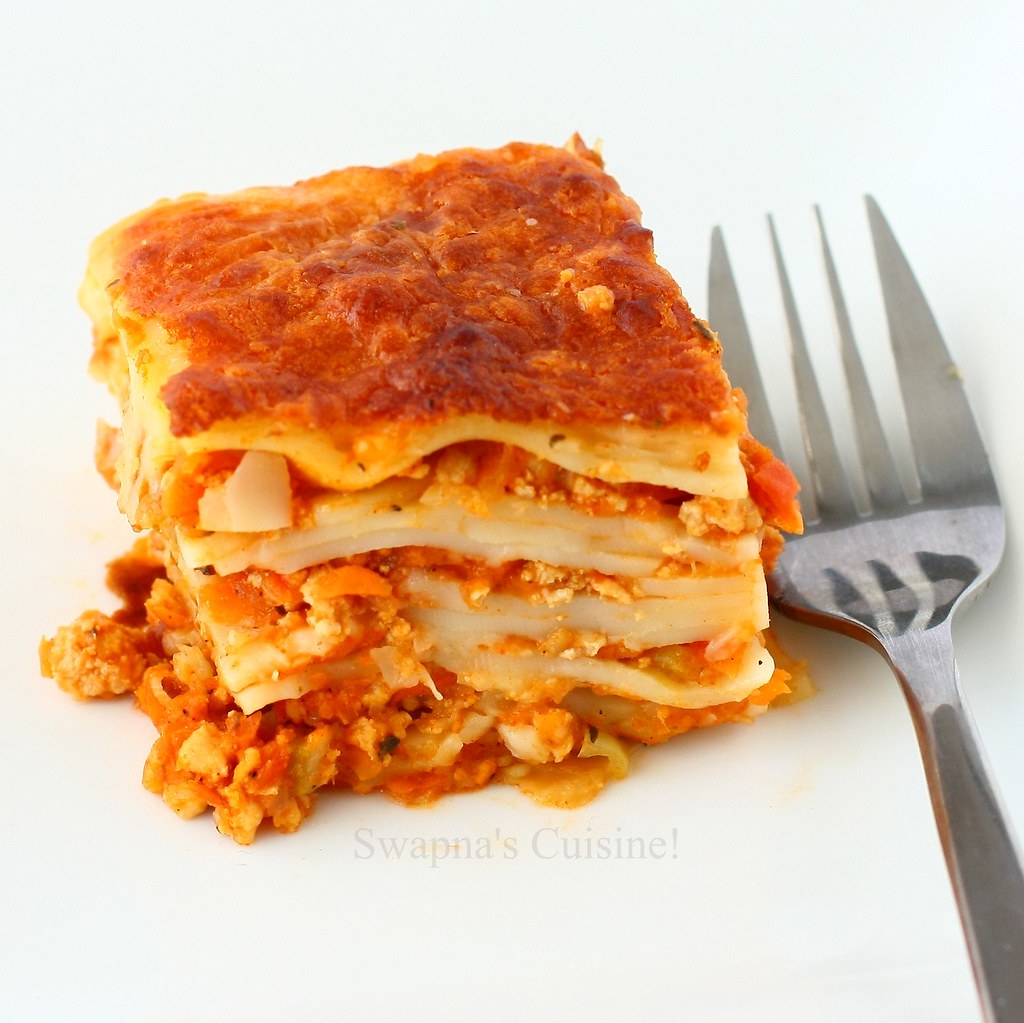
Lasagna


I had posted this Lasagna recipe during my early  blogging days. We had guests over this weekend and this was one of the dishes I made for them. While clicking pictures of other dishes, I thought of taking some pictures of Lasagna as my earlier pictures were really terrible ;)

Read More » Print Friendly and PDF

Thursday, 10 February 2011

Homemade Pizza with Beef


I usually make pizza at home at least once a month, and I have tried several recipes for my pizza base. I was never fully satisfied with the results until I tried out this recipe from Annie’s Eats…. Never tried any other base after this one… it worked very well for me and please do check out her step by step instructions… I don’t have a stand mixer, so I knead the dough in my food processer… you can even knead with your hands too J…  also I don’t have a pizza stone with me… I use my pizza pan pre heated in the oven….. use any topping of your choice as desired…


Basic Pizza Dough
Recipe Source~ Annie’s Eats
Yield: enough dough for 2 medium pizzas or 4 calzones

Ingredients:
½ cup warm water
2¼ tsp. instant yeast
4 cups (22 oz.) bread flour, plus more for dusting
1½ tsp. salt
1¼ cup water, at room temperature
2 tbsp. extra-virgin olive oil

Method:
  • Measure the warm water into a 2-cup liquid measuring cup. Sprinkle the yeast over the top.In the bowl of a stand mixer fitted with the paddle attachment, combine the bread flour and salt, mixing briefly to blend. Measure the room temperature water into the measuring cup with the yeast-water mixture. With the mixer on low speed, pour in the yeast-water mixture as well as the olive oil. Mix until a cohesive dough is formed. Switch to the dough hook. Knead on low speed until smooth and elastic, about 5 minutes. Transfer to a lightly oiled bowl, turning once to coat. Cover with plastic wrap and let rise until doubled in size, 1½-2 hours.
  • Press down the dough to deflate it. Transfer the dough to a lightly floured work surface. Divide the dough into two equal pieces. Form each piece of dough into a smooth, round ball. (If freezing the dough, wrap in plastic wrap and freeze at this point.) Cover with a damp cloth. Let the dough relax for at least 10 minutes but no longer than 30 minutes.
  • To bake, preheat the oven and pizza stone to 500˚ F / 260˚C   for at least 30 minutes. Transfer the dough to your shaping surface, lightly sprinkled with cornmeal. Shape the dough with lightly floured hands. Brush the outer edge lightly with olive oil. Top as desired. Bake until the crust is golden brown, and cheese is bubbling, 8-12 minutes.


Beef Topping
Yield~ enough topping for 2 medium pizza bases

Ingredients:
2 medium Pizza Bases
1 tin (400gm) peeled tomatoes (I used fresh tomatoes)
350gm lean, mined beef
1 medium onion finely chopped
2 cloves garlic, finely chopped
25gm butter
¾ tsp mild paprika (can use Kashmeri red chilly powder)
1 tsp sugar
1 tsp salt
Freshly ground pepper
200 gm grated cheese ( I used low fat Mozzarella cheese)
3/4 tsp mild paprika to sprinkle on top
¼ each of dried Oregano, basil and thyme to sprinkle on top

Method:
  • Cut the tomatoes in small pieces and drain them.
  • Fry the chopped onion and garlic in butter until golden and add minced beef and fry until it crumbles and the meat has changed colour.
  • Fold in tomato pieces, paprika, sugar, salt and pepper.
  • Spread the mince on the two bases and top with cheese.
  • Sprinkle with paprika, oregano, basil and thyme.
  • Bake until the crust is golden brown, and cheese is bubbling,


Read More » Print Friendly and PDF

Monday, 7 June 2010

Tiramisu Cake ~ First Sweet Punch Challenge!


The first Sweet Punch challenge was hosted by Ria and she selected Dorie Greenspan’s Tiramisu Cake. I recently made my first Tiramisu with homemade Mascarpone cheese, but Tiramisu Cake was something I had never tried before. I really enjoyed making this cake as much as my DH and son enjoyed eating it.


Verdict:
  • I felt the quantities given for soaking the syrup was not enough. Even after I had used up the entire syrup, the cake was still a little dry. We prefer the Tiramisu cake to be a little more moist…so next time I will definitely make more syrup to soak the cake.
  • I used chocolate chips instead of finely chopped chocolates…but I didn’t enjoy the chocolate bites in-between my cake and filling. So next time I will go for chopped/grated chocolate.
  • I also added 1 1/2 tsp of Orange Sugar to the cake batter and I really liked that orange flavour in my cake.


Tiramisu Cake
Baking: From My Home to Yours by Dorie Greenspan

For the cake layers:
2 cups cake flour
2 teaspoons baking powder
1/8 teaspoon baking soda
1/4 teaspoon salt
1 1/4 sticks (10 tablespoons) unsalted butter, room temperature
1 cup sugar
3 large eggs
1 large egg yolk
1 1/2 teaspoons pure vanilla extract
3/4 cup buttermilk
1 1/2 tsp Orange Sugar (optional)

For the espresso extract:
2 tablespoons instant espresso powder
2 tablespoons boiling water

For the espresso syrup:
1/2 cup water
1/3 cup sugar
1 tablespoon amaretto, Kahlua, or brandy

For the filling and frosting:
1 8-ounce container mascarpone (store-bought or homemade)
1/2 cup confectioners’ sugar, sifted
1 1/2 teaspoons pure vanilla extract
1 tablespoon amaretto, Kahlua, or brandy
1 cup cold heavy cream
2 1/2 ounces bittersweet or semisweet chocolate, finely chopped, or about 1/2 cup store-bought mini chocolate chips
Chocolate-covered espresso beans, for decoration (optional)
Cocoa powder, for dusting


Getting ready:

  • Center a rack in the oven and preheat the oven to 350 degrees F.
  • Butter two 9×2 inch round cake pans, dust the insides with flour, tap out the excess, and line the bottoms of the pans with parchment or wax paper. Put the pans on a baking sheet.

    To make the cake:
  • Sift together the cake flour, baking powder, baking soda, and salt.
  • Working with a stand mixer, preferably fitted with a paddle attachment, or with a hand mixer in a large bowl, beat the butter on medium speed until soft and creamy.
  • Add the sugar and beat for another 3 minutes.
  • Add the eggs one by one, and then the yolk, beating for 1 minute after each addition. Beat in the vanilla; don’t be concerned if the mixture looks curdled.
  • Reduce the mixer speed to low and add the dry ingredients alternately with the buttermilk, adding the dry ingredients in 3 additions and the milk in 2 (begin and end with the dry ingredients); scrape down the sides of the bowl as needed and mix only until the ingredients disappear into the batter.
  • Divide the batter evenly between the two pans and smooth the tops with a rubber spatula.
  • Bake for 28 to 30 minutes, rotating the pans at the midway point.
  • When fully baked, the cakes will be golden and springy to the touch and a thin knife inserted into the centers will come out clean.
  • Transfer the cakes to a rack and cool for about 5 minutes, then run a knife around the sides of the cakes, unmold them, and peel off the paper liners.
  • Invert and cool to room temperature right-side up.


To make the extract:

  • Stir the espresso powder and boiling water together in a small cup until blended. Set aside.

To make the syrup:

  • Stir the water and sugar together in a small saucepan and bring just to a boil. Pour the syrup into a small heatproof bowl and stir in 1 tablespoon of the espresso extract and the liqueur or brandy; set aside.

To make the filling and frosting:

  • Put the mascarpone, sugar, vanilla, and liqueur in a large bowl and whisk just until blended and smooth.
  • Working with the stand mixer with the whisk attachment or with a hand mixer, whip the heavy cream until it holds firm peaks. Switch to a rubber spatula and stir about one quarter of the whipped cream into the mascarpone.
  • Fold in the rest of the whipped cream with a light touch.

To assemble the cake:

  • If the tops of the cake layers have crowned, use a long serrated knife and a gentle sawing motion to even them.
  • Place one layer right-side up on a cardboard round or a cake plate protected with strips of wax or parchment paper. \Using a pastry brush or a small spoon, soak the layer with about one third of the espresso syrup.
  • Smooth some of the mascarpone cream over the layer – use about 1 1/4 cups – and gently press the chopped chocolate into the filling.
  • Put the second cake layer on the counter and soak the top of it with half the remaining espresso syrup, then turn the layer over and position it, soaked side down, over the filling.
  • Soak the top of the cake with the remaining syrup.
  • For the frosting, whisk 1 to 1 1/2 tablespoons of the remaining espresso extract into the remaining mascarpone filling. Taste the frosting as you go to decide how much extract you want to add. If the frosting looks as if it might be a little too soft to spread over the cake, press a piece of plastic wrap against its surface and refrigerate it for 15 minutes or so. Refrigerate the cake too.
  • With a long metal icing spatula, smooth the frosting around the sides of the cake and over the top. If you want to decorate the cake with chocolate-covered espresso beans, press them into the filling, making concentric circles of beans or just putting some beans in the center of the cake.

  • Refrigerate the cake for at least 3 hours (or for up to 1 day) before serving – the elements need time to meld.
  • Just before serving, dust the top of the cake with cocoa.

Read More » Print Friendly and PDF

Tuesday, 12 May 2009

Mango Yogurt Panna Cotta


I made this dish in full compliance with Deeba's directions......Here is original. The pictures & recipes posted by her are truly stunning! Thanks Deeba for this lovely dessert!


Ingredients:
Thick Yogurt - 2 cups
Low fat cream - 1 cup
Gelatin - 3 tsp
Mango pulp - of 2 mangoes
Castor sugar if required
Fruit slivers, pistachio nuts, mint leaves, chocolate curls etc to garnish
Method:
  • Sprinkle the gelatin over the cup of cream & allow to stand for 10-15 minutes or till it softens. Whisk well & strain into a big bowl.
  • Add the thick yogurt and mango puree to the bowl & whisk well. Adjust for sugar. Add some castor sugar if required.
  • Divide into 6-8 very lightly greased ramekins and refrigerate until firm, at least 3-4 hours.
  • Serve with a drizzle of light cream, sliced fruit & pistachio nuts...or in bowls topped with chocolate curls, mango slivers, mint leaves, pistachio nuts etc.


My 4 1/2 year old son's finger print card on Mothers day!!!


Thank you Madhu for sharing this award with me :) :)


I am passing this award to Happy Cook, Bharathy, Purnima, JZ, Varsha, Soma, Deeba, Nags, Lena, V JR & Pearlin. Please accept this award dear friends...:)

Now for the rules:

1) Add the logo of the award to your blog.

2) Add a link to the person who awarded it to you.

3) Nominate at least 7 other blogs (Only if you like).

4) Add links to those blogs on your blog.

5) Leave a message for your nominees on their blog

Read More » Print Friendly and PDF

Wednesday, 5 March 2008

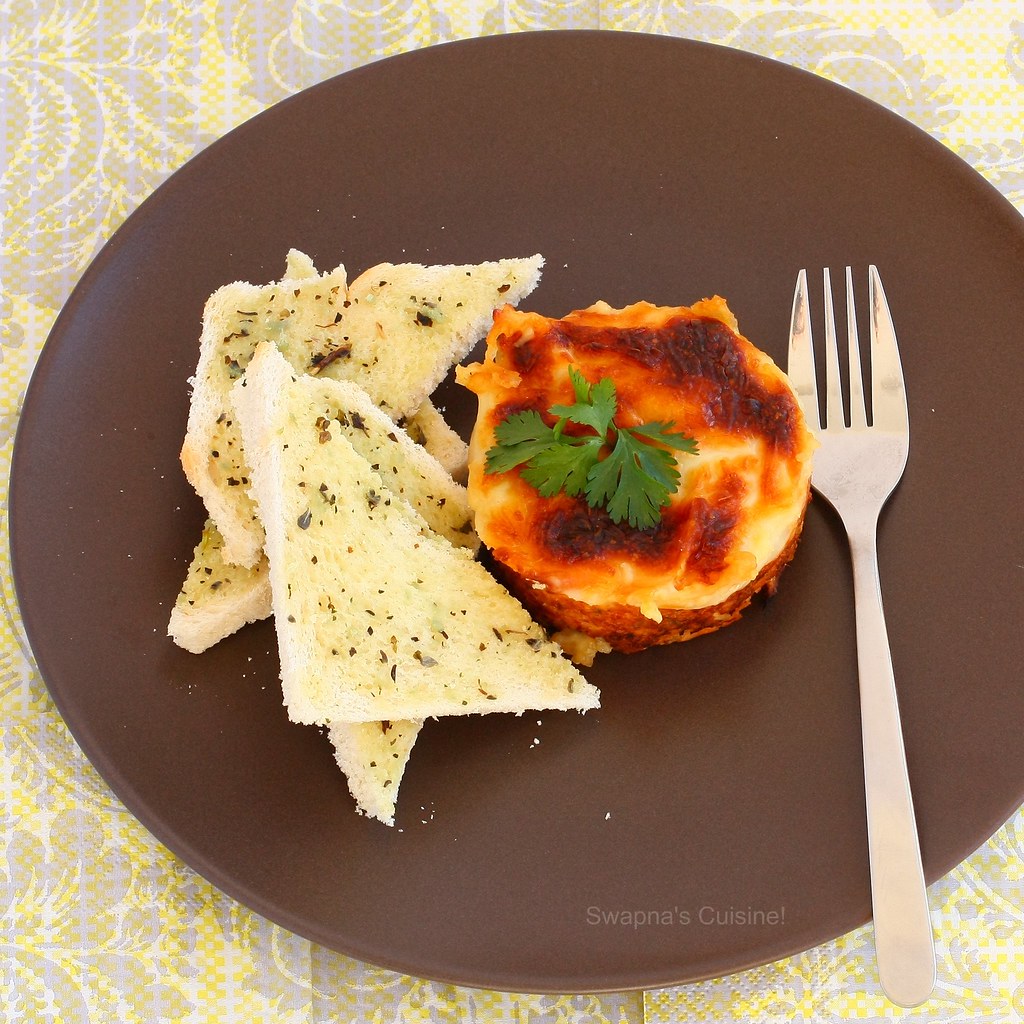
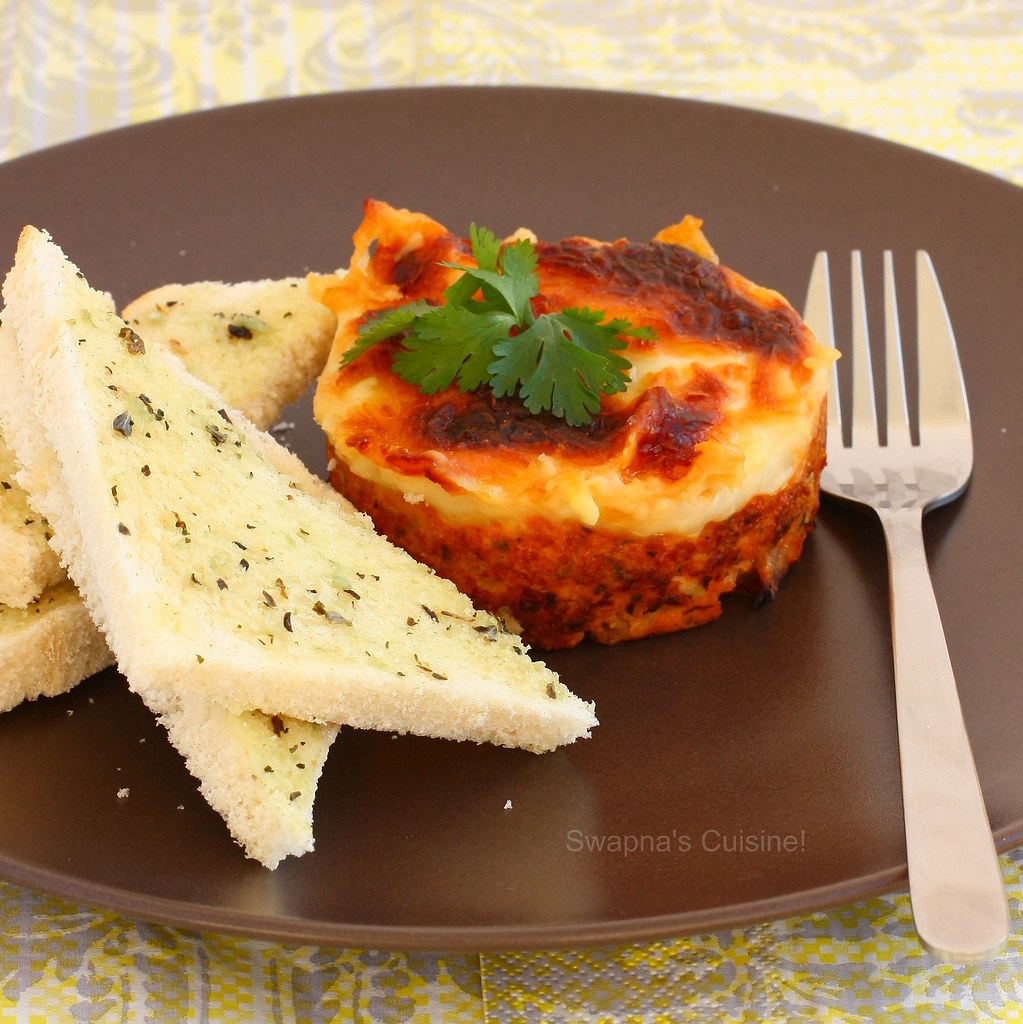
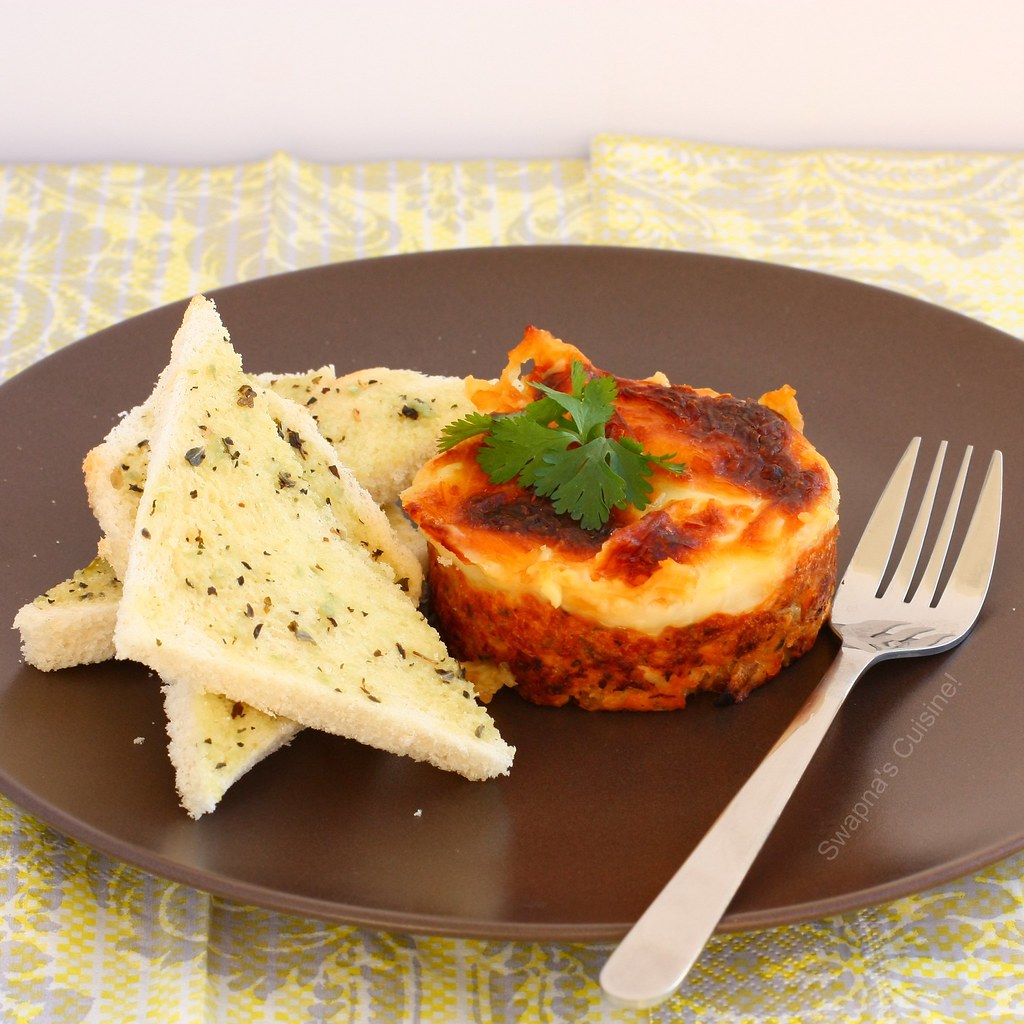
Meat Loaf Recipe


Meat Loaf
Ingredients:
Minced Meat -500 gms
Fresh Bread crumbs -1 cup
Egg -1
Chopped Onion -1/2 cup
Chopped Carrot -1/2 cup
Garlic, chopped -1 clove
Ginger chopped -1tsp
Tomato sauce -1/2 cup
Steak sauce -2 tbsp
Dried Oregano -1 tsp
Dried Basil -1/2 tsp
Pepper powder - to taste
Salt -to taste
Cooking cheese -1/2 cup
*White sauce
Method:
  • Combine all the ingredients except cheese and white sauce in a large bowl, mix well and pack in to a greased loaf pan.
  • Spread white sauce over meat evenly and cover with grated cheese.
  • Bake in a preheated oven (350 degree F or 180 degree C) for 1 hour.
  • Serve loaf with bread rolls or Garlic Bread.
 
*For White Sauce  
Ingredients:
Butter -2 tbsp

All purpose flour/ Maida -2 tbsp
Milk -1 cup
Pepper powder -1/2 tsp
Salt - to taste
Method:
  • Melt butter in a saucepan, stir in flour and cook, stirring, for 30 seconds.
  • Whisk in milk and cook, stirring, over a medium heat for 4-5 minutes or until mixture thickens.
  • Turn off flame and add salt and pepper to taste.
Read More » Print Friendly and PDF
Related Posts Plugin for WordPress, Blogger...